StarShip can accommodate many different workflow types for the way you ship. The flexibility of setup options and customization means that users can control how shipments are processed. Your source interface, as well as the source document type selected for the shipment, defines how much data automatically populates the Ship screen. You also have the ability to ship without source documents.
Shipping defaults can be set up in Setup > Preferences.
The procedures in this section provide fundamental shipment processing steps for common workflow types. The Next Step links direct you to the subsequent procedure you should follow after completing the appropriate section.
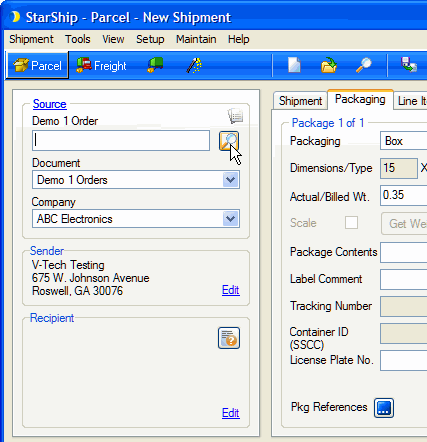
To create a new shipment, click the New button or press Ctrl + N.
At this point, you can proceed in numerous ways:
Select a source document from your source interface to ship against. Selections are usually Order, Customer, or Invoice records, depending upon your ERP interface.
Without a source document, where you enter or select a Sender and Recipient on the Ship screen and ship "on-the-fly."
Open an existing shipment, by clicking the Source link to toggle to Existing Shipments.
See Source/Sender/Recipient for more information about switching between source interface documents and existing shipments, and selecting the Source document.
Browsing for a document
To browse for the source document, click the magnifying
glass icon next to the document field. This allows you to view and select
from the list of current documents.
If you choose a source document that already has a shipment
associated with it :
Add related documents
You can also add related or unrelated documents (orders,
invoices, etc.) to the shipment using the Shipping Assistant. If you have
the Shipping Assistant disabled for automatically opening when importing
a document, click the " + " in the Order View to open the Shipping
Assistant Related Orders dialog.
See also : Add documents
Next step : Select line item detail : Include inventory detail about items in the shipment
Enter or select a Recipient
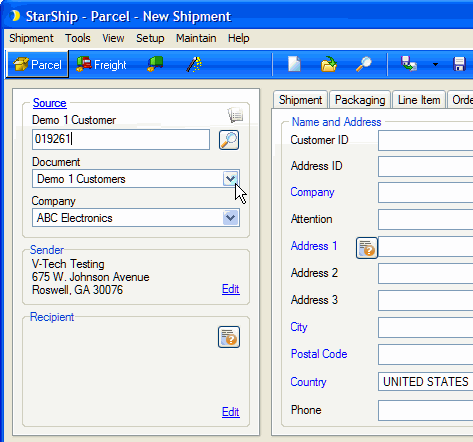
Recipient information can come from Customer documents or customer data entry: For customer data from the source interface, make sure the Source link is toggled to Source Interface and select Customers from the Source > Document field. You can type the Customer number into the Customer field or use the Browse button to select from the source interface Customer database.
To search existing shipments by Customer ID, make sure the Source link
is toggled to Existing Shipments and select to Search Existing Shipments
by Customer ID. You can enter the ID in the Customer ID field or use the
Browse button to select from a list.

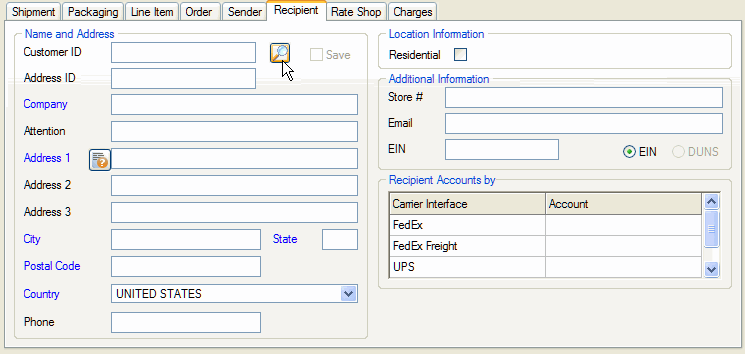
To select a customer from the StarShip customer database, select the Recipient tab and click the Browse button next to the Customer ID field. Then, select from the Customer list. You can also type in the Customer ID; if it matches an ID in the database, StarShip will populate the Recipient data. Customers are set up in Maintain > Customers.
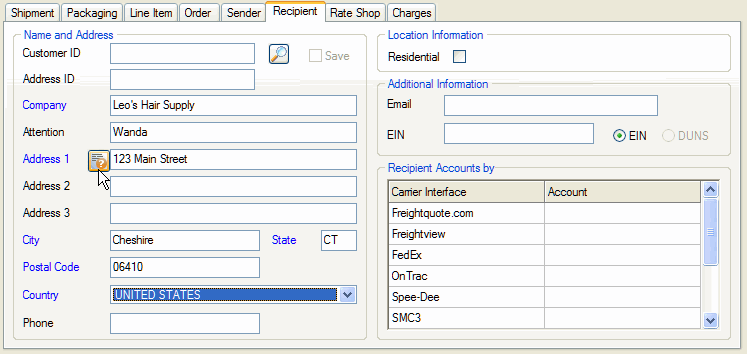
To enter customer information manually, click the Recipient tab and type the information
directly into the fields. To validate the address, click the Address
Validation button next to the Address 1 field.
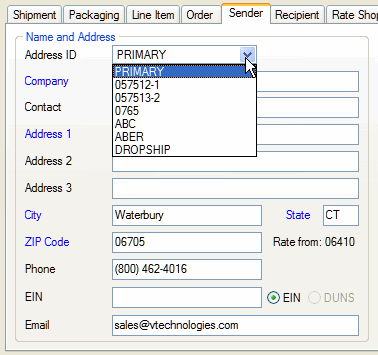
Enter or select a Sender
Select a sender from the Sender addresses you set up in Setup > Company. The addresses are available from the Address ID drop-down list.
Sender Accounts : If you have multiple carrier interface
accounts, each address can be set to use different default carrier interface
accounts when rating and shipping. You can select the account to use for
each carrier interface from the Account drop-down list. You can also choose
"None", or "Use Default", which will use the designated
default account for that carrier interface (set under Setup
> Carrier Interface). Changing these settings on the Sender tab
will only affect the current shipment.
You can also type sender information directly into the Sender tab.
Note : Sender information will default to the MAIN address set up in Setup > Company. You can also map the Sender tab fields from fields in the source interface.
Next step : Select line item detail : Include inventory detail about items in the shipment
See also : Shipping without line item detail : Continue shipment without line items