
This topic leads you through the basic process of creating a new SQL interface.
Creating a new interface
You can create an interface from scratch. SQL Builder will open with a new interface loaded. Note the interface name in the Title bar when a new interface is open : ...\SQLFSI\SqlFsiData\Assets\NewSqlFsi.sqlfsixml.
Using the demo
We recommend starting off with the demo database,which provides common default fields, and is provided under Application Settings : ...\SQLFSI\SqlFsiData\Assets\Demo_1.sqlfsixml. It is a good idea to do a "Save as" so that you always have the original and can go back to the default settings.
If you are using the demo database, you must attach it. See Attaching the Database.

Launch the SQL FSI Builder. Note : If you are not exporting the interface, or you are going to save it as a file, the core StarShip Server service does not have to be running. You only need to launch the StarShip Server and start the service if you are exporting the interface.
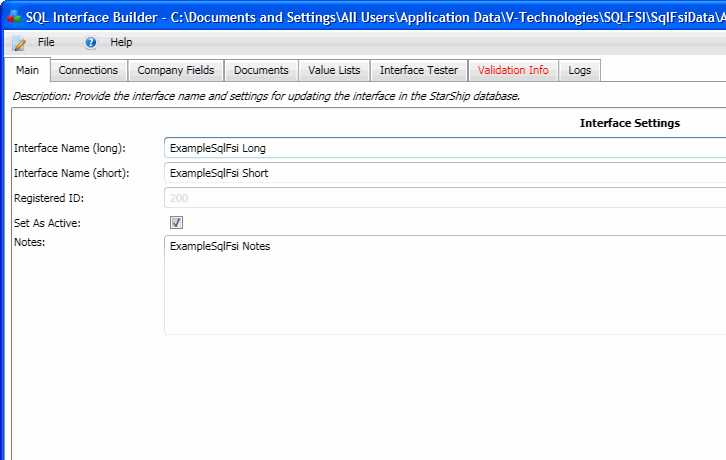
The long and short Interface Names you define on this tab will appear as the Financial System Interface name in StarShip.
To make this the active interface for the StarShip Client, check the Set As Active check box. This means that this will be the active interface for this Registered ID (Financial System Interface) in StarShip. You can also set the active interface, as well as perform other interface administration in StarShip Server Manager > Tools > Manage SQL Interfaces.
The Set as Active field is used when exporting the interface to StarShip or when importing the interface from StarShip to the SQL Interface Builder.
Finally, any notes written in the Notes field will appear in the interface description in StarShip, as well as in the Notes column in Manage SQL Interfaces.

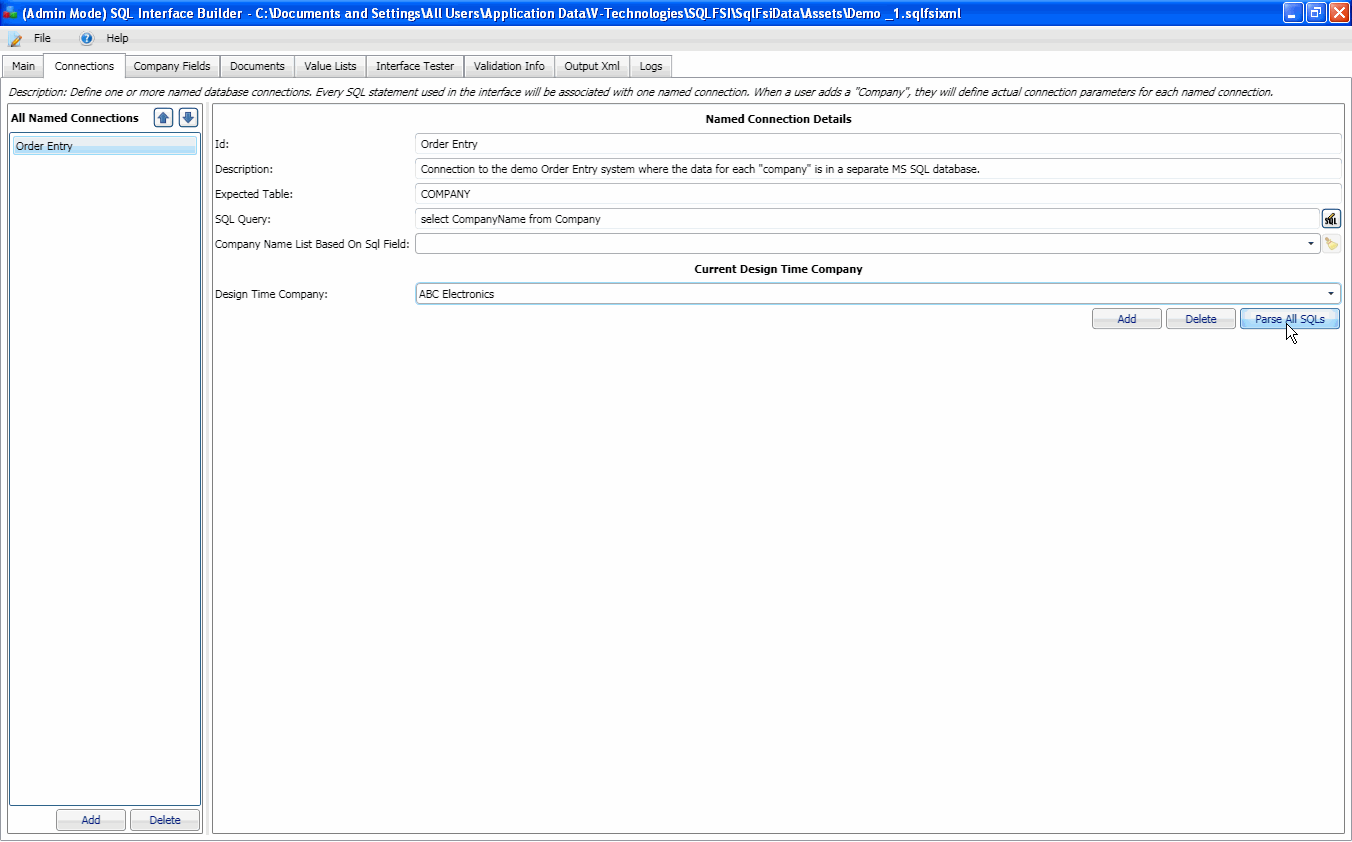
Multiple databases can be used to build an interface. At least one connection must be configured. With multiple databases, you would create a connection for each one. So each entry in the "All Named Connections" list will be a link to a database. Once a connection is identified, you can select the Named Connection in other tabs to link those SQL statements to the correct connection information.
See Define Connections for more detailed information.

On this tab, you can define one or more SQL statements that retrieve company-level information, which can be used for field mapping or in other SQLs. These fields can be used by all documents.
You will also define how those fields are displayed in the StarShip client and if they will be available for field mapping. See Define Company Fields for more detailed information.
See also : Customize Interface, for more about field mapping in StarShip.
On the Documents tab, you will define the documents that the StarShip user will ship against. A document is a set of related data in the financial system such as a customer, vendor, order, invoice, return, or shipment (packed order). You then create SQL queries for the different documents that identify the fields necessary to process a shipment against each document.
See Documents for more information.
On the Value Lists tab, create Value Lists that will provide a list of possible values the user can utilize when mapping shipment fields in StarShip.
See Value Lists for more information
You can use the Interface Tester to execute various functions of the StarShip SQL Interface in order to test the elements of your interface.
See Interface Tester for more information.
This tab will appear in red if there is an invalid statement, value, or setting within the interface. If you are experiencing unexpected results, check this tab for warnings regarding invalid internal field names.