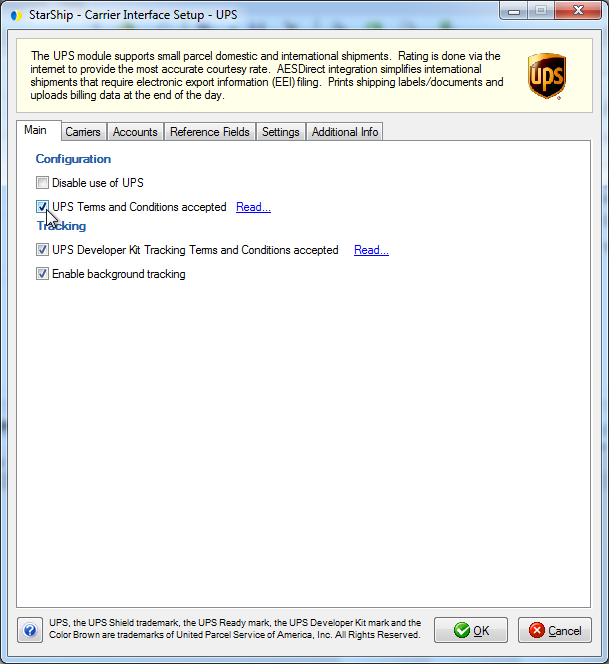
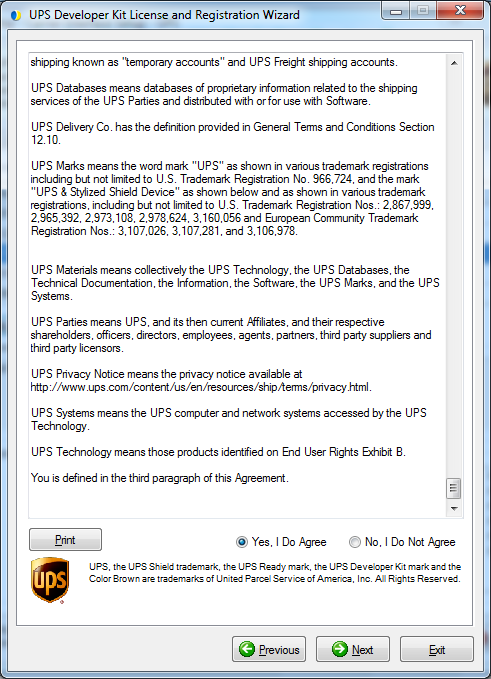
Please read the terms and conditions of the UPS technology agreement required for use of the UPS Developer Kit. You must scroll to the end of the agreement in order to enable the “Yes, I Do Agree” radio button. You can also print the agreement by clicking the Print button. When you have agreed to the terms by clicking Yes, I Do Agree, the Next button is enabled and you can continue with the setup process.
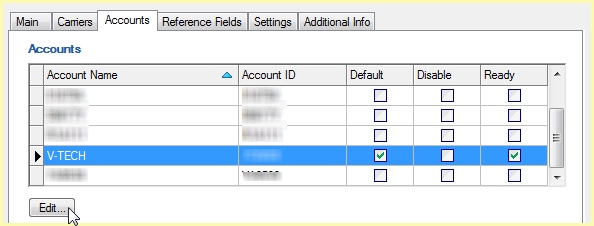
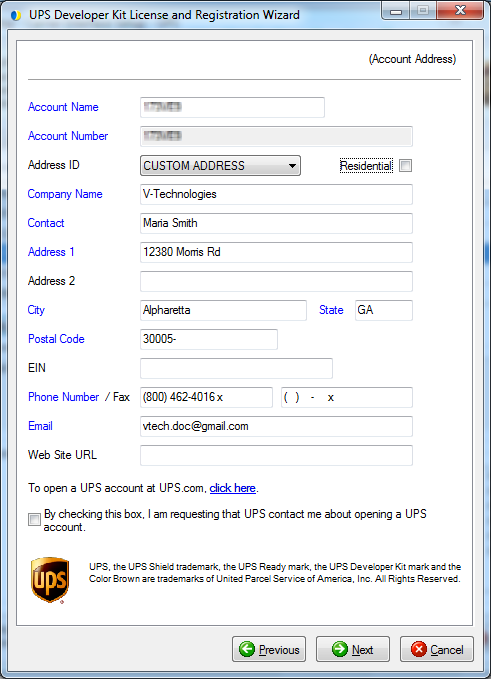
Entering the invoice information will add the account to your UPS profile. This will allow shipping with UPS Web Services and access to the account's negotiated rates. Check this option if have a UPS invoice from the past 90 days : "This account has been issued a UPS invoice within the past 90 days". Then, fill in the Invoice information from your last UPS Delivery Service Invoice.
Dimensional Weight Factor
For each UPS service, you can enter custom dimensional weight divisors that are used to calculate the billed weight. Although UPS calculates and returns both the list (published) and custom rates, only the list value of the billed weight is returned. The dimensional weight factors below are used by StarShip to calculate and display the custom billed weight value on the Ship screen.
The factors default to list (published) values, but can be modified here to reflect contract rates. This will not affect the charges, only the billed weight that shows on-screen. So, for example, If you have any freight rules that use the billed weight field, it will be updated so that freight rules work correctly.
Use the Revert to Defaults button to reset values to the original defaults.
The default dimensional weight for U.S. domestic service packages and Canada Origin packages to the U.S. are calculated as follows :
- U.S. domestic services packages that are greater than 1,728 cubic inches use a 139 divisor to calculate dimensional weight.
- U.S. domestic services packages less than or
equal to 1,728 cubic inches use a 166 divisor to calculate dimensional
weight.

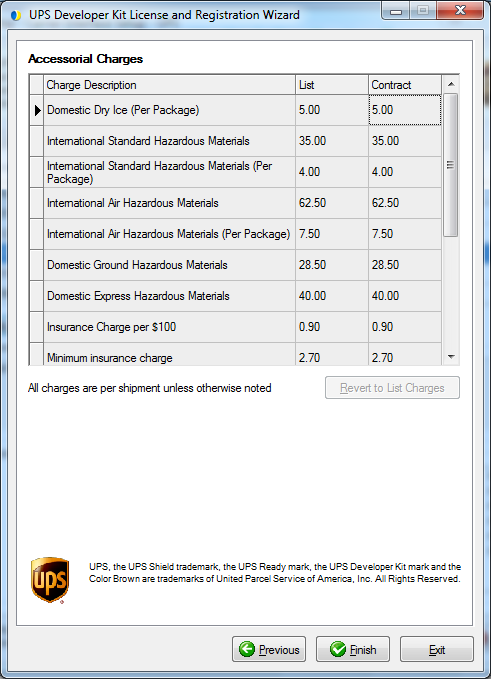
The wizard then steps you through the Settings and Accessorial Charges setup dialogs.
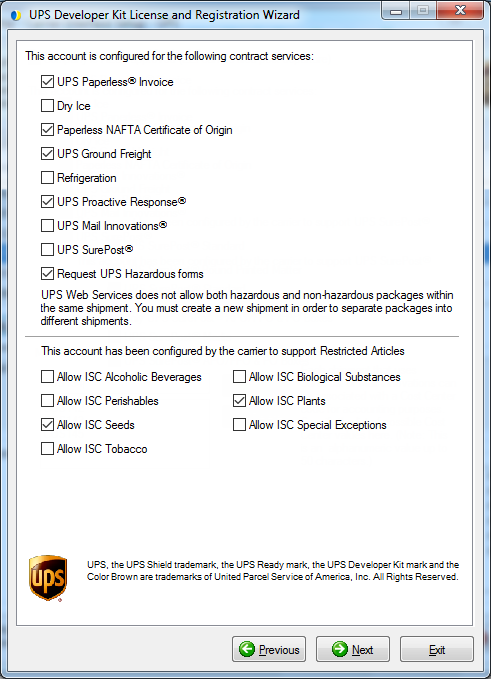
Select or deselect your registered contract services based on what you want to allow. If you select a service for which you are not registered, you will get an error when you try to rate/ship.
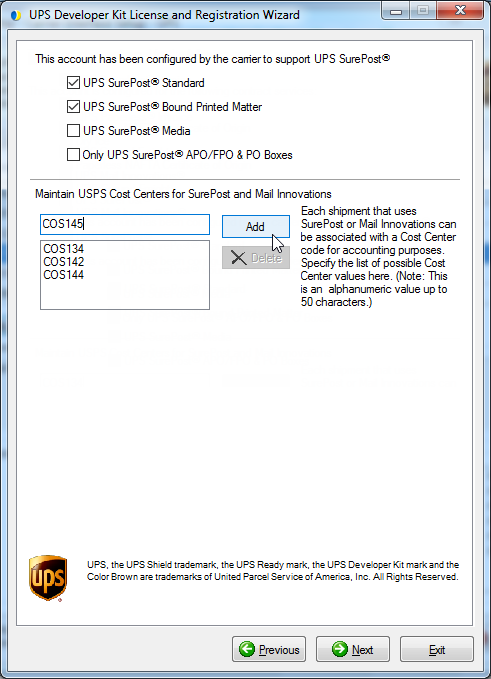
UPS Mail Innovations and UPS SurePost
When you enable one or both of these options, you will be able to select the Services to include and add or maintain USPS Cost Centers on the next screen, UPS Mail Innovations and UPS SurePost.
Request UPS Hazardous forms
When shipping UPS HazMat shipments prior to StarShip v9.1, users had to use a different system, such as Labelmaster DGIS (previously Masterform), to generate the hazardous forms. With StarShip v19.1 and higher, UPS Web Services can now validate HazMat shipments and return the required shipping papers.
Check this option if you want to use the UPS-generated hazardous forms. A few notes before you select this option:
UPS Web Services does not allow the combination of hazardous packages and non-hazardous packages in the same shipment. When the option to Request UPS Hazardous forms is checked, you will be required to create different shipments for hazardous and non-hazardous packages. If you want to create shipments with both hazmat and non-hazmat packages, you can leave this option unchecked and continue to use Labelmaster to generate your UPS HazMat shipping documents.
Also, when you check this option, you will need to use different label stock to print the hazardous forms.
For more information on acquiring and printing the required forms, see UPS HazMat/DG Shipments.
Restricted Articles
Certain items that UPS lists as restricted can still be shipped on a contractual basis but you must have a contract with regular volume and be able to adhere to all regulations before UPS accepts it. Once your contract has been approved to ship restricted articles, you can select those items you were approved for here.
If you enabled the UPS SurePost service, at least one SurePost service must be selected. If the "Only UPS SurePost APO/FPO & PO Boxes" box is selected, SurePost will only be available to those specific destinations.
When shipping from multiple locations with a single account, you can use the Cost Center to differentiate between locations. In the field provided, enter a Cost Center code and click Add. The code may be alphanumeric and is limited to 50 characters. You can add multiple cost centers, which appear in the list below. The Cost Center is optional for both Mail Innovations and SurePost shipments.
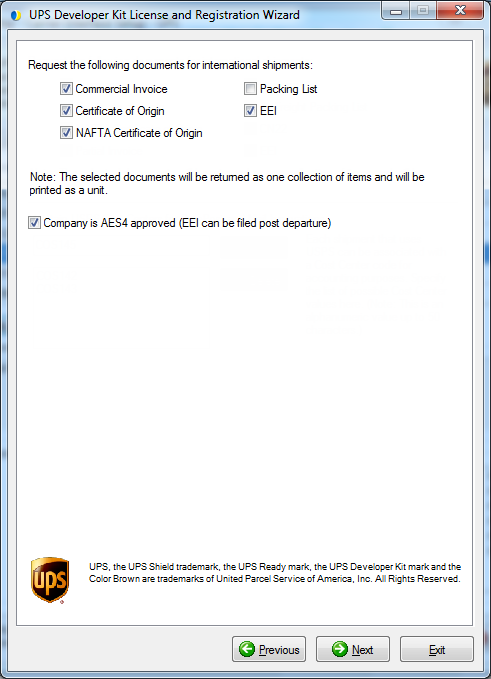
Company is AES4 approved
If you are AES4 Approved, check this box so you can file the EEI post-departure. This setting must be enabled in order for the EEI post-departure option to appear on the International tab when processing International shipments.