International Documents Setup
UPS International documents can be selected in UPS Account Setup and enabled in Printing Setup. The selected documents are requested from UPS and returned collectively in one PDF document, which StarShip can then print.
Follow these setup steps to configure international documents to print when you process a UPS International shipment :
Select the documents to print in UPS Account Properties
- Select Setup > Carrier Interface > UPS and click the Accounts tab.
- Select the account and click Edit (or double-click the account).
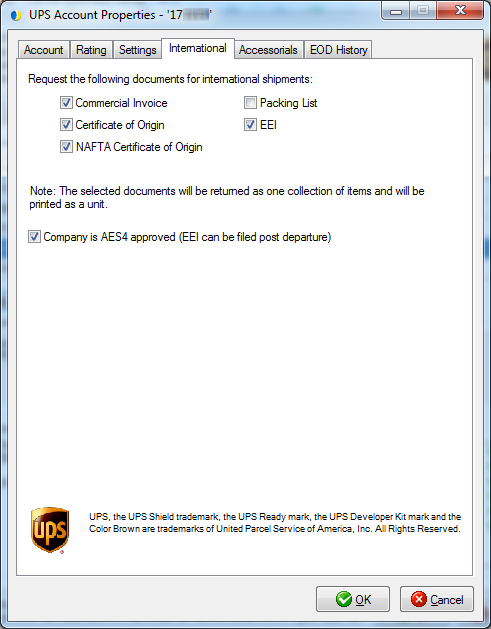
- Click the International tab.
- Place a check mark next to the documents that you want to print. When you are done, click OK twice to exit UPS setup.
- CN22 is for Sure Post and Mail Innovations only.
- If you select to print the Packing List, there must be at least one item in each package.
For more information about UPS International settings, see the International Tab.
Enable the International Documents
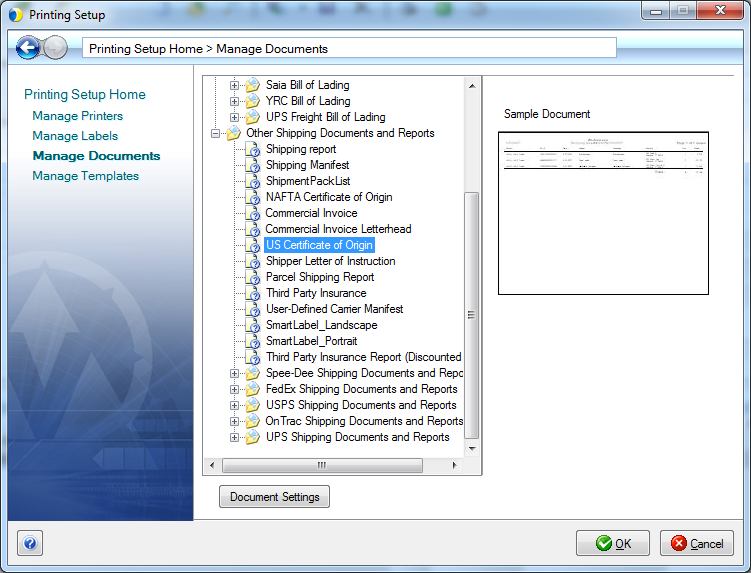
- In StarShip, select Setup > Printing.
- Click Manage Documents.
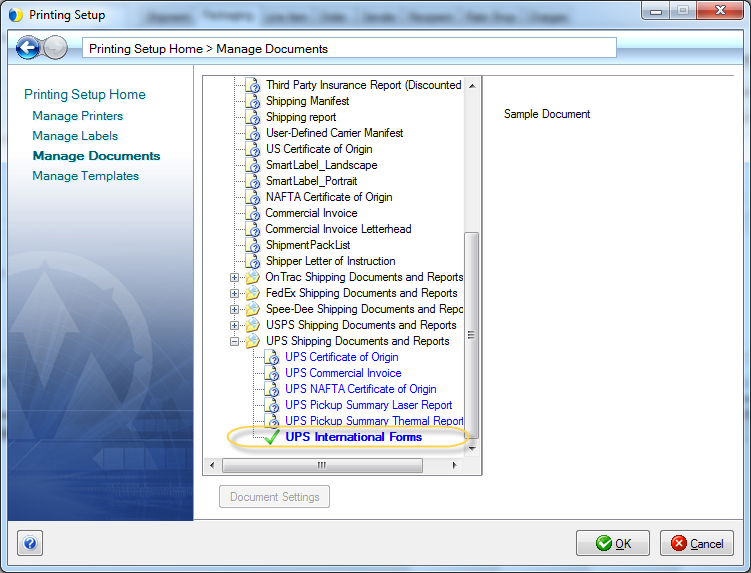
- Scroll down to UPS Shipping Documents and Reports and expand the list.
- Double-click UPS International Forms.
- Click the Enable check box to permit international forms to be printed. Then, select the printer. For more information about this dialog, see Document Settings.
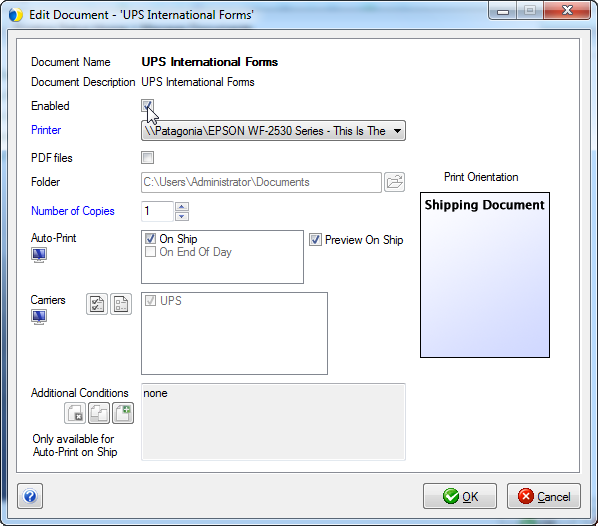
- Click OK to save your settings.
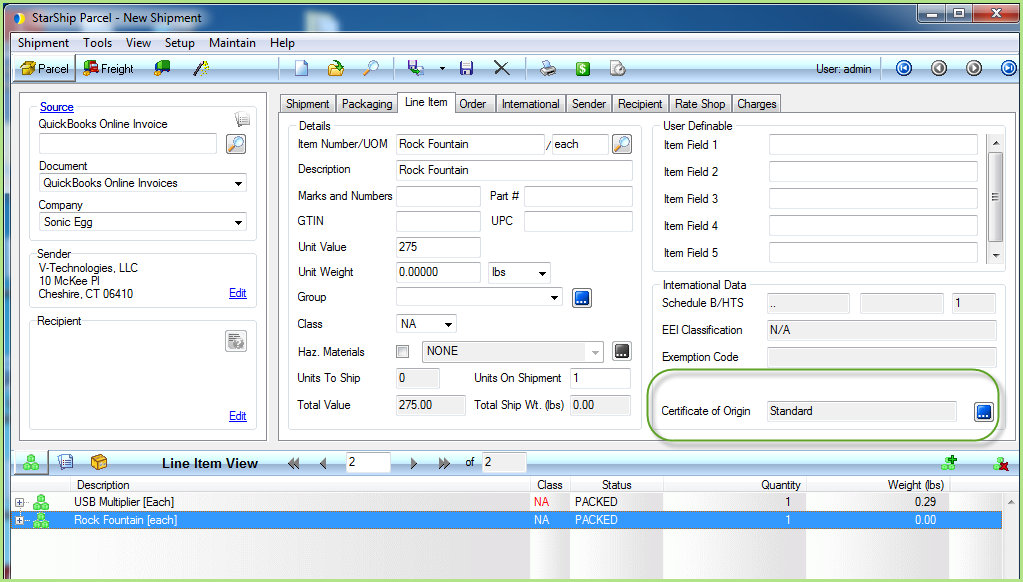
UPS Certificate of Origin Forms
With UPS Web Services, StarShip prints the Certificate of Origins forms from UPS. Note that when designating the Certificate of Origin for items in a shipment, you cannot have different Certificate of Origin types on the items.
If you need to mix CO types, you can print the StarShip Certificate of Origin forms, which are enabled from Setup > Printing > Manage Documents.