TForce Freight
Setup
The TForce Freight interface (formerly UPS Freight) requires some prerequisite
setup before you can set up your TForce Freight account. Do these steps
first if you are adding an account for the first time.
Prerequisite Setup
Parcel Setup
To set up TForce Freight you first need to commission with UPS and register
UPS OnLine Tools through UPS Parcel account
setup.
Link MyUPS to MyLTL
These steps are required in order to consolidate a MyUPS.com User ID/Password
to your MyLTL Freight User ID/Password :
- Create a MyLTL Freight User ID and Password and
configure your account and contracts.
- Create a MyUPS.com User ID and Password that exactly
matches (case sensitive) your existing My LTL Freight User ID and
Password. This will be the User ID/Password pair used in TForce Freight
account setup.
- From the TForce Freight login
page, follow the steps to link your MyUPS.com User ID/Password
pair to your MyLTL Freight User ID/Password.
Account Setup
Once you have set up the UPS Parcel account and taken the preliminary
steps needed to connect your MyUPS account and MyLTL account, you can
use your UPS login credentials to add your TForce Freight account in StarShip.
The selected UPS account must have TForce Freight LTL rates enabled by
your UPS Account representative before you can configure the account.
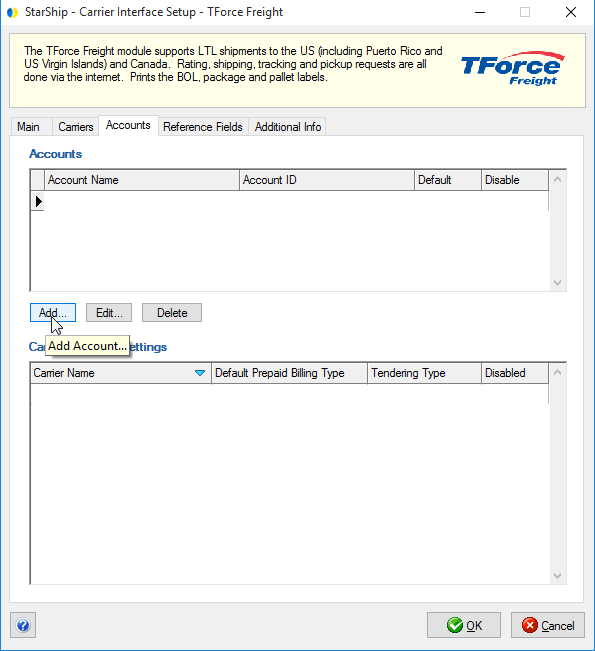
Add an account
To access account setup, select Setup
> Carrier Interface > TForce Freight.
Click the Accounts tab. The Accounts section
is blank until you add an account. Click the Add
button.
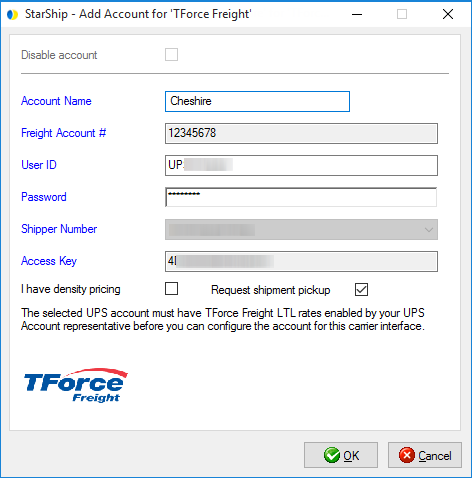
Enter your TForce Freight account information.
Click OK when you're done.
Account Name: Type in an account
name that will identify this account in StarShip.
Freight Account #: Enter the
Freight account number.
User ID/Password: Enter the
User ID and Password you created in Prerequisite Setup.
Shipper Number: Select the
corresponding Shipper Number that was registered in UPS Parcel Setup.
Access Key: This field is populated
automatically when you select the Shipping Number.
I have density pricing: Check
this box if you already have density-based pricing set up with TForce
Freight.
Request shipment pickup: Check
the Request Shipment Pickup option if you want StarShip to automatically
send a pickup request to TForce Freight when a shipment is processed.
This will only occur if you selected a Tendering Type of Electronic
in Billing settings.
The account is added and you return to the Accounts tab. Next, configure
other settings for TForce Freight as described below.
Main
This tab displays information about TForce Freight communication settings.
Disable use of TForce Freight:
Check this option if you do not want TForce Freight to be available for
rating or shipping. TForce Freight will not appear in the Carrier field
on the Shipment tab.
Enable background tracking:
Background tracking collects shipment data so that you can look up delivery
information for past shipments and generate late deliveries reports from
the StarShip Dashboard.
Background tracking must be generally enabled for StarShip in the StarShip
Server under Tools > Options >
Background Tracking. It can then be enabled/disabled for each individual
carrier in carrier setup.

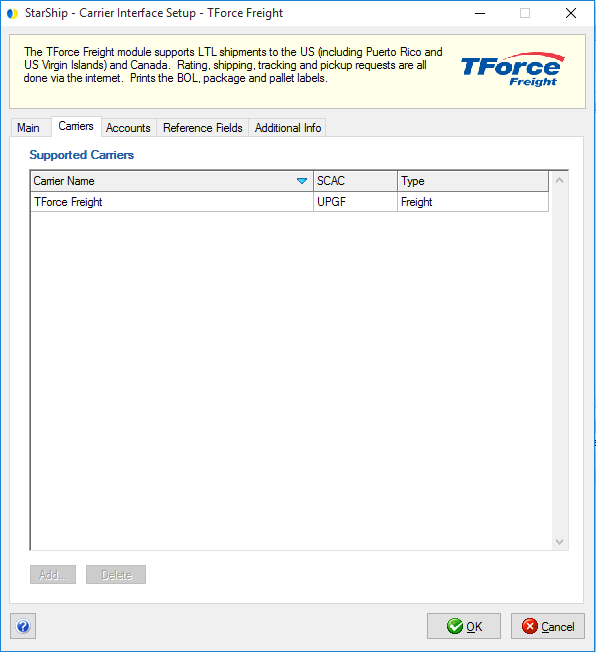
Carriers
The Carriers tab will only show TForce Freight as a supported carrier.
Entries cannot be added or deleted.
Accounts
The accounts tab displays your TForce Freight accounts. From this tab,
you can select an account and edit it, delete it, disable it, or designate
the default account. You can also configure carrier account settings.

Carrier Account Settings
This section allows you to change specific settings
for the currently selected account. If you set up multiple accounts, you
can maintain different settings for each account. To change settings for
accounts, click on the desired account and then make your changes by selecting
from the drop-down lists.
Default Prepaid Billing
Type: This is the default Billing Type for shipments that are paid
for by the shipper. You can select from Sender or 3PL (set up in Maintain
> 3PL).
Tendering Type:
The choices are Electronic, Call, and Daily Pickup.
Disabled: Check
to disable this account. Once disabled, you will not be able to rate or
ship using this account and it will not be available in the Accounts drop-down
field.
Note: When you add or edit an account on the Accounts
tab, changes to the database are immediate. However, if you delete an
account, but then click the Cancel button on this dialog, the account
will not be deleted from the StarShip database.
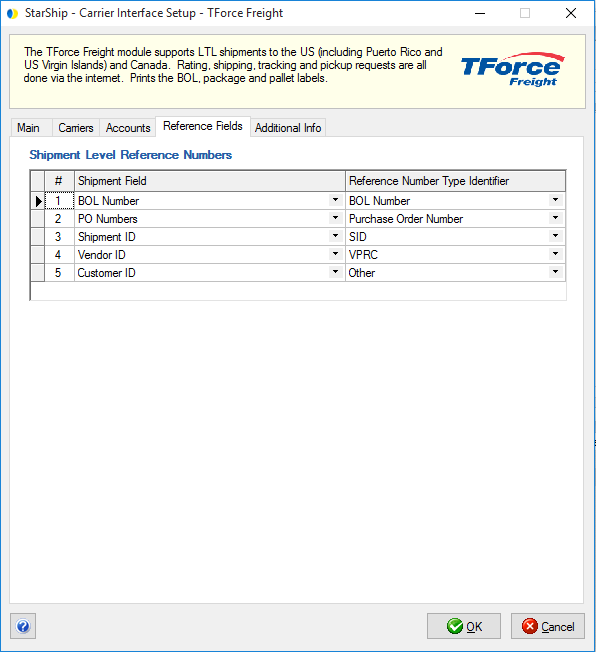
Reference Fields
Reference fields allow the recipient to track incoming packages using
a reference field (such as the Purchase Order #) along with the ship date
or your shipper number, or other information that may not normally appear
in a shipment’s details. StarShip supports up to 5 different Reference
fields at the shipment level for TForce Freight. Reference fields are
uploaded to UPS at end-of-day processing.
Specify the shipment fields to include as reference fields by selecting
them from the drop-down lists. Use the "Advanced..." option
to choose fields that are not listed in the default drop-down list.
See Carrier Reference Fields
for more detailed information about how to use reference fields.
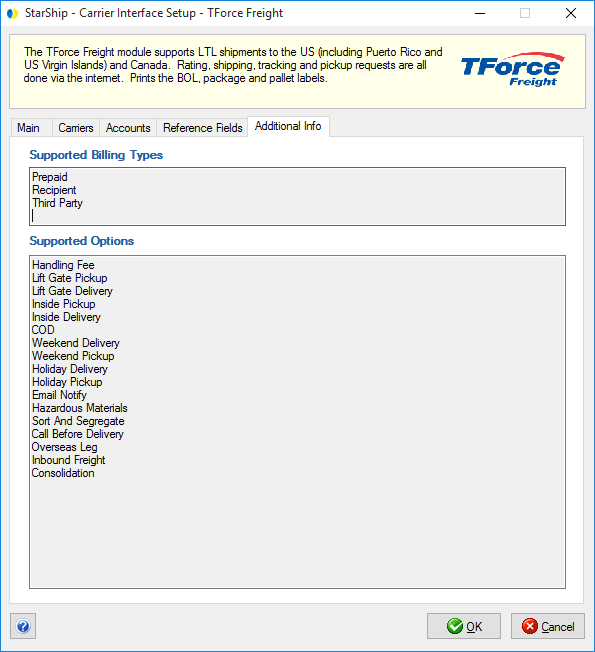
Additional Info
This tab displays the supported billing types and shipment options available
for this carrier interface. More information about shipment options is
available in TForce Freight Shipping.
Notes
If TForce Freight has not yet completed the process to enable freight
rating and shipping for your account(s), the user will receive an error
when attempting to rate shipments.