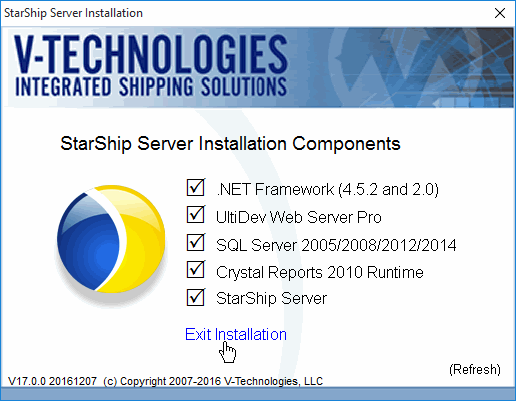
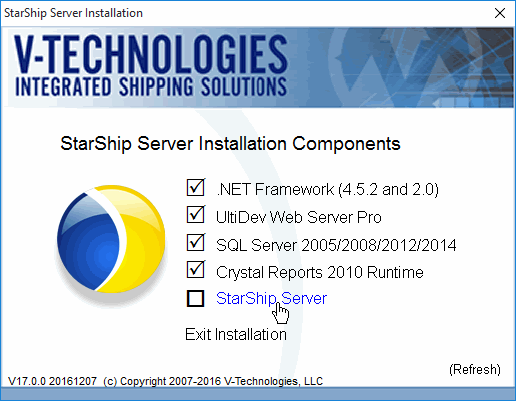
From the Components menu, select StarShip
Server.
Click Next
to begin the installation.
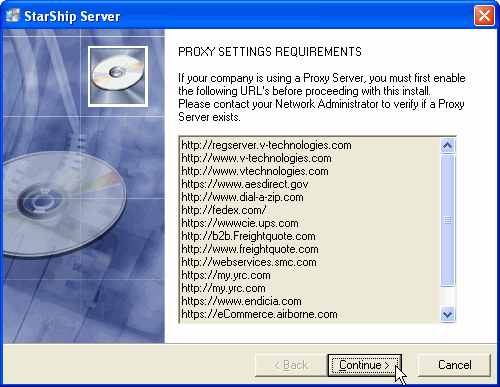
The following window displays for informational
purposes only. If you are using a Proxy Server, you must enable the
URLs shown in the list before you continue with the current installation.
If you are not sure whether or not your company uses a Proxy Server,
ask your Network Administrator before proceeding. Click Continue.
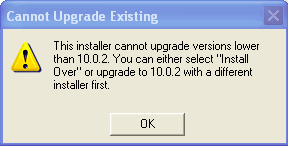
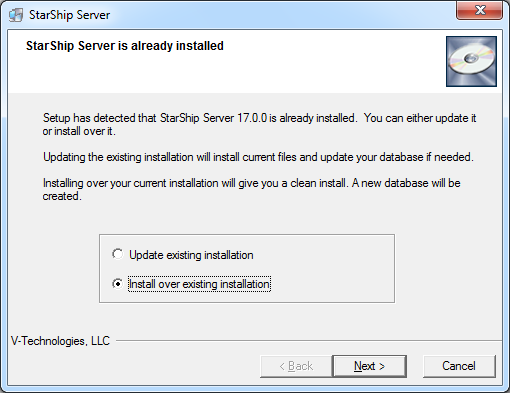
StarShip detects that you already have the Server
installed. Select Install over
existing installation. Then click Next.
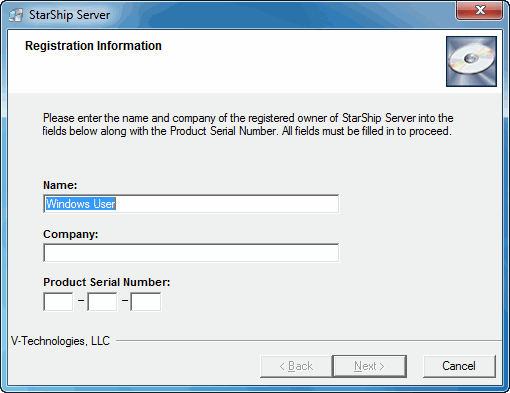
Edit the registration information if needed.
Click Next.
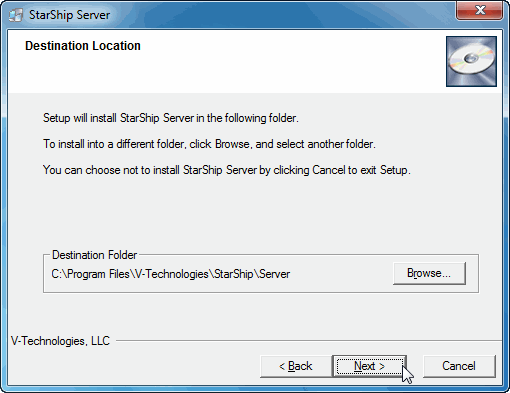
Choose a destination folder. To select a folder
other than the default setting, click Browse.
Click Next.
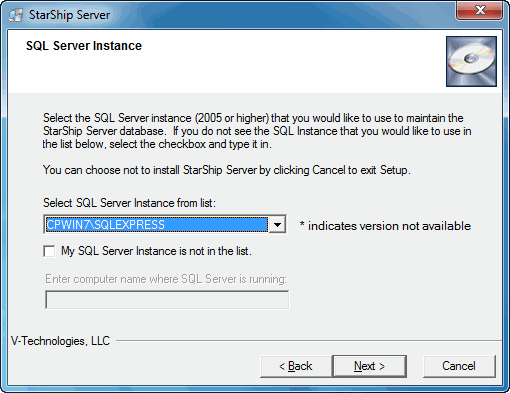
Select the SQL Server (2005 or higher) instance
where the StarShip database should be installed. If it does not appear
in the list, click the My SQL
Server Instance is not in the list check box and then enter
the computer name where SQL Server is running. Click Next.
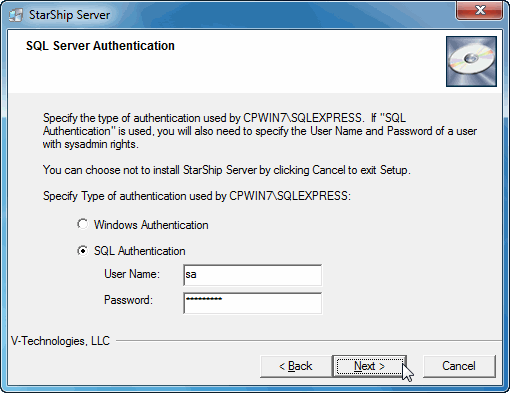
Specify an authentication method to use for the
selected SQL Server instance. For SQL Authentication, enter a User
Name and Password in the fields provided. StarShip recommends using
SQL Authentication. Click Next.
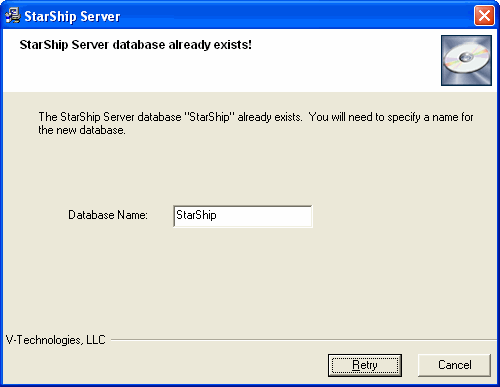
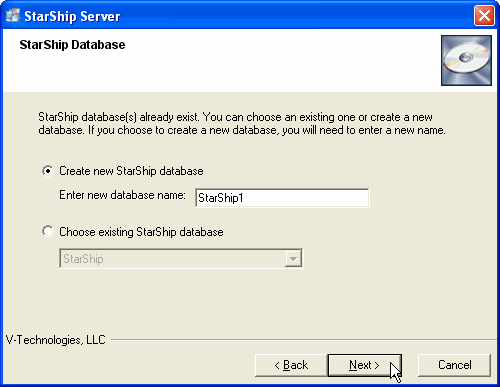
If the selected SQL Server has one or more existing
StarShip database(s), you can choose whether to create a new StarShip
database or use an existing StarShip database.
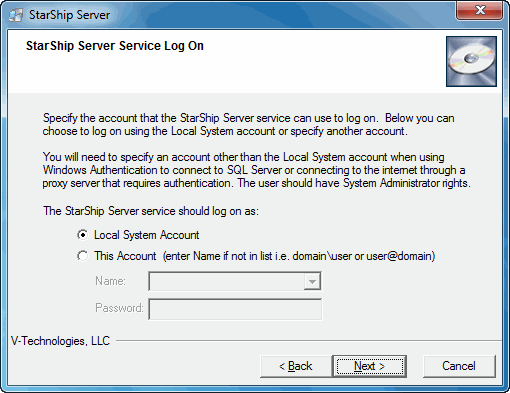
Specify the login information for the StarShip
Server service. The local system account should be selected unless
connecting to the SQL Server using Windows authentication or when
connecting to the Internet through a proxy server that requires authentication.
When selecting a specific account for the service to log on with,
the installer will return a list of users specifically added to the
local administrators group in the Name box. If the preferred user
name is not on the list, you can enter it into the Name field. When
entering the user name, be sure to use proper account format : <domain>\<username>
or <username>@<domain>.
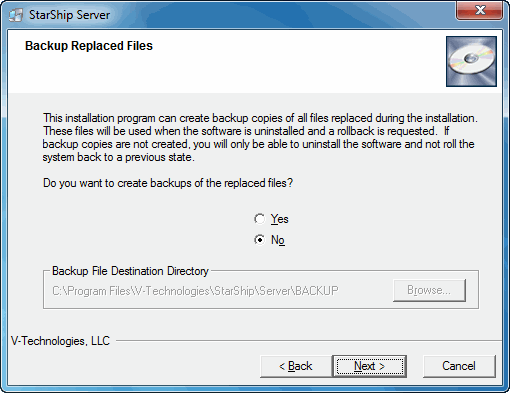
You can choose whether or not to create backup
copies of any files that are replaced during the installation process.
When you select Yes,
you can also provide a directory for the backup files. Click Next.
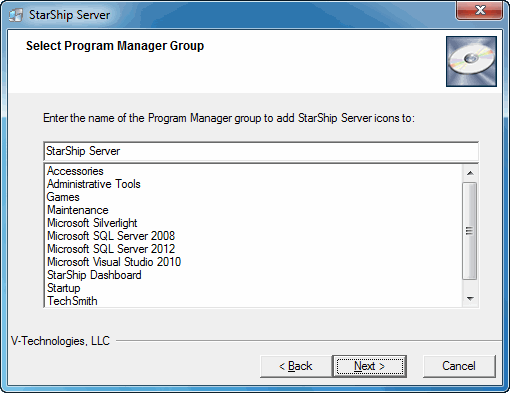
Select the Program Manager group where you would
like to add shortcut icons for StarShip Server. You may accept the
default setting of StarShip Server or type in a new group. Click Next.
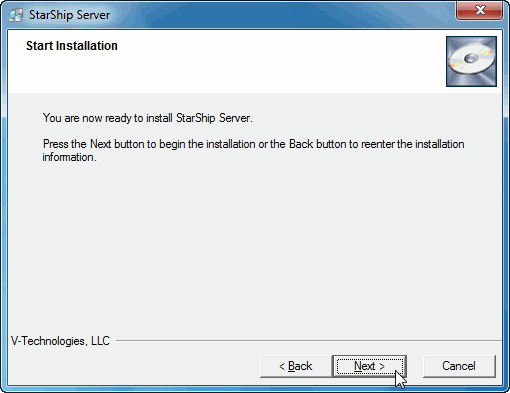
Click Next
to begin the installation.
If you ran the installation program from a CD,
enable the Check for updates on
the web check box. If you used a web installer, there is
no need to check for updates. You can also view the release notes
for this version of StarShip. Click Finish
to complete the installation.
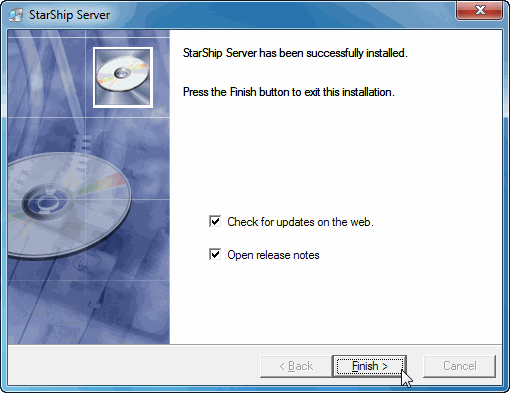
StarShip Server installation is now complete.
