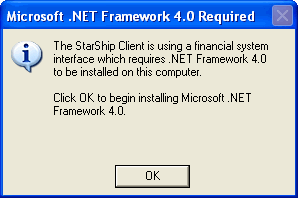
On the main installation dialog, click the Install
StarShip Client link.
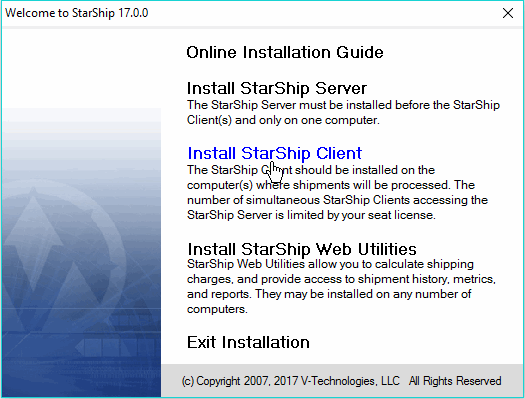
Accept the license agreement by selecting I
Agree.
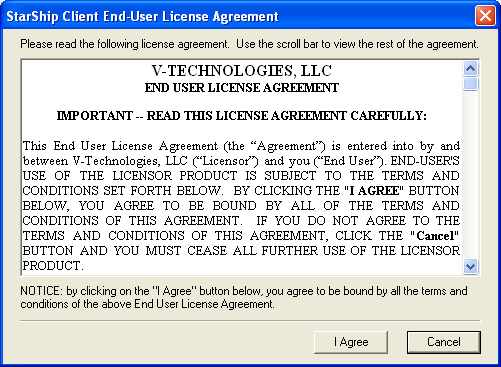
Be sure to close any programs you may have running
before clicking Next
to start the installation process.
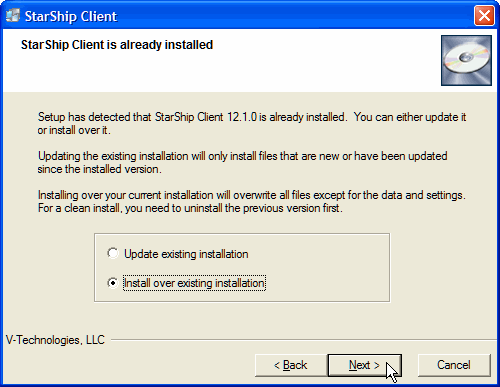
StarShip detects that you already have the Client
installed. Click Install over
existing installation. Then press Next.
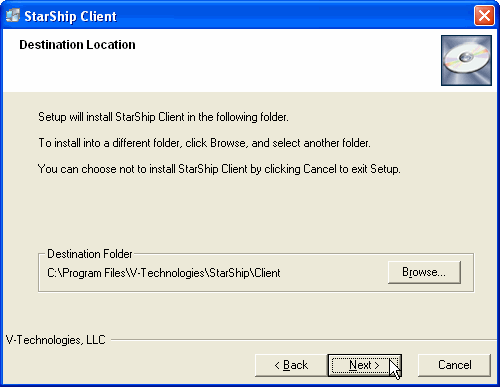
Select where to install the StarShip Client. You can
accept the default directory or select a different directory by clicking
Browse. Click Next.
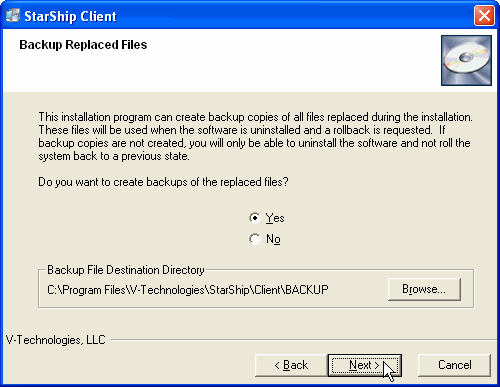
Choose if you would like to back up the replaced files.
You may press Browse
to change the default location of the files. Press Next.
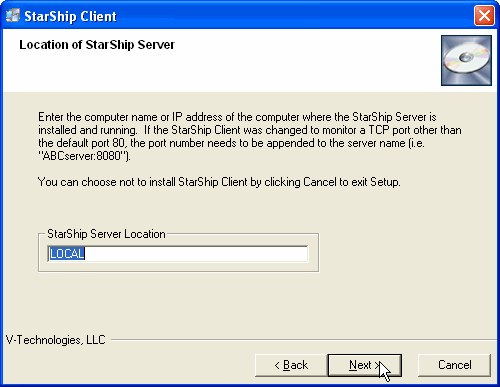
In the StarShip Server Location field, type in the
computer name or IP address of the computer where StarShip Server
is installed and running. "Local" indicates that the server
is running on the local machine; in this case, you do not need to
enter the computer name or IP address. Click Next.
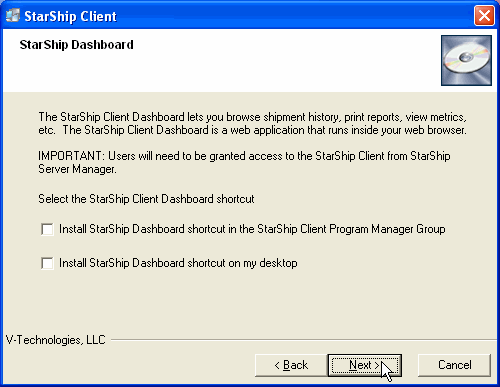
Select where you want to install the StarShip Client
Dashboard shortcut. Click Next.
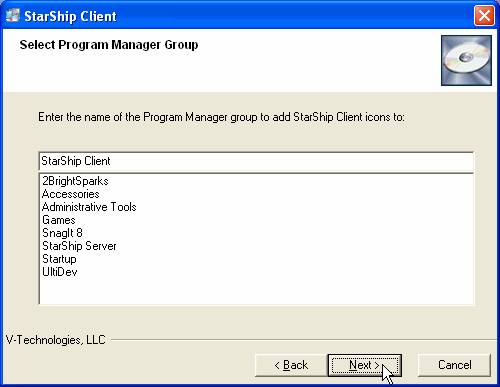
Select the Program Manager group where you would like
to add shortcut icons for the StarShip Client. You may accept the
default setting or type in a new group. Click Next.
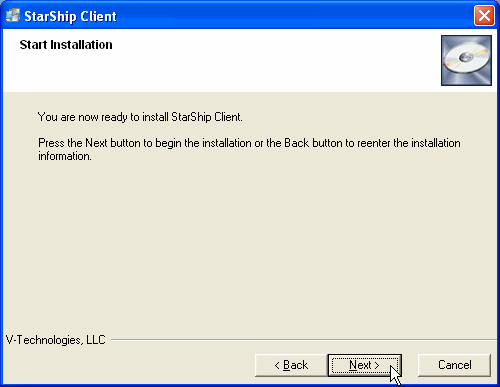
Click Next
to begin the installation.
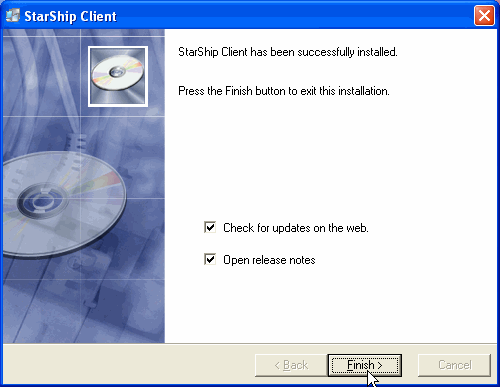
If you ran the installation program from a CD, enable
the Check for updates on the web
check box. If you used a web installer, there is no need to check
for updates. You can also read the release notes after installation
is done. Click Finish
to complete the installation.
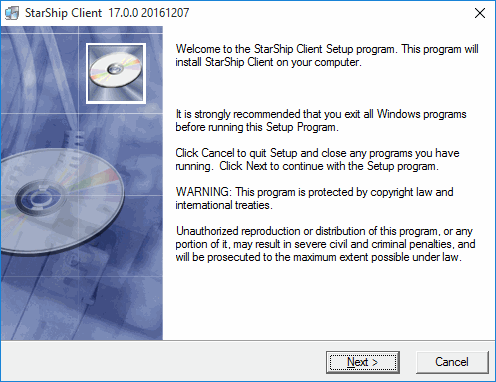
This dialog may display for certain registered source
interfaces. Click OK to install Microsoft .NET.
