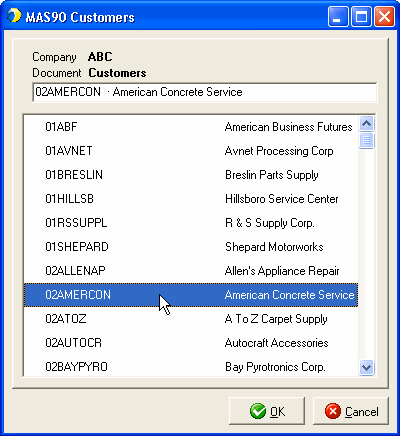
Select Customers from the Document drop-down list.
Type in the Customer ID or choose a Customer from the Customer list.
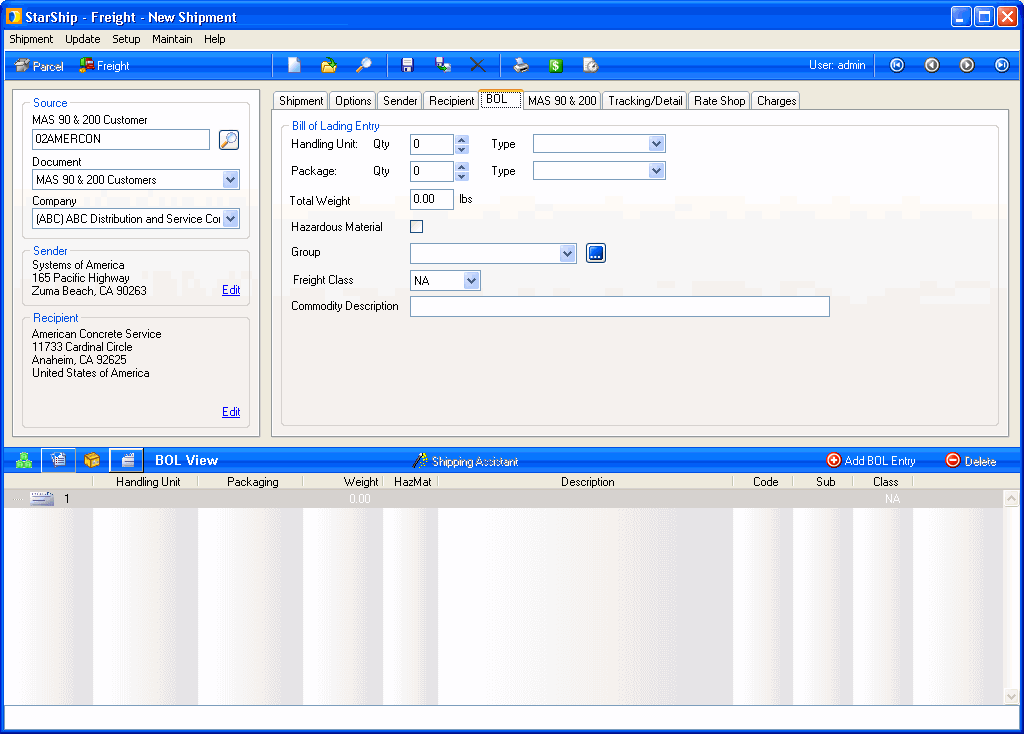
One BOL entry appears in the shipment tree view.
See example
Continue the shipment based on these options:
-
If you chose to manually enter the BOL in Freight Preferences Setup (Always or When shipment has no line items), you would now type the BOL information into the BOL tab.
-
If you would like to add line items, packages, or orders, switch to appropriate view and click the Add button in the lower right-hand portion of the screen.
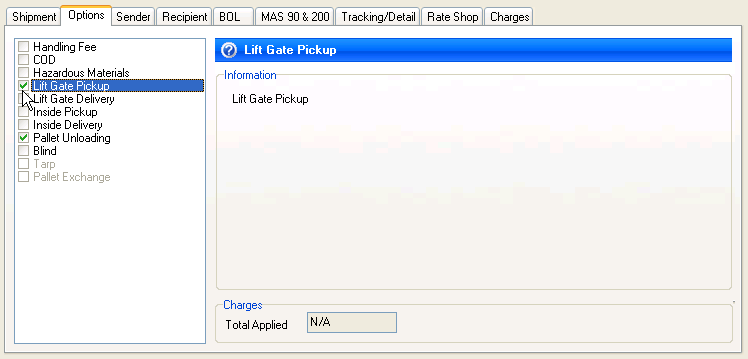
Enter any remaining shipment options.
See example
Rate the shipment to get a list of available carriers and current shipment pricing. To rate the shipment, you can click the ![]() button on the toolbar or press Ctrl + R.
button on the toolbar or press Ctrl + R.
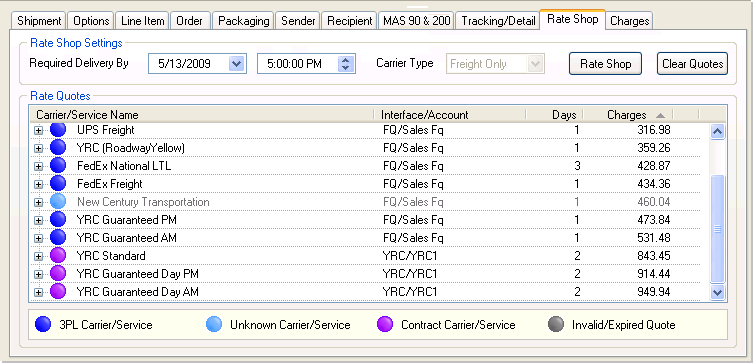
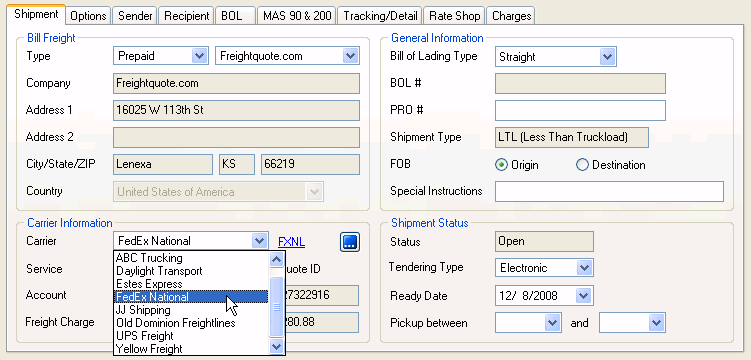
Select a carrier from the Shipment tab. Or, double-click the carrier on the Rate Shop tab.
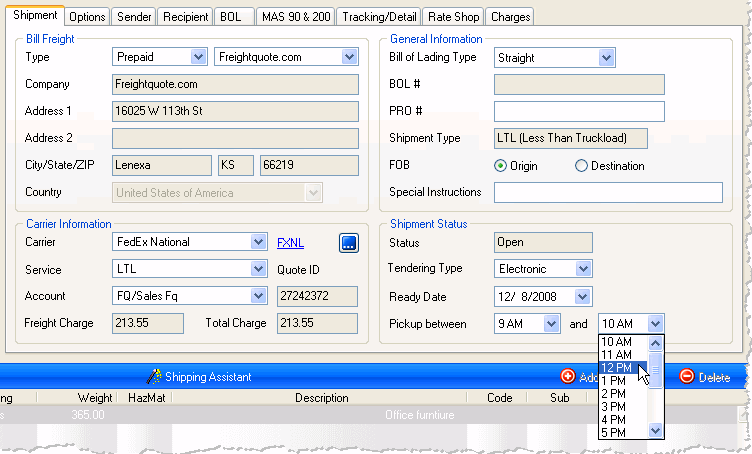
Enter the shipment's Ready Date and Time.
See example
Save the shipment. There are two options for saving shipments.
-
Save: This saves the shipment but does not update the source interface. The shipment is essentially saved as a draft so you may open it and make changes.
-
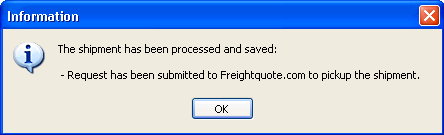
Ship/Process: This processes the shipment. If you selected a Freightquote.com or YRC carrier, the shipment is tendered to the carrier. If you set up the bill of lading and labels to print automatically, they are now generated.