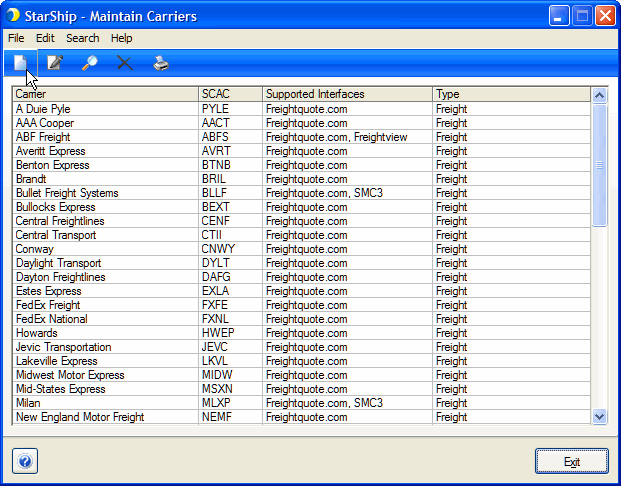
This section includes information about setting up generic carriers for shipping. This can be used for your local carriers or customer-preferred carriers for which no direct rating is required through StarShip.
Note : Currently, there is no functionality to import rate tables when using generic carriers.
Configure the Source Interface Ship Vias for those carriers
Optionally configure tracking number
Prepare and process the shipment
From the StarShip Ship screen menus, select Maintain > Carriers. Click New Carrier on the toolbar. You can also press Ctrl + N or select File > New.

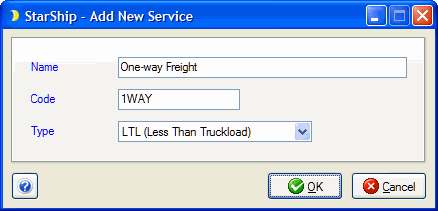
Enter the Carrier Name, SCAC code, and any other carrier information. Click the Add New Service button to add a service. See Maintain Carriers/Carrier Fields for field descriptions.
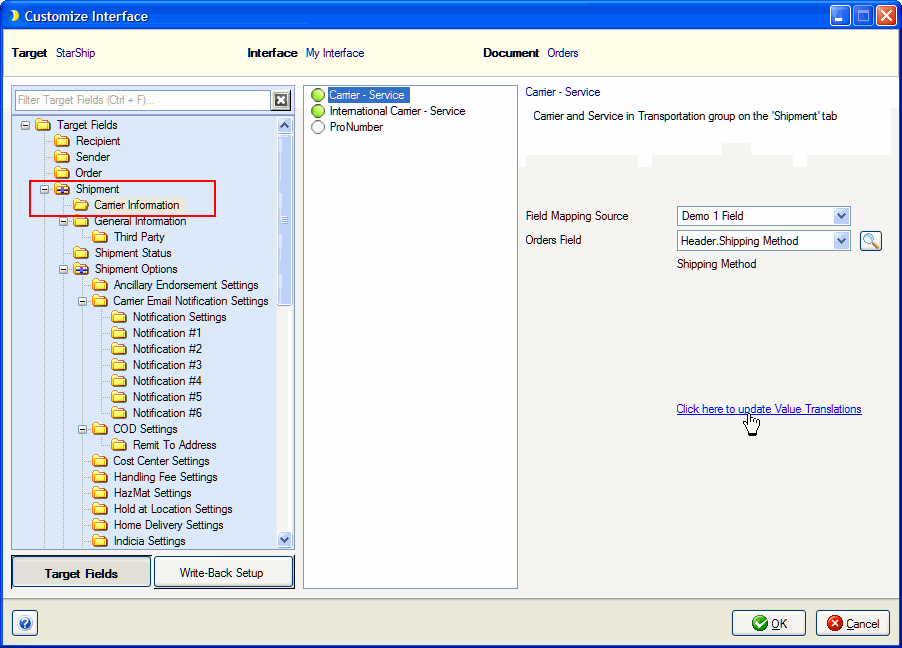
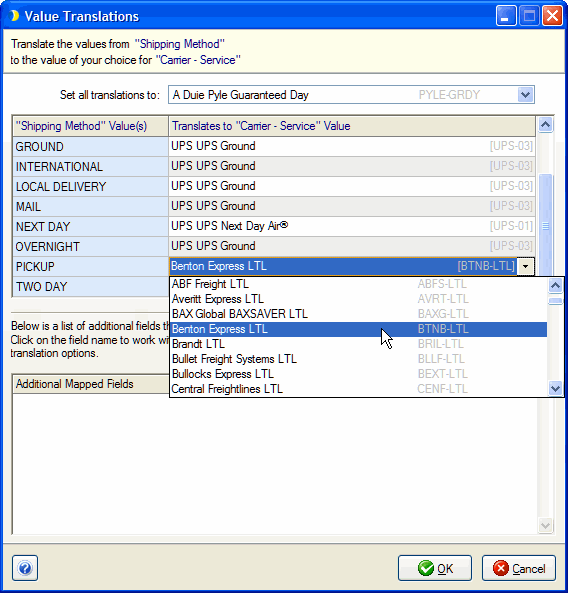
You can customize the Ship Via based on the carrier values set up in your source interface.
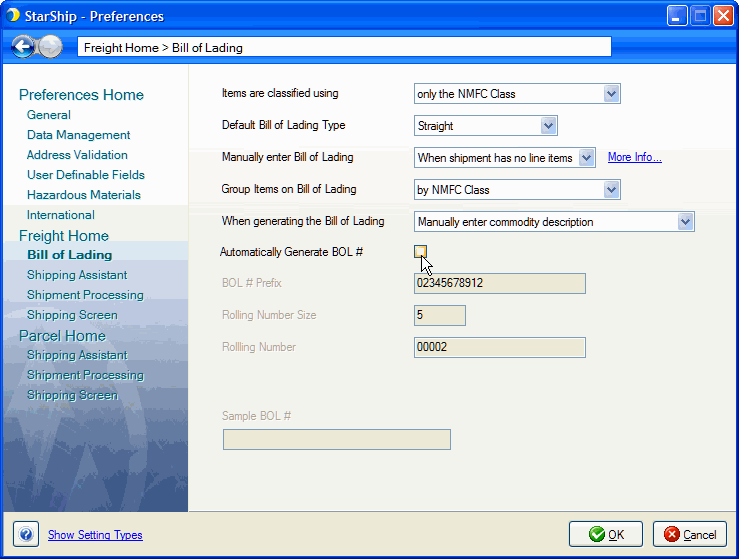
By default the StarShip auto-generated BOL number will be bar-coded on the shipping label and written back to the source interface as the tracking number for the shipment. When this check box is checked, StarShip generates the BOL# and displays it in the Shipment tab under General Information.
To define an alternative value from your Financial system as the BOL#, uncheck the "Automatically Generate BOL #" check box from Setup > Preferences > Freight Home > Bill of Lading. Disable StarShip BOL auto-generation : From the StarShip Setup menu, select Preferences.
Then, customize the BOL # : From the Setup menu, select Source Interface > "Your Interface." Click Customize Interface and select the document (Orders, etc.). Under Target Fields > Shipment > General Information, select BOL Number. Under Field Mapping Source, select the source interface field to use for the BOL Number.
If shipping outside of the Source Interface, you also have the option of typing your own tracking number into the BOL number field under the Shipment tab.
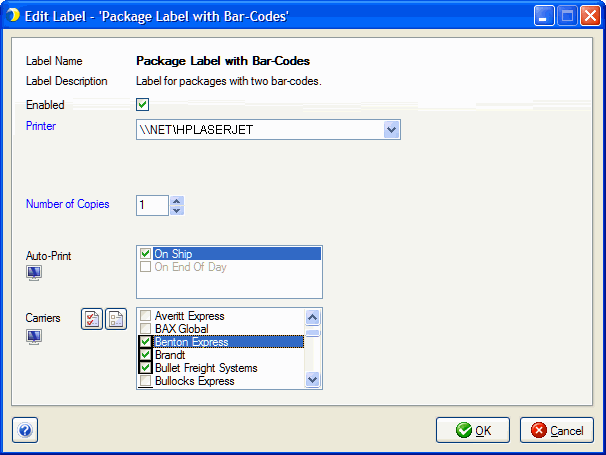
From the StarShip Setup menu, select Printing and then click Manage Labels. Select "Package Label with Bar-Code" and click Label Settings. Click "Enabled" and configure settings. See Manage Labels for field definitions.
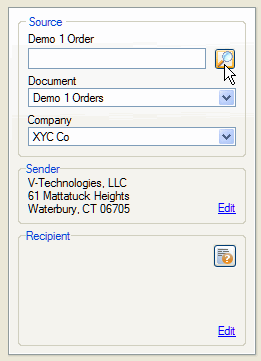
Select the order or other source interface document to ship against. You can browse for a document, type or scan in the document number.
Company : Use this drop-down list to select a company if you want to switch between companies in your source interface.
Document Type : Use this drop-down list to select the source interface document type you want to ship against. For example, orders.
Specific document : Type in the document number and press Enter; or, scan the document number, for example, the order number.
Browsing for a document : To browse for the source document, click the magnifying glass icon next to the Document field.
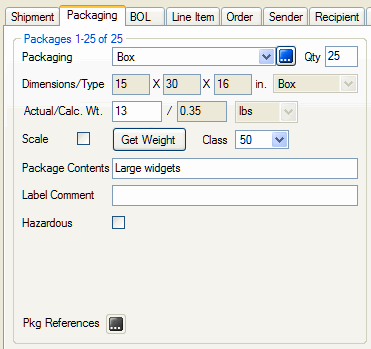
Packaging Tab : If your default packaging is enabled
Finally, process the shipment by clicking the Ship/Process button or by pressing the F5 key.
