Process Hazardous Shipments
Depending upon how you will be shipping, follow the correct procedure : Shipping with Line Items or Shipping without Line Items.
Shipping with Line Items
Once you set up hazardous materials profiles, you should associate profiles to items (that you add/import into the StarShip database). When you start shipping against these items, hazardous detail will automatically be populated for the line item.
-
Launch the StarShip client.
-
Import the source document on the Source pane. You can select a document by scanning the number or by typing it directly into the document field. You can also use the Browse button to view and select from the list of current orders. If you are not shipping against a document, add the line items you want to ship.
-
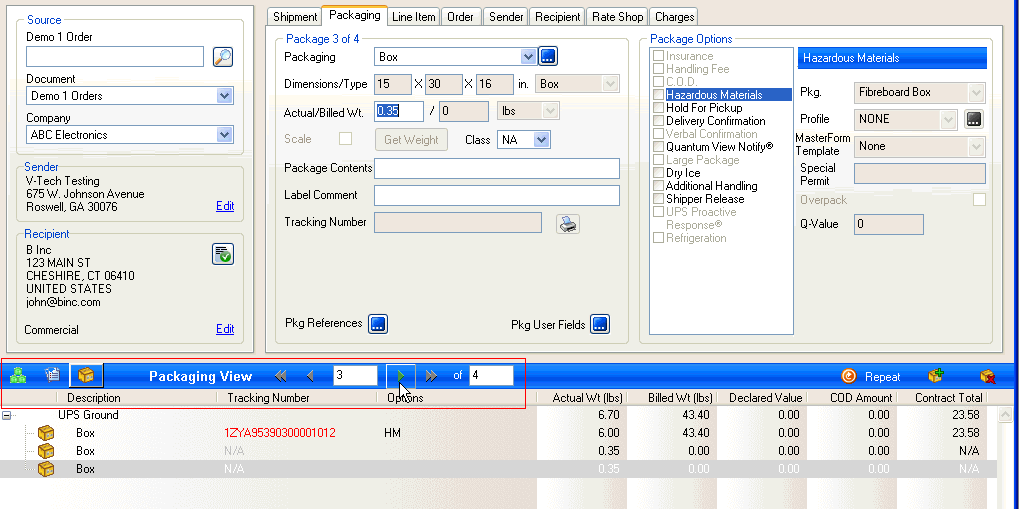
In the Packaging View, enter the weight of the first box or use an electronic scale to read the weight. Click Next to navigate to the next package and repeat the weighing process. If you have the Print on Next feature enabled in Parcel Preferences setup, shipping labels will print for each package as you click the Next button or press Enter. Note : Though the label prints, the shipment is not processed until you press Ship/Process (F5).
-
The Hazardous Materials details for the item are automatically populated. You can see this under the Package Options > Hazardous Materials and on the Line Item tab, under Haz. Materials.
See also : Profiles can also be assigned to line items on-the-fly.
-
Enter any other shipment detail that was not populated. The Carrier and Service on the Shipment tab should be set to UPS and a domestic service.
-
Rate the shipment with the currently selected carrier by clicking Rate from the File menu or by pressing Ctrl + Alt + R. To rate shop, click the Rate Shop button in the toolbar or press Ctrl + Alt + S. Select a carrier from the Rate Shop tab. For more information, see Shipping Process > Rating in the StarShip Help.
-
Ship/Process: Select Shipment > Ship/Process or select the Ship/Process button from the toolbar.
Note : If you want to print the UPS Approved Shipping Papers later, you can also save the shipment as a draft and process it later. To save a shipment without processing it, select Shipment > Save, press Ctrl + S, or click the Save button on the toolbar. You would then open the shipment (Shipment > Open) and Ship/Process when you are ready.
-
Once the shipment is processed, StarShip brings the Masterform interface into focus. Print the Shipping Papers. (See below)
Shipping without Line Items
This process is for users who want to ship packages without specifying line items.
-
Launch the StarShip client.
-
Import the source document on the Source pane. You can select a document by scanning the number or by typing it directly into the document field. You can also use the Browse button to view and select from the list of current orders. If you are not shipping against a document, add the packages you want to ship.
-
In the Packaging View, enter the weight of the first box or use an electronic scale to read the weight. Click Next to navigate to the next package and repeat the weighing process. If you have the Print on Next feature enabled in Parcel Preferences setup, shipping labels will print for each package as you click the Next button or press Enter. Note : Though the label prints, the shipment is not processed until you press Ship/Process (F5).
-
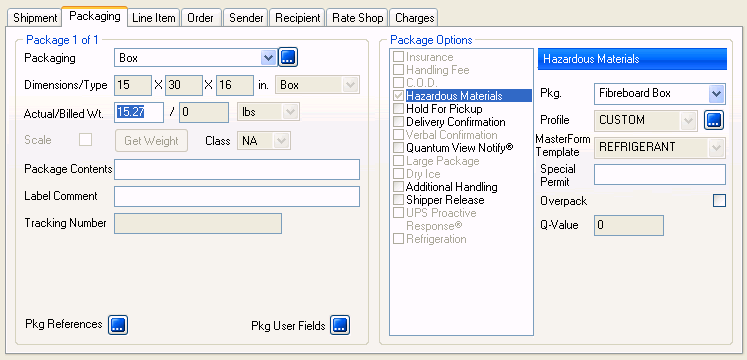
Under Package Options, check the Hazardous Materials check box for each package that contains hazardous materials.
-
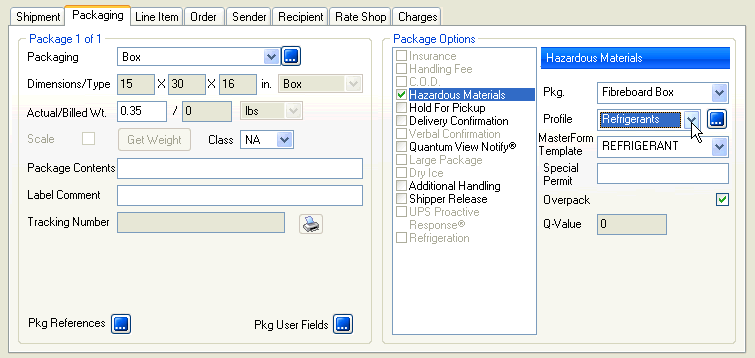
Assign the hazardous materials Profile. (If you haven't created profiles, you can select the Masterform template here.)
See also : Profiles can also be assigned to line items on-the-fly.
-
Enter any other shipment detail that was not populated. The Carrier and Service on the Shipment tab should be set to UPS and a domestic service.
-
Rate the shipment by clicking Rate from the File menu or by pressing Ctrl + Alt + R. To rate shop, click the Rate Shop button in the toolbar or press Ctrl + Alt + S. Select a carrier from the Rate Shop tab. For more information, see Shipping Process > Rating in the StarShip Help.
-
Ship/Process: Select Shipment > Ship/Process or select the Ship/Process button from the toolbar.
Note : If you want to print the UPS Approved Shipping Papers later, you can also save the shipment as a draft and process it later. To save a shipment without processing it, select Shipment > Save, press Ctrl + S, or click the Save button on the toolbar. You would then open the shipment (Shipment > Open) and Ship/Process when you are ready.
-
Once the shipment is processed, StarShip brings the Masterform interface into focus. Print the Shipping Papers. (See below)
Print the Shipping Papers
After you have processed the shipment, StarShip will automatically open MasterForm. Click the “UPS® Approved Shipping Paper” button to print the shipping papers.
The record for the newly processed shipment uses a unique 14-digit Package Reference. This is comprised of the 4th through 17th digits of the package tracking number.
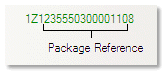
Here, the Package Reference is 23555030000110.
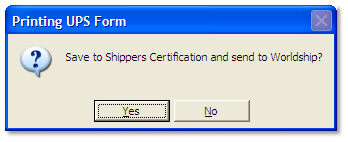
After printing the Shipping Papers, you receive the following prompt. Click Yes.
Next : Post Masterform Shipments
For more information about processing shipments, see Shipping Process in the StarShip Help.