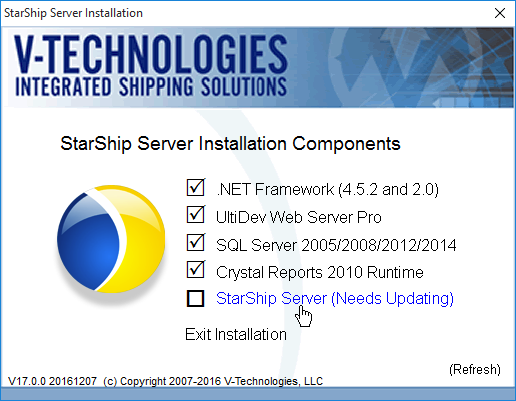
From the Components menu, select StarShip
Server.
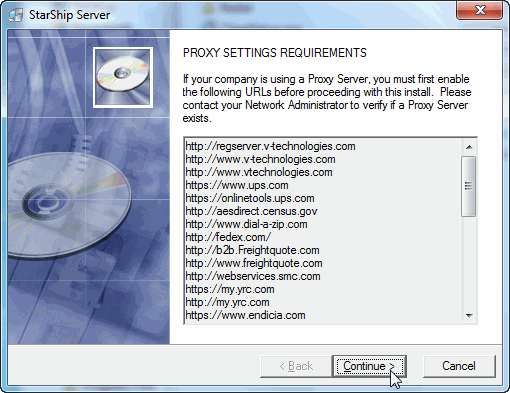
The following window displays for informational
purposes only. If you are using a Proxy Server, you must enable the
URLs shown in the list before you continue with the current installation.
If you are not sure whether or not your company uses a Proxy Server,
ask your Network Administrator before proceeding. Click Continue.
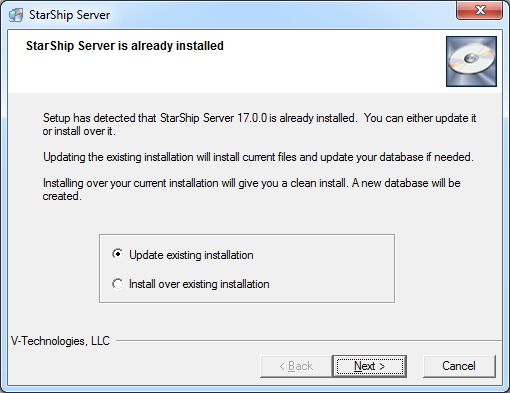
StarShip detects that you already have the Server
installed. Click Update existing
installation to reinstall current files and update the
database. Then press Next.
Click Next
to confirm the Registration Information.
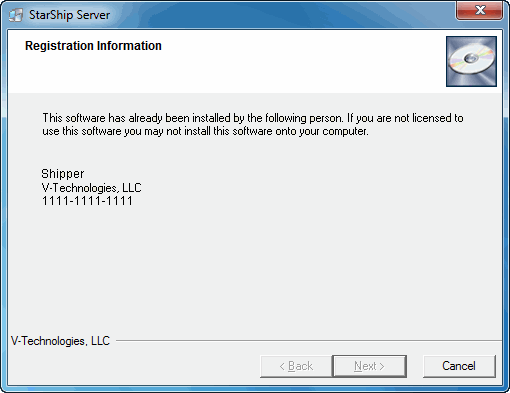
StarShip validates the registration information.

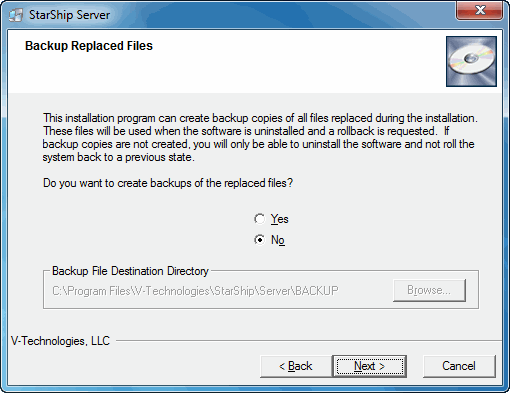
Choose if you would like to back up the replaced
files. You may click Browse
to change the default location of the files. Press Next.
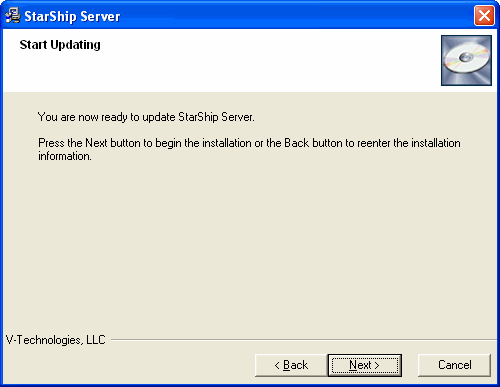
Click Next
to start the update.
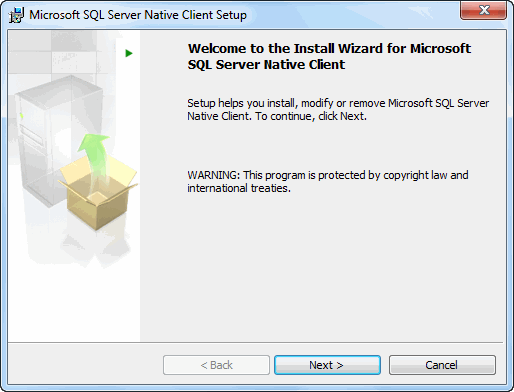
If StarShip Server is
already installed but the SQL Native Client is not, StarShip will
install it. Click Next
to begin the installation.
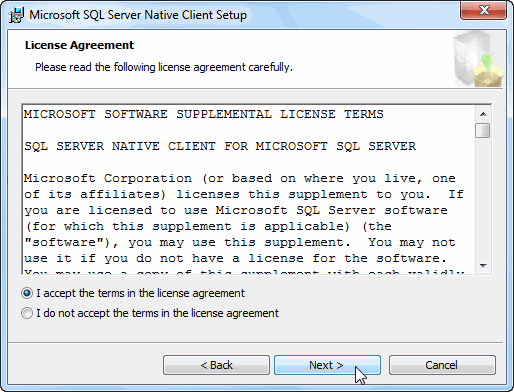
Accept the License Agreement and click Next to continue.
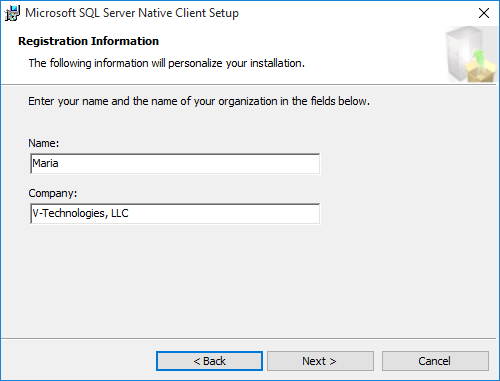
Enter your name and your company name. Click
Next.
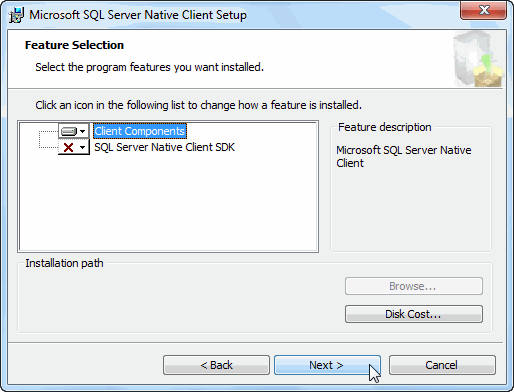
Click Next
to accept the default settings.
Click Install.
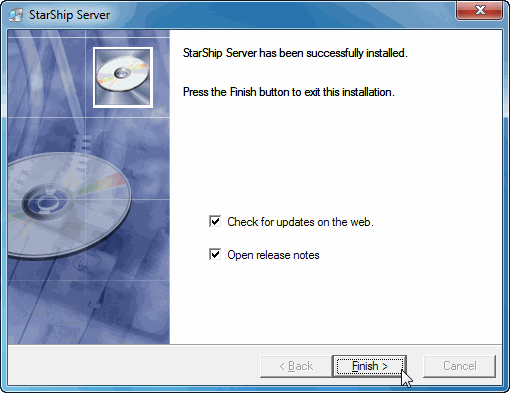
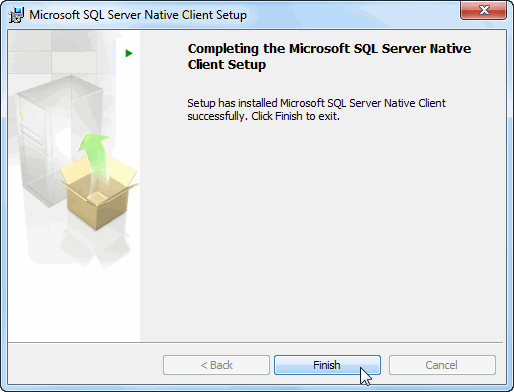
Click Finish when the installation is complete.
If you ran the installation program from a CD,
enable the Check for updates on
the web check box. If you used a web installer, there is
no need to check for updates. You can also view the release notes
for this version of StarShip. Click Finish
to complete the installation.
