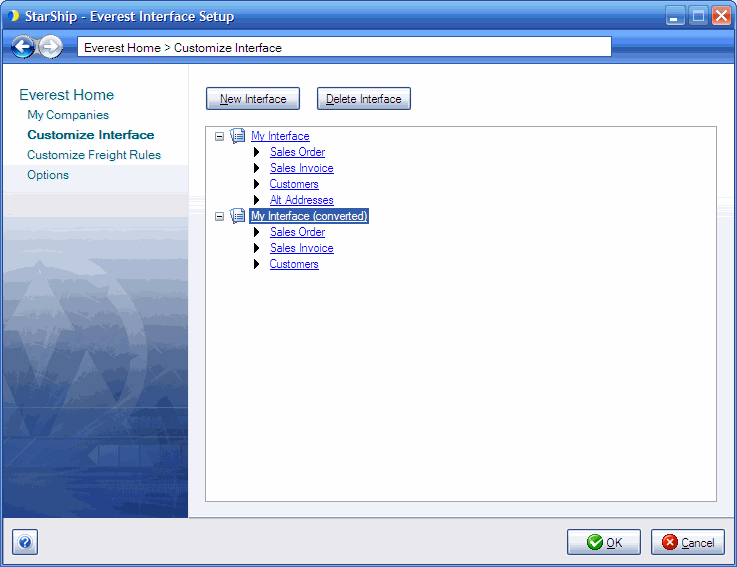
StarShip allows you to customize the way data is translated between Everest source documents (Sales Orders, Sales Invoices, Customers) and the StarShip shipment entry screen. Customize Interface controls how the data in the source document is translated. It defines what information populates the shipment fields, and how the data is interpreted into accepted shipment values. This set of field maps and value translations is saved as an "Interface."
If you choose to convert your financial system interface from StarShip v9 to the current version of StarShip, your customized field mapping will be preserved. If you want to take advantage of the new default maps for line item detail, you can choose not to convert your financial system interface using the data conversion process; in this case, you can also re-map your previous customized maps. Or, you can convert your customized mappings with the data conversion process and then revert specific fields to StarShip's default mappings in Customize Interface while keeping your previous customized mappings (See Quickly Unmap Fields for more information).
This is an example of how a converted interface will appear when you view it in Customize Interface.

StarShip comes with a predefined interface called "My Interface" that installs default field mappings for Everest source documents, which you can customize. You can also create multiple interfaces for use with different companies if you plan to map to fields (such as user-defined fields or shipping methods) that vary between companies. You can modify this map as described in the sections of StarShip Help.
The interface can be customized as follows:
Map any StarShip shipment field to a fixed value or to an available Everest field. A pre-defined list of Everest fields is accessible for Sales Transactions and Customers.
Map custom fields to the StarShip shipment. StarShip can access custom fields from the Sales Order/invoice, including the custom Line and Item fields, as well as custom Customer fields. In Everest, these are located on the Custom Fields tab.
Customize value translations for field mappings, such as Delivery Method and Payment Terms.
Set up write-back to Everest Sales Orders and Invoices.
To open Everest financial system setup, select Setup > Financial System Interface > Everest. Select Customize Interface from the menu options.
To view or change field mappings and how they are translated to shipment
values, select a source document under My Interface.

On the Customize Interface dialog, click the Target Fields button in
the bottom left corner. To view, change, or create a field map, select
a group...
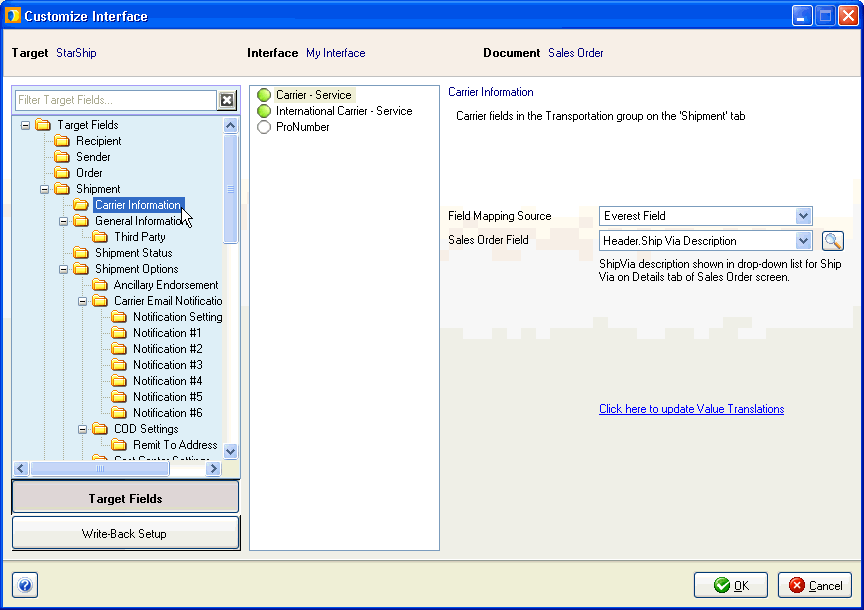
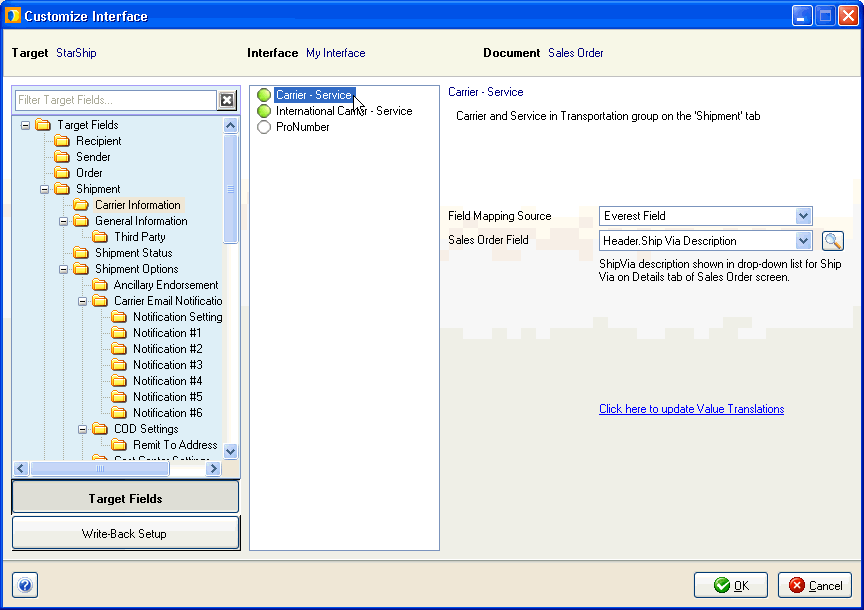
...and then select a field within the group. Information about the field
appears to the right, such as it's location.
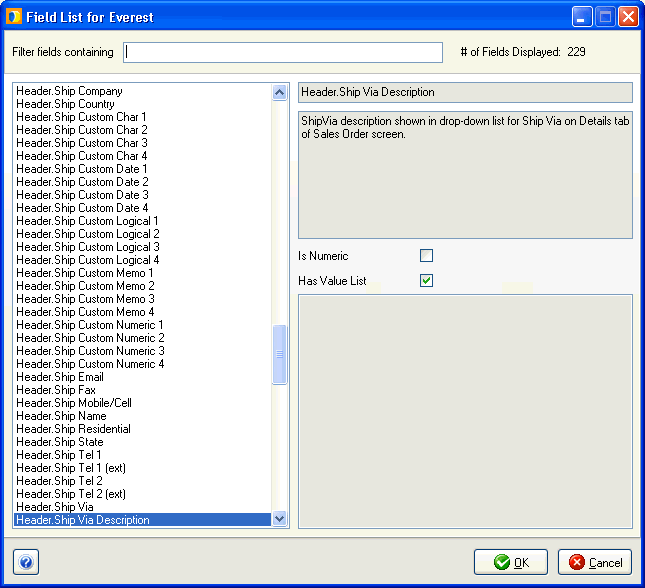
For a complete list of mappable Everest fields for the current document
type, click the Look Up Fields button, indicated by a magnifying glass
to the right of the Shipments or Customer Field. You can also see if the
field has a value list and the actual values.
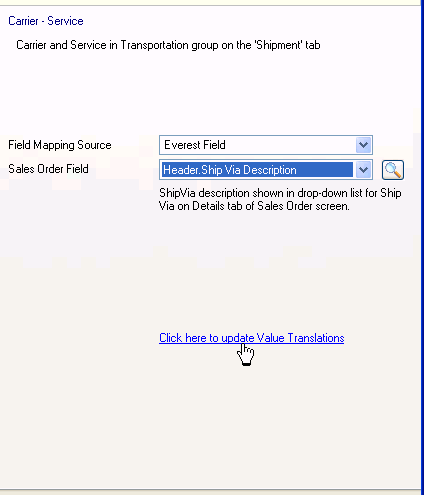
If value translations are available for the field, click the Click here
to update Value Translations link, located below the Sales Trx or Customer
Field.
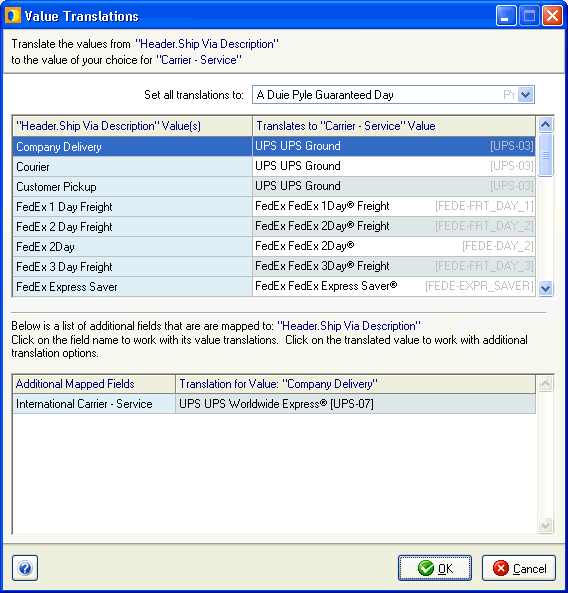
In this dialog, you can translate the values from the current field
to values in StarShip by making selections from the drop-down lists.
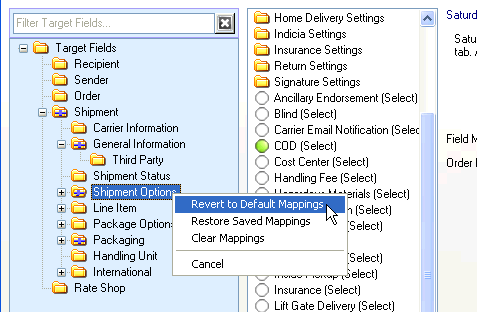
Right-click on any field in the center pane, or folder in the left pane and select Revert to Default Mappings.
General information about how to add interfaces, and perform field mapping and value translations, is available by clicking the Help button located in the bottom left corner of any Customize Interface screen. You can also view StarShip Help online.