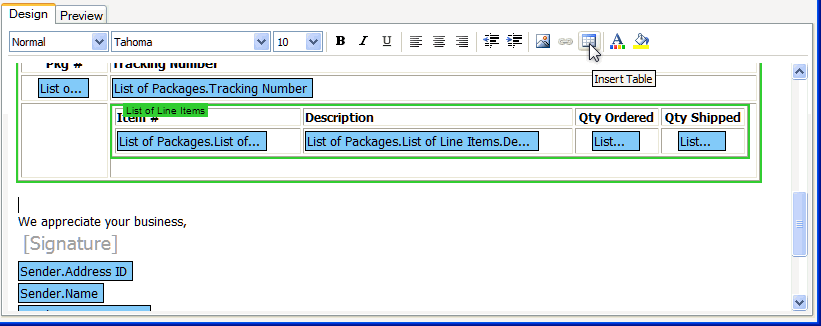
Add custom tables to your email template using the Table tool. To insert a table, click the Insert Table tool on the toolbar.

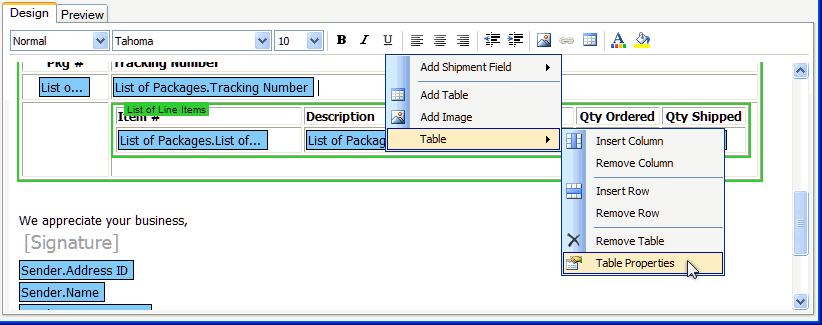
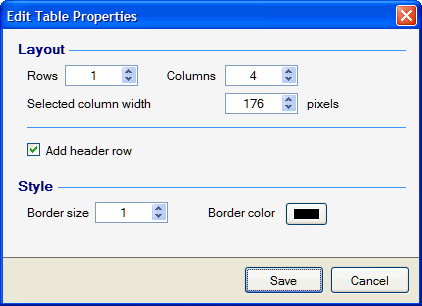
You can control the table's appearance using Table Properties, available from the Table right-click menu.

From this dialog, you can configure rows and columns, and the border appearance and cell layout.

You can also manually adjust columns and rows.

From the right-click Table menu, you can also insert and delete rows and columns, or delete the table.
In addition to adding text directly to the table, you can also add shipment fields, dynamic blocks, tables, links, and images.