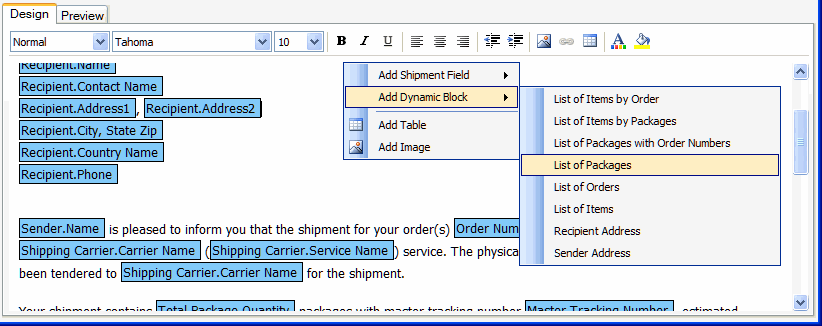
StarShip eNotify comes with predefined blocks of fields that allow you to insert a list of variable shipment data into the body of the email. You can also create your own tables using the Tables function.
Dynamic Block Table Formatting
Right-click in the template and click the Add Dynamic Block menu item. Then, make your selection from the secondary menu of dynamic blocks.

List of Items by Order
This is an order level predefined list that arranges items by order and includes Item Number, Item Description, Quantity Ordered, and Quantity Shipped.
List of Items by Packages
This is a package level predefined list that arranges items by package and includes the Package Sequence, Package Tracking Number, Item Number, and Item Description.
List of Packages with Order Numbers
This is a package level predefined list that arranges packages with their order number and includes Package Sequence, Package Tracking Number, Package Contents Description, and Package Order Numbers.
List of Packages
The predefined List of Packages table contains the Sequence, Contents Description, Total Weight (UOM), and Tracking Number shipment fields. The Sequence will represent the package's location or sequence number in the shipment
List of Orders
The predefined List of Orders table contains the Order Number, Total Order Quantity, and Total Ship Quantity shipment fields.
List of Items
The predefined List of Items table contains the Item Number, Description, and Quantity Shipped shipment fields.
Recipient Address
This predefined block contains the Recipient address and contact fields : Recipient Address ID, Recipient Name and Contact Name, all of the address fields, and the Recipient Phone Number.
Sender Address
This predefined block contains the Sender address and contact fields : Sender Address ID, Sender Name and Contact Name, all of the address fields, and the Sender Phone Number.
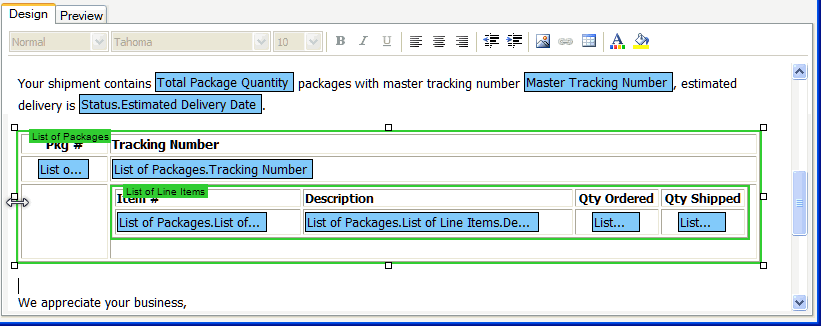
The "List"dynamic blocks are added as tables or nested tables. Once inserted, the dynamic block components can be modified by clicking on them. You can create links, and edit or add dynamic fields.
You can edit the fields within the table and the table itself.
Edit fields within the table
Click on the field to select it. Right-click and select Edit Field to change the field value or format.
Change the column width
Click inside a column. Where the column width appears, rest the cursor on right side of the column boundary you want to move until it becomes a resize cursor. Then drag the boundary until the column is the width you want.
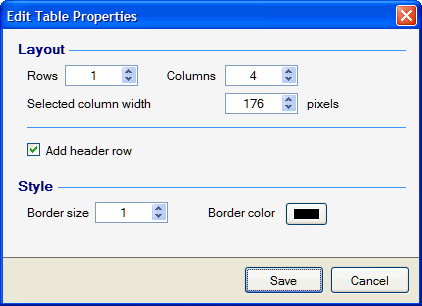
You can also change the column width by right-clicking and selecting Table Properties from the menu.

Change the table size
Click on the table border. Point to a sizing handle, then click and drag the handle to make the table larger or smaller. A sizing handle is the cluster of dots that appears at the corners and sides of the table.
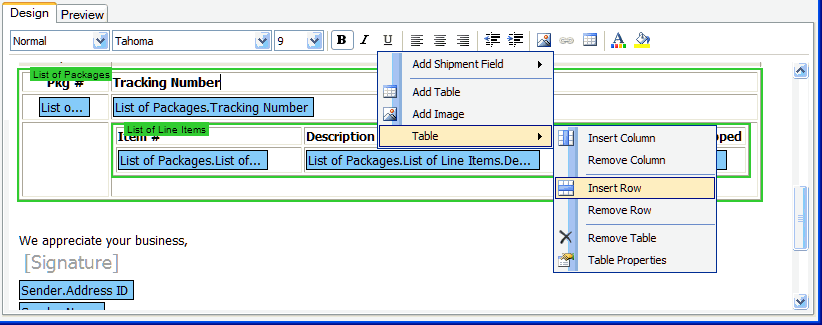
Insert/Delete Row/Column
Right-click inside the table where you want to add or delete a row or column, then make your selection from the Table menu.
Create a link
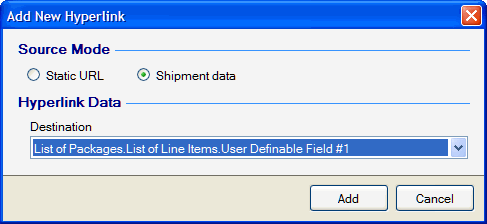
You can add a link to a static URL or to shipment data. Select the field that you want to link and right-click on it. Then, select Create Link from the menu.
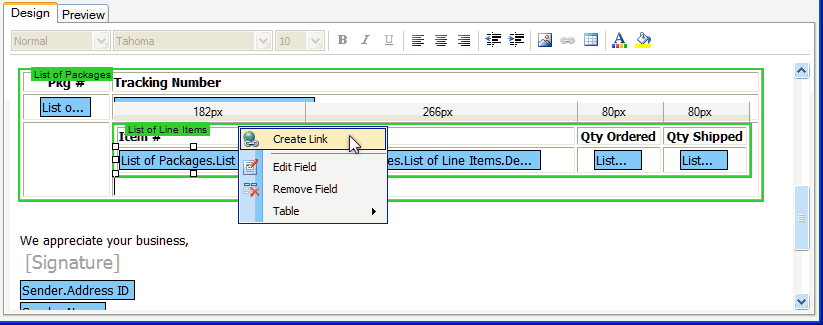
In the Add New Hyperlink dialog, configure the link and click Add. For more information about links, see Links.
Add an image
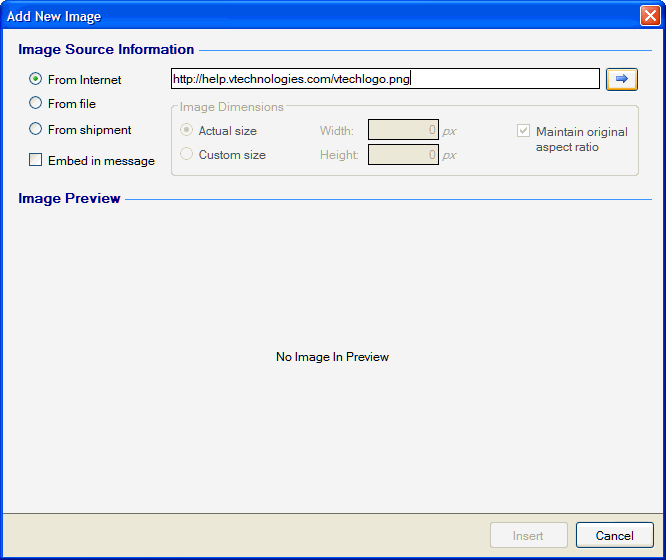
To add an image to a table, right-click inside the table where you want the image and select Add Image. You can add an image from the Internet, a file or from the shipment.
For more information, see Images.
Change Table Properties
Right-click in the dynamic block and select Table > Table Properties.
The "Add header row" check box will add a heading row to the table. You can also configure rows and columns and the style of the border.
