Shipping with Masterform Online
When processing shipments with Masterform Online, you must enter the package and item information into Masterform Online (DGIS) directly. This is a manual process, but you can set up shipment and package templates to make it easier. When entering the package, Masterform assigns a Package Reference number. This is used in StarShip to determine which package from Masterform is associated with each package in StarShip. This can be overwritten with a different number to uniquely identify the box.
In order to ship, you should first configure Masterform Online. Step-by-step instructions are provided at the resources listed below in Related Links. You also need to configure StarShip by defining the directory from which StarShip will import the Masterform file. Once setup is complete, you can create shipments, print shipping papers and export shipments in Masterform Online, and then process them with StarShip.
Notes :
- For a multi-package UPS or FedEx shipment, each package will have to be entered as a separate shipment in Masterform.
- Shippers who need to print the UPS Shipper's Certification multiple times in one day only need to provide a complete list of the Hazardous Materials packages for the UPS driver, whether it is one manifest or many.
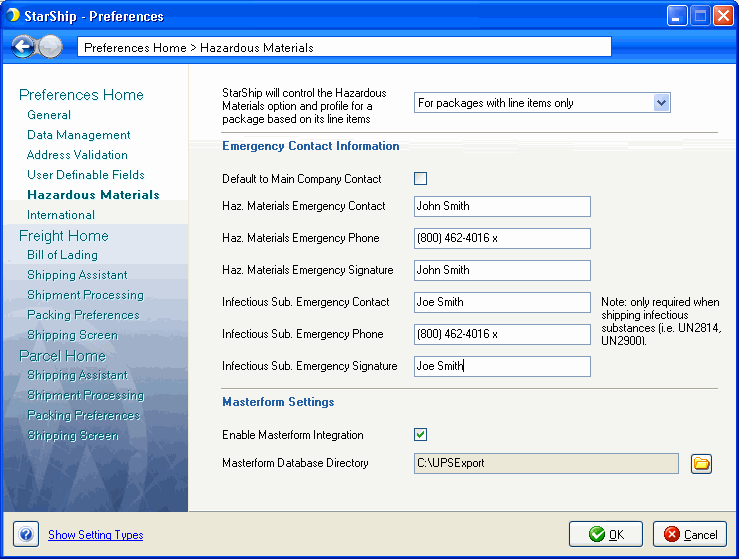
- The Masterform database directory can be set in Hazardous Materials Preferences setup, under Masterform Settings.
Related Links
The following links provide online training for Masterform Online :
Masterform Setup
Beginning a shipment
Selecting a Material Tutorial
Drafts and Templates
Start the shipment in Masterform Online
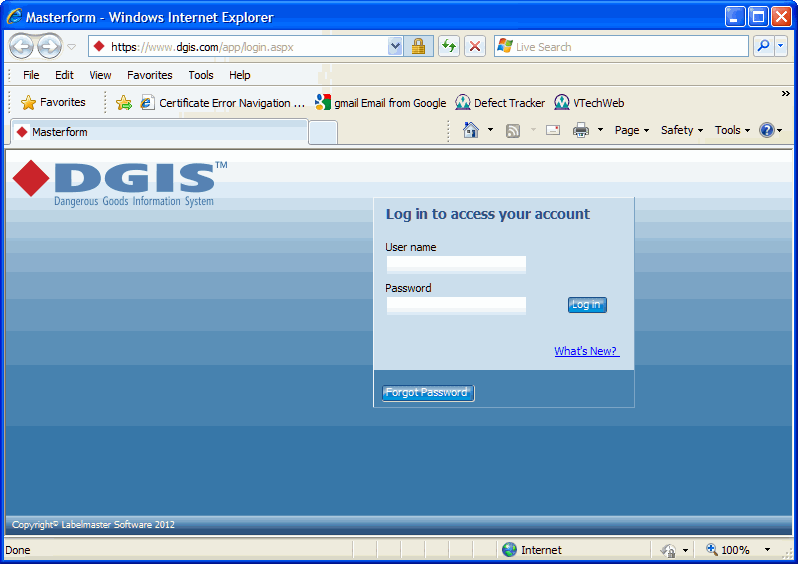
- Log in to Masterform Online (DGIS).
- Select the Shipping Papers tab.
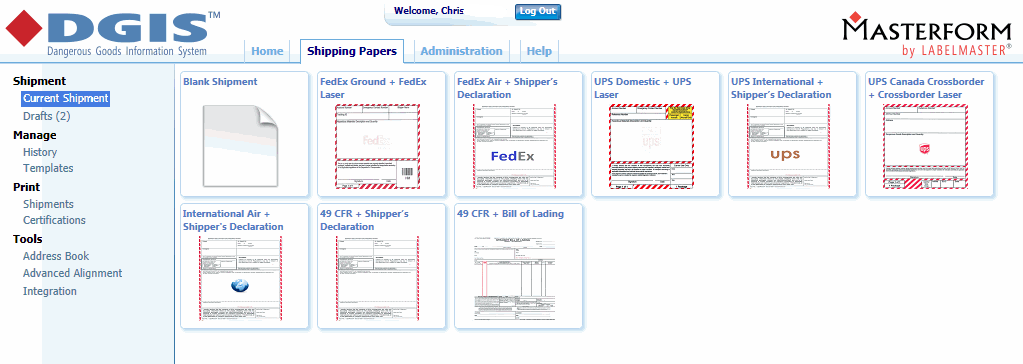
- Select the form type you want to ship. In this example, we'll use "UPS Domestic + UPS Laser".
- On the next screen, select Ground for the Transport Mode and enter the Shipper and Consignee. You can use the Lookup tool to choose from existing addresses.

- Enter the Account Number and Emergency Contact Phone.
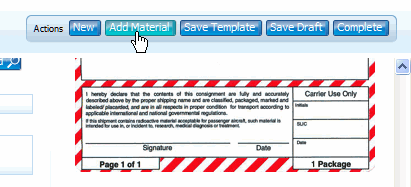
- From the Actions menu, click Add Material.
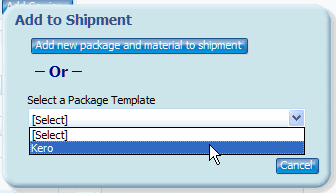
- You can open the template or add a new material. You can look up by the ID number or by the technical name. Click the link in the ID number to select it.
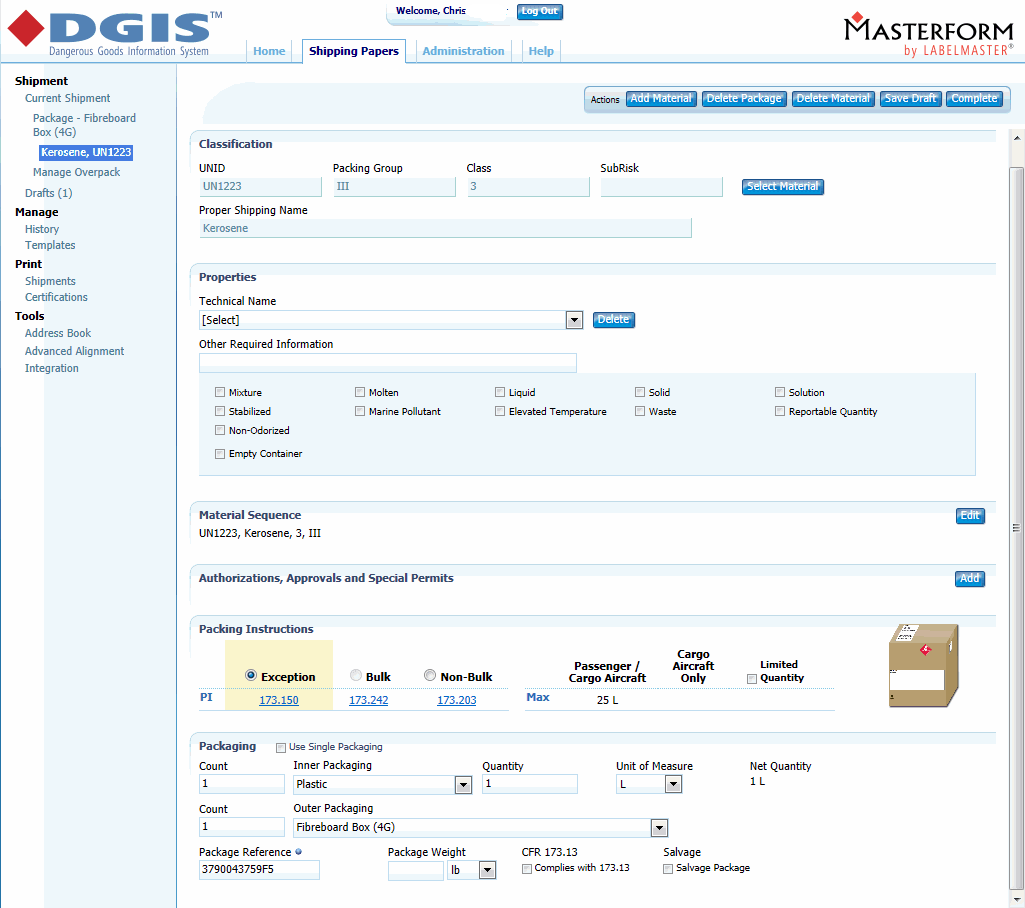
- On the next screen, enter the Packing instructions, Inner and outer packaging info, weight etc. Note the Package Reference number; it can also be replaced with a different number that may be more useful, as long as it does not duplicate within the same batch of shipments. Remember that this is used to uniquely identify the package in StarShip.
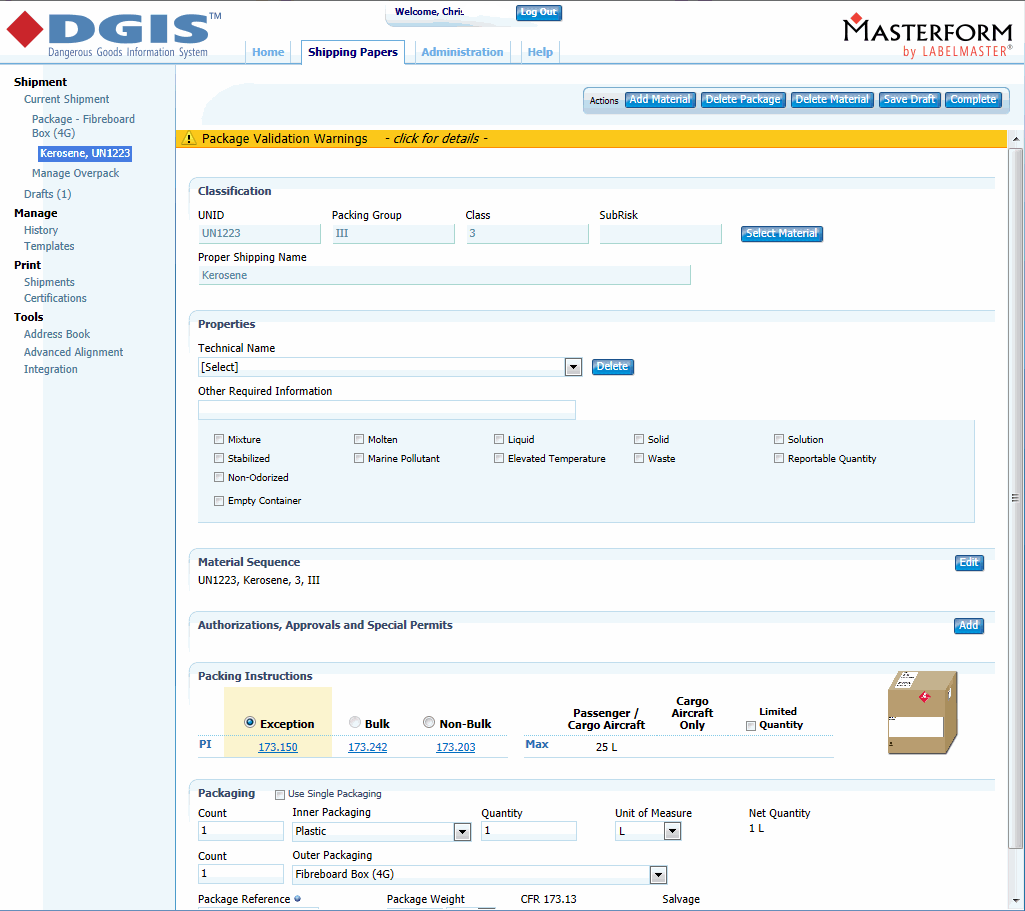
- Click complete on the item when you're done. You will receive validation warnings if something is missing or out of range.
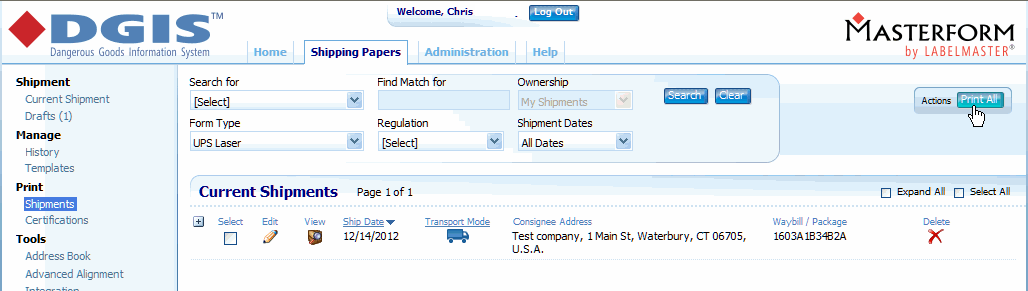
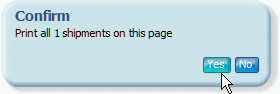
- When done entering items, click complete on the shipment. Click the Print All button, or check the one you want to print and click the Print Selected button.
- Click Yes on the confirmation dialog.
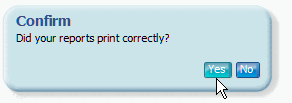
- The shipment form will display in pdf format, which you can print or save to print it later. Click Yes on the next prompt if it printed correctly.
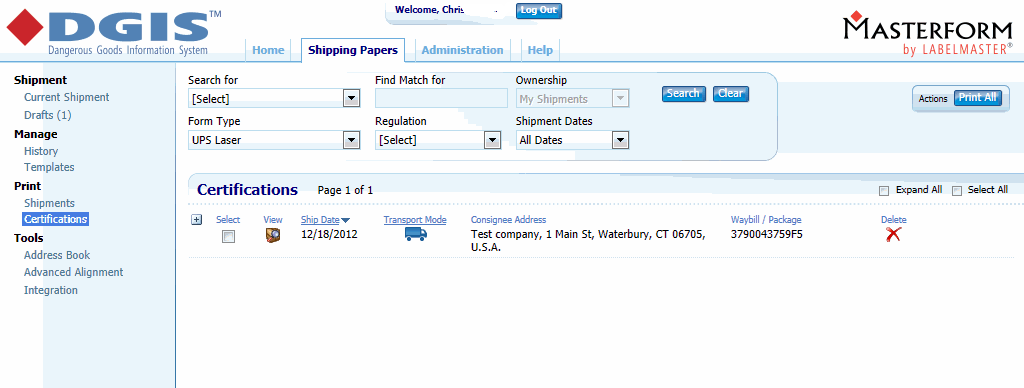
- Repeat the steps above to enter all the hazardous materials shipments for the day. Once all the shipments for the day are completed, click the Certifications link under the Print heading. You will now print the UPS Certification.

- Click Print All to print the certification(s) for today's shipments. The UPS Shipper's Certification report must be printed and given to the UPS driver when the packages are picked up.
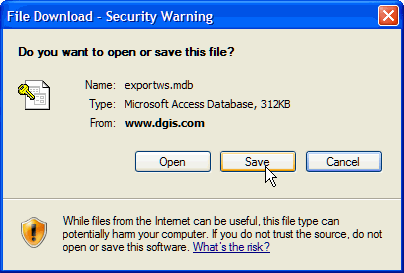
- Then, select Integration from the Tools menu and click Export All or Export selected button. This creates the exportws.mdb file. Save this file to a location that can be accessed by all the StarShip computers used to ship Hazardous Materials packages.
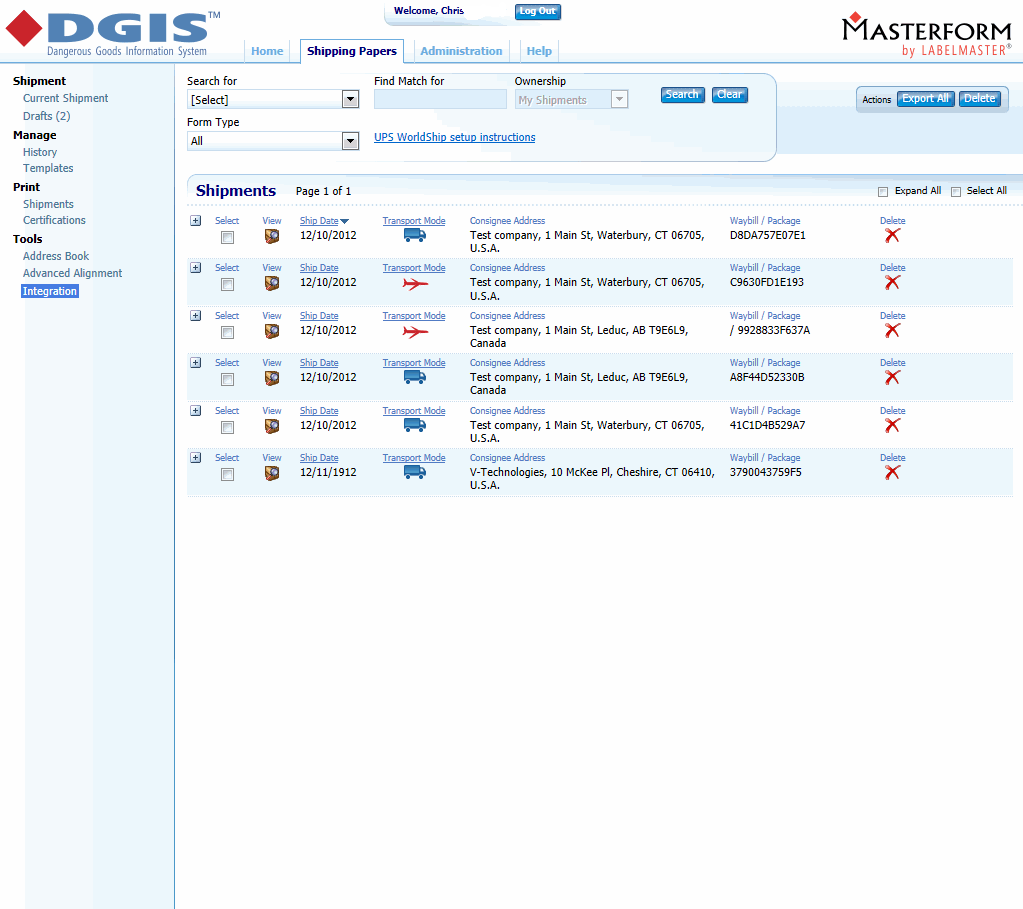
You will want to save this file to a safe location as you cannot re-export it once it has been exported. Click Yes on the confirmation dialogs.
Complete the shipment in StarShip
- Once exported successfully, you can select the Masterform Database Directory in Setup > Preferences > Hazardous Materials (or make sure that it is pointing to the same location where you saved the export file).
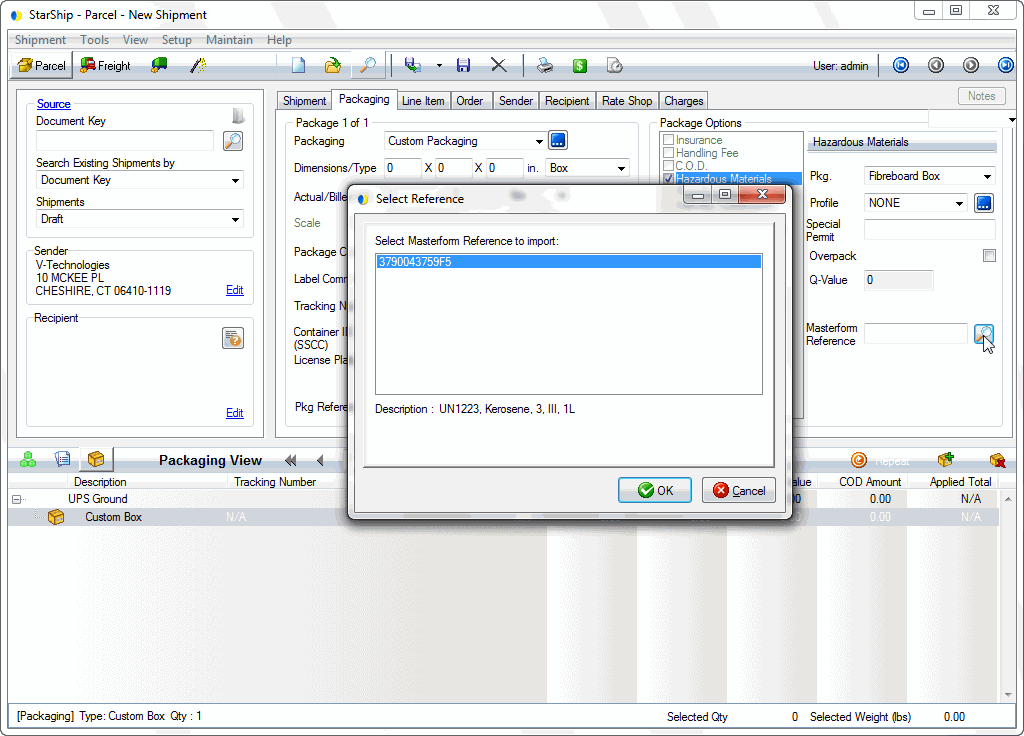
- When you process the shipment in StarShip, the hazardous materials information is read from the exportws.mdb file in the folder specified above. You can enter or browse for the reference number for the shipment. Click the lookup button next to the Masterform Reference box to bring up a list of the references from the ExportWS.mdb file. Clicking a reference number will show the hazardous materials information in the Description section of the screen.
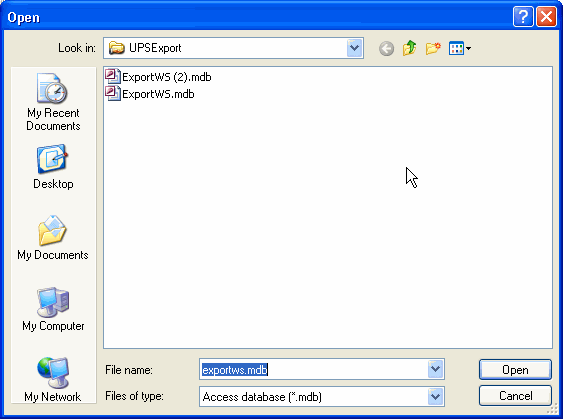
- If there is only one .mdb file in the destination folder, StarShip will automatically use it; if there are multiple, a dialog displays that allows you to select the "active" .mdb file.
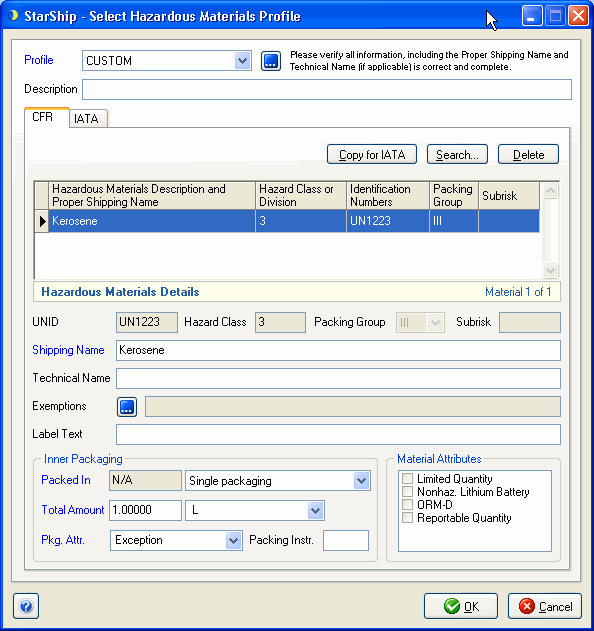
- Once the reference is selected, you can check the hazardous materials info by clicking the [...] button next to the Profile drop-down.

- Once these steps are complete, you can Ship/Process the shipment as you normally would.