Install the
StarShip Link
We recommend that you read through these instructions before performing
the installation. The StarShip Link installation must be run as follows
:
Sage 100 Standard Edition (formerly
MAS 90) : Run the installation only once on the Sage 100 Server where
the Sage 100 data resides.
Sage 100 Advanced Edition (formerly
MAS 200) : Run the installation only once on the Sage 100 Application
Server.
Installation Notes
- All users must exit out of Sage 100 prior to installing
StarShip Link.
- If you are installing to a Sage 100 Advanced system,
be sure that the Application Server Service is shut down before you
run the installation.
- If installing an upgrade of StarShip Link 2.0 from
Sage version 4.50, the following steps should be run after
the Sage 100 system has been upgraded to version 5.00 and the data
conversion process is complete.
- Exit the Sage 100 Desktop application on ALL machines.
Back up Sage files
Before performing the installation, you should back up any Sage 100
ERP files that will be affected by the installer. Recovering backed up
files is a manual process.
These Sage directories should be backed up :
- CI
- Links
- SO
- SY
- MAS_SYSTEM
Install the StarShip Link
- Double-click the Setup.exe
program located in the StarShip Link 2.1 installation folder. Then,
click Next.
- Enter the path to the Sage system (C:\Sage\Sage
100 Standard\MAS90), or use Browse to select it. Click Next.
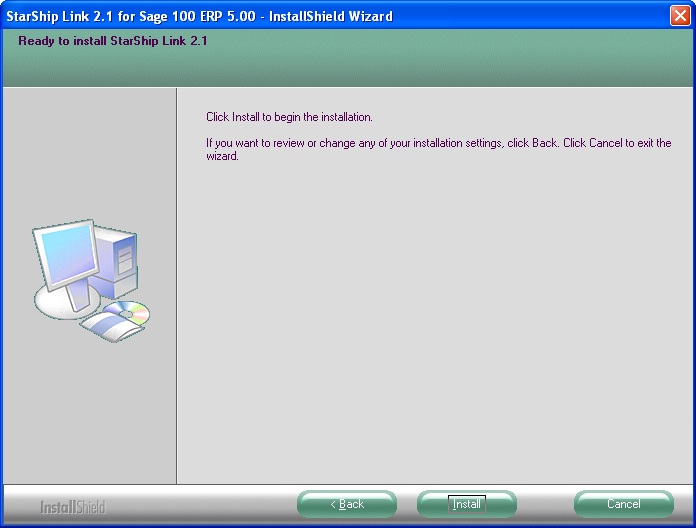
- Click the Install button.
- Click Finish to complete the installation. Then,
restart and log into the Sage 100 system.

- If modifications were made to any of the following
screens using Custom Office, follow these
instructions to update these custom screens with the new fields
added by the StarShip Link 2.0 enhancement.
- Sales Order Shipping Setup Options
- Sales Order Shipping Data Entry
- Sales Order Shipping History Inquiry
- Common Information – Common Entry
- From the Sales Order Setup menu, open the Shipping
Setup options screen and click OK on the dialog.
- Press the OK button to exit the screen, and then
launch Shipping Setup Options again.
- You must click on Accept in Shipping Setup Options
to accept the changes.
Continue to Sage 100 Settings