In any of the Maintain dialogs, choose Import (Type) from the File Menu. For example, "Import Inventory."
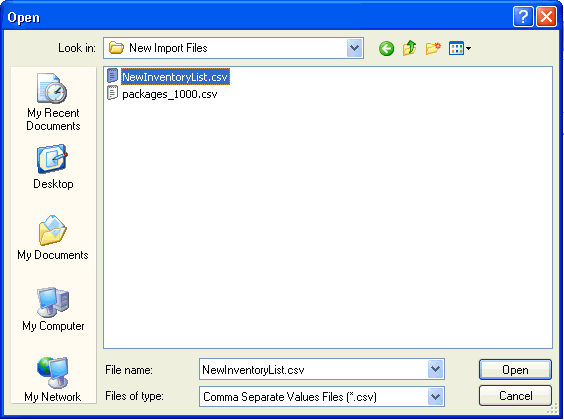
Click Select
Import File. Navigate to the file, select it, and click Open.
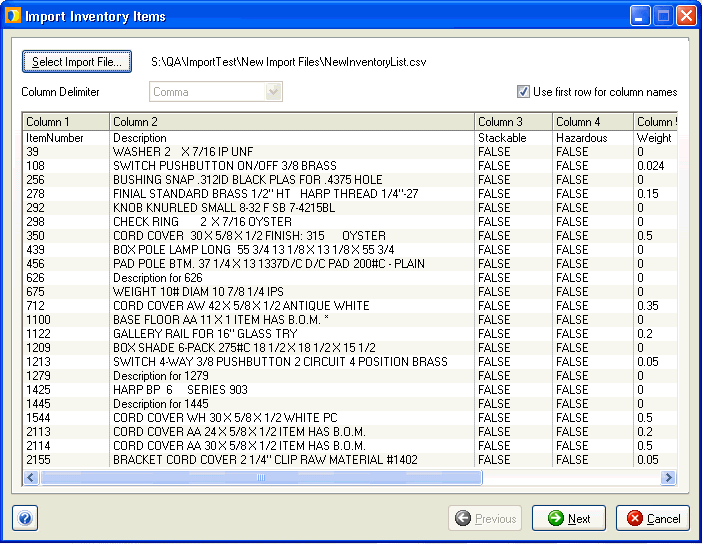
The Import dialog is populated. If you want to
use the first column values as header rows, click the Use
first row for column names check box. Click Next.
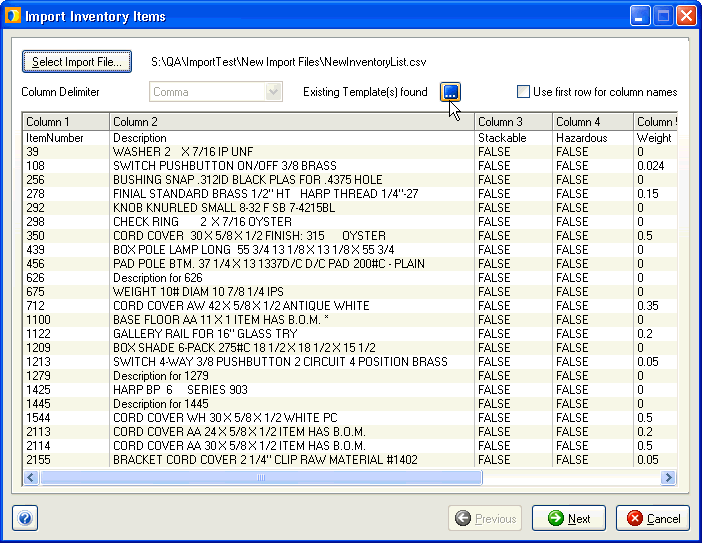
You can also select an existing template to use
with the current file by clicking the Import Template (![]() ) button. This button is only enabled when you have already imported
data for a category. If/when you try to re-import using that same
file for the same category, you can click on the Import Template button
to select the mappings you previously used. Templates define the mapping
types and input values for target fields, and using one to import
similar data that shares a common format with data you previously
imported prevents you from having to remap all of the fields.
) button. This button is only enabled when you have already imported
data for a category. If/when you try to re-import using that same
file for the same category, you can click on the Import Template button
to select the mappings you previously used. Templates define the mapping
types and input values for target fields, and using one to import
similar data that shares a common format with data you previously
imported prevents you from having to remap all of the fields.
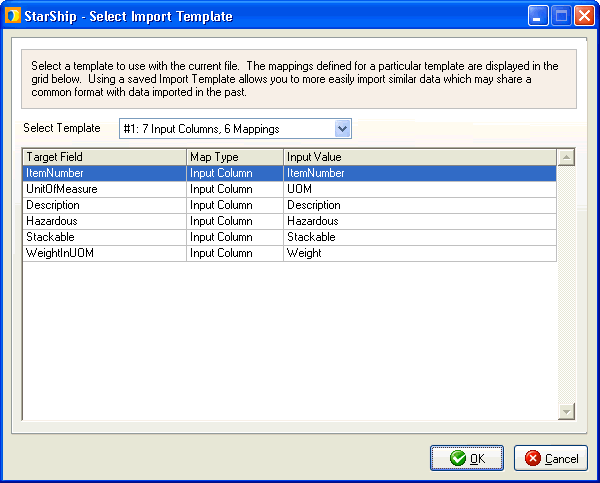
Select the template you want to use from the drop-down list; its properties
display in the grid. Click OK. Then, click Next.
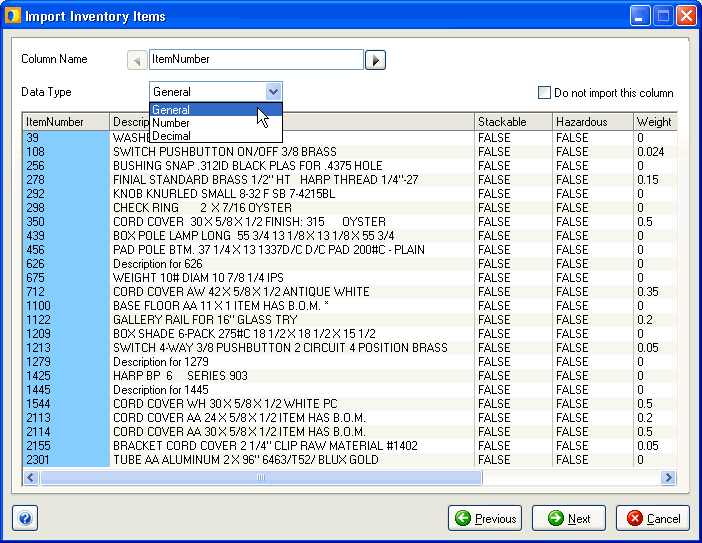
In the next dialog, you can edit the Column Name,
change the Data Type, or choose not to import a column.
 To make changes to a column, click on it or navigate using the arrows
next to the Column Name field. A selected column is indicated by light
blue shading.
To make changes to a column, click on it or navigate using the arrows
next to the Column Name field. A selected column is indicated by light
blue shading.
To edit the column name, click inside the Column Name field and edit
the text.
To change the data type, make a selection from the Data Type drop-down
list.
Finally, enable the "Do not import this column" check box
if you do not want to import the column. Click Next.
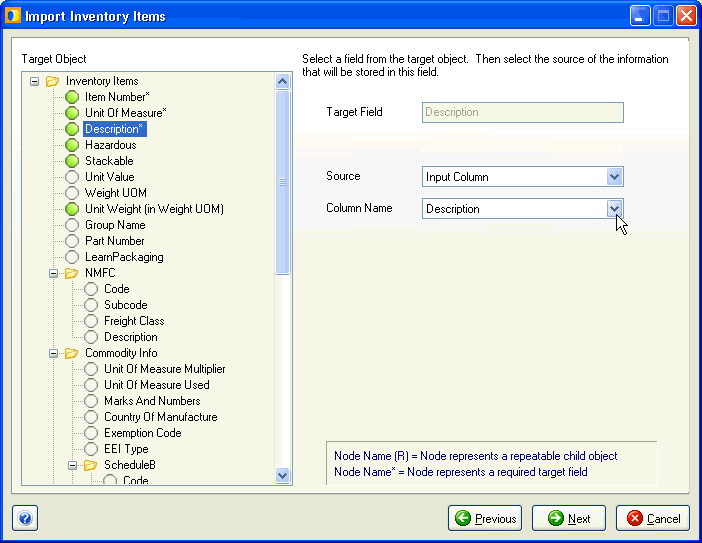
Each Target Object has a Target Field. Configure
each object by clicking on it and making selections on the right side
of the dialog. For each object, select the source information type
and the column from which it will attain its value. The source may
be: an input column, fixed value, auto-assigned
numbers, or concatenation.
Click Next.
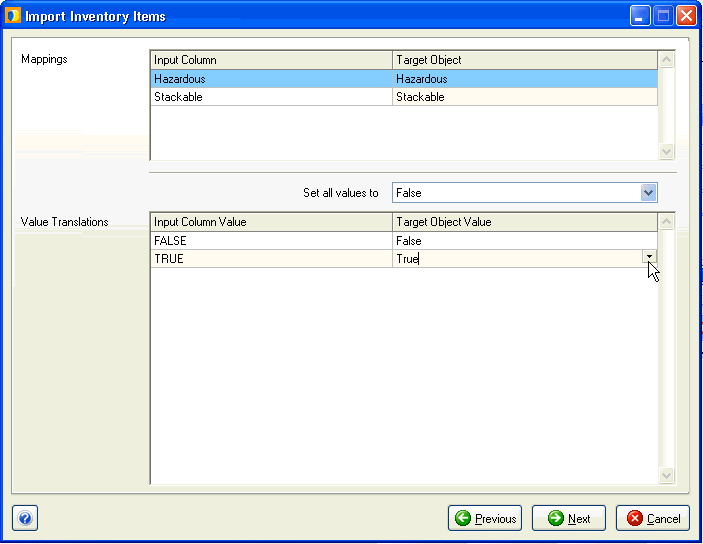
Select an Input Column from the Mappings section,
and then map the Input Column value to the Target Object value in
the Value Translations section. You can do this by selecting values
from the Target Object Value drop-down lists, or use the "Set
all values to" field to set one value translation for all Input
Column Values. Click Next.
The import results display. Select any record
to view its details on the right. If you don't want to import a record,
deselect its check box.
Select to "Import duplicate records..." if you want existing
duplicate records in the database to be replaced by those you are
importing.
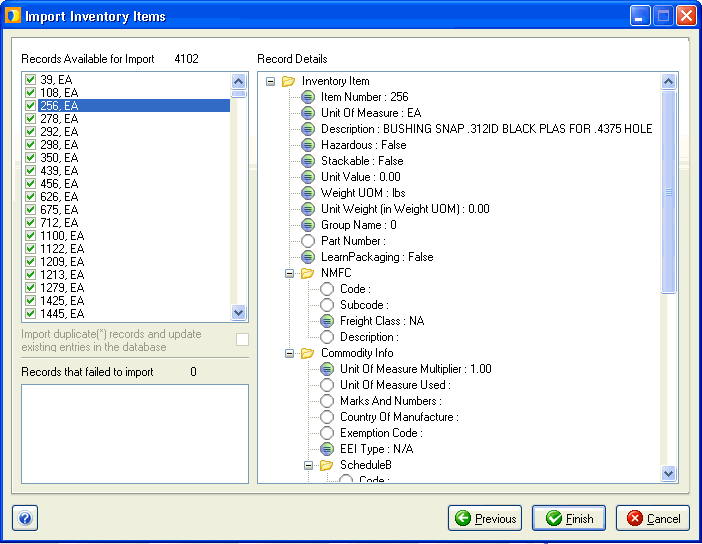
Click Finish. You'll see the import status, and
after clicking OK, the new records appear for the Maintain item you
are importing
