Server Settings
Server Settings allow you to configure the outgoing email server account and also test it, and set up email processing options.
- Launch the Template Designer and enter your StarShip login information.
- Select Edit > Server Settings.
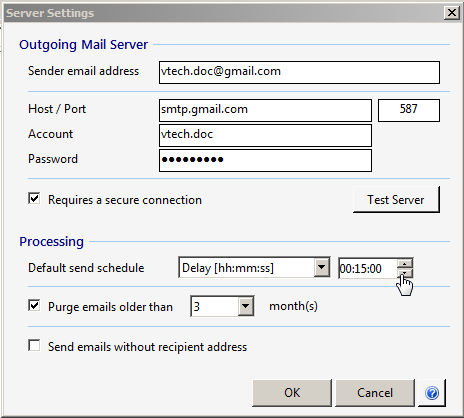
- First, enter the email address from which to send email. Then, enter the SMTP information for your email server : this includes the host/port, account, and password. This information determines the sender email address and outgoing mail server. Note : To set a different sender email address than the default for a template, if allowed by your email server, check the "Show custom From field" option in Preferences.
To test the SMTP settings, click the Test Server button. You'll be prompted to enter an email address to which a test email will be sent. The test email from the eNotify Service contains the text, "This is a test message sent from your eNotify service, validating correct outgoing server settings."

If the email is sent successfully, you'll see a confirmation dialog.
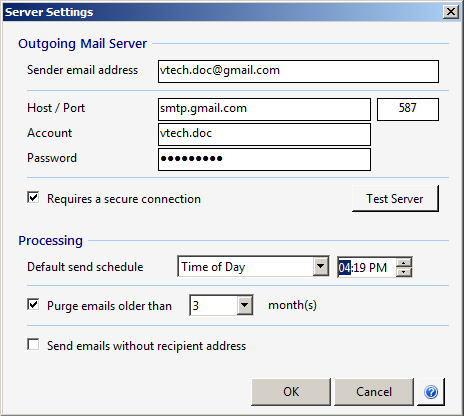
- Next, in the Processing section, specify the default send schedule, which determines when notification emails are sent. Send schedules can be set application wide as the default, or on an individual template basis in Template Properties. Make a selection from the following :
-
-
Immediately : The email is sent upon receipt of an update.
-
Delay : The email is delayed for a set period of time. Set the delay by configuring the 00:00 field.
-
Time of Day : All emails are sent in a batch at the time you specify. Set the time by manipulating the 00:00 field. The time is based on the email server's time.
-
Manual : Emails are sent when the user chooses to send them from the Email Viewer.
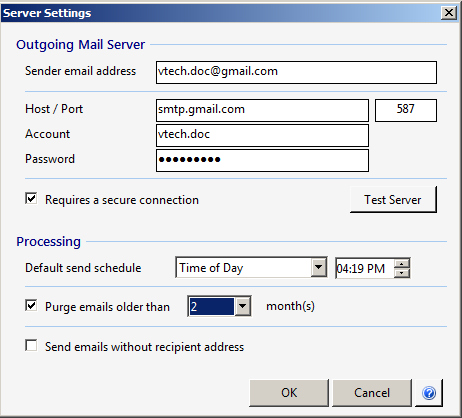
- For the Purge setting, select the time limit after which sent email notifications should be deleted. Note that email notifications are purged from all email folders (Sent, Not Sent, Failed and Deleted). To disable email notification purging, you can either uncheck this option or select "Never" from the drop-down list. The default setting is checked with a time limit of 3 months.
- For "Send emails without recipient address" : When this setting is checked, emails that are missing a recipient will be saved under the "Failed" folder in the Email Viewer. The Failure Reason column will indicate that a recipient must be specified; you can then correct and forward the emails from the Email Viewer itself.

- Click OK.