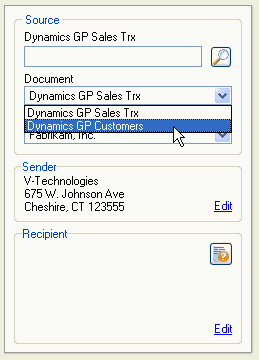
Select Dynamics GP Customers from the Document drop-down list.

Type in the Customer Number or click the magnifying glass to use the Search functionality to browse customers. If necessary, use the available filters to narrow down and sort your search results. You can filter by Address ID, Customer ID, Name, and Ship To Address fields.
Select a customer and click Load Document to import the customer data to the Ship screen.
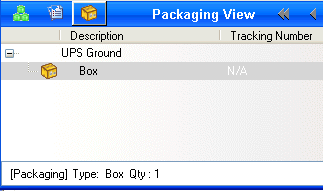
For Parcel shipments, if you checked the option in Parcel Preferences "When importing orders, pack all loose items into a default package," one default package is added in the shipment detail view.

Continue the shipment based on these options :
-
For Freight : If you chose to manually enter the BOL in Freight Preferences Setup (Always or When shipment has no line items), you would now type the BOL information into the BOL tab.
-
For Parcel : Enter package weight or weigh the package.
-
If you would like to add line items, packages or package detail, etc., switch to appropriate view and click the Add button in the lower right-hand portion of the screen.
Enter or modify the freight billing information of the shipment, if necessary.
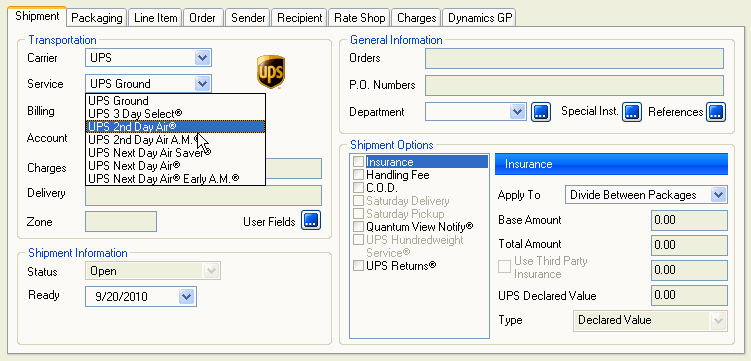
Select the shipping method - carrier and service - on the Shipment tab, and enter shipment detail that was not populated. You can also Rate Shop to select a carrier and service.

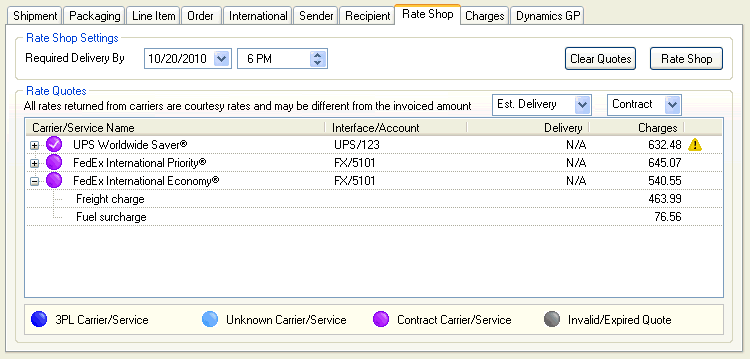
Rate the shipment with the currently selected carrier by clicking Rate from the File menu or by pressing Ctrl + Alt + R. To rate shop, click the Rate Shop button in the toolbar or press Ctrl + Alt + S. Select a carrier from the Rate Shop tab. For more information, see Shipping Process > Rating in the StarShip Help.
