StarShip allows you to customize thermal labels with your own branding. Branded labels can be set up in (Setup > Printing) Manage Templates and then attached to the top of existing thermal labels. We provide you with a sample branded label template to start with, but you can also create your own.
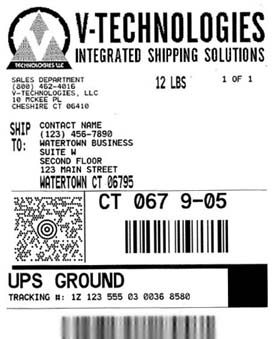
This is an example of a branded label :
Use these guidelines to optimize your image for clear printing on branded labels.
Image Size
Templates print in 96 DPI*; For a 4" wide template,
the image pixel size should be 384 or smaller to ensure that the image
fits on the label.
* In printing, DPI (dots per inch) is the usual measure of printed image
quality on paper.
Image Color
Images should be black and white, or grayscale. You can use an image editor to quickly convert a color image to grayscale.
Scaling
In order to print a quality image, you should use an image at its original size and avoid rescaling it after adding it to the template.
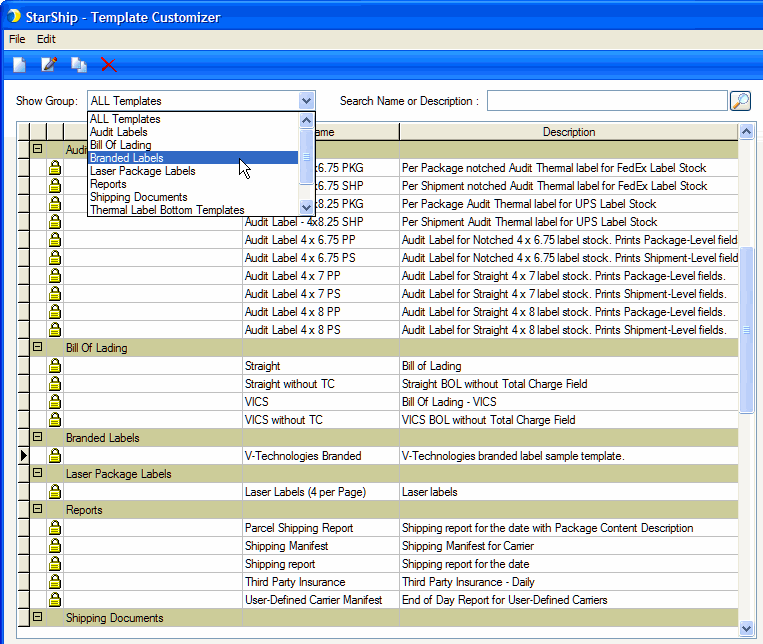
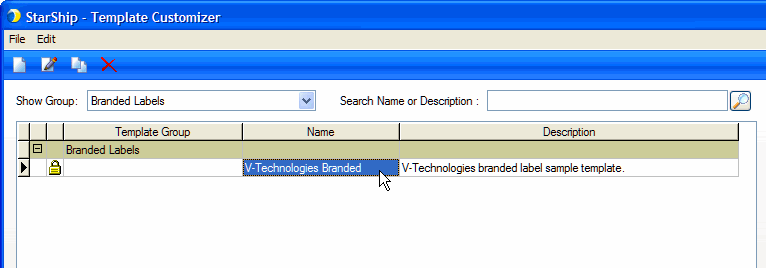
StarShip includes a sample Branded Label template that you can customize. It is located in the Branded Labels group in Manage Templates.
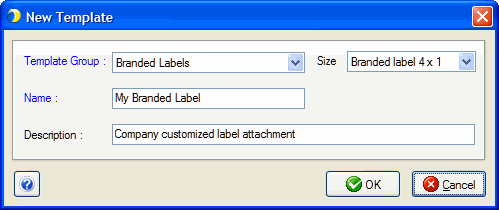
1. Press Ctrl + N to launch the New Template dialog. You can also click the New button on the toolbar.
2. Select the
Branded Labels Template Group and set the size of the label. Then, type
in a Name and Description for the label. Click OK
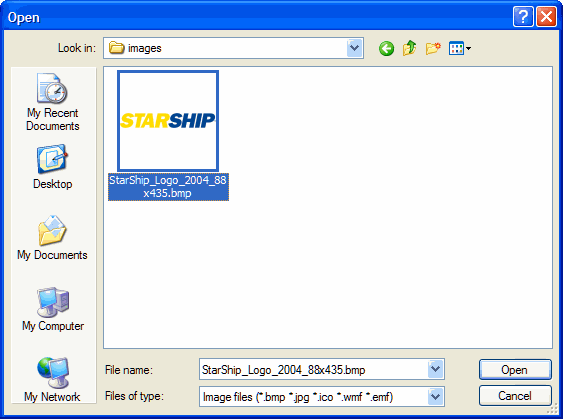
3. In the Template Designer, add a logo or image by clicking the Insert Image File button on the left toolbar. Click within the label.
4. Select the
image file and click Open.
5. Once inserted,
you can resize the image, add text, etc. See Template
Designer for more information about elements of this screen.
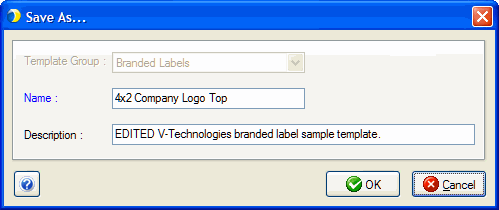
6. Click Save
to save the Branded Label.
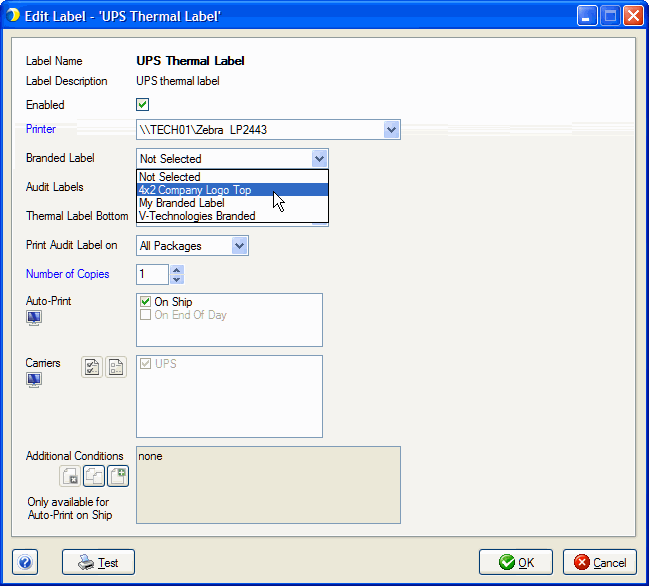
Branded Labels can be attached to individual thermal labels in (Setup > Printing) Manage Labels. The Branded Labels field will appear for labels over 4 x 7 in size.
StarShip supports Branded Labels for printers using ZPL and EPL languages.