Create the V-Tech Endpoints
The following steps create the V-Tech Endpoints needed to integrate Acumatica with StarShip. Before starting, make sure you have the StarShip v18.0.3 Client installed on the machine where you are performing this process. The StarShip Client installer will provide the ZIP file needed in Step 3 of this procedure.
ATTENTION : Users creating Endpoints for the first time should follow the procedure on this page. If you already use StarShip with Acumatica v6.0 & v6.1, 2018 R1/R2, 2019 R1/R2, 2020 R1/2, or 2021R1/2 you will just need to unpublish/republish your existing Endpoints. See the Unpublish the V-Tech Endpoints procedure for more information.
Upload and Publish the Endpoints
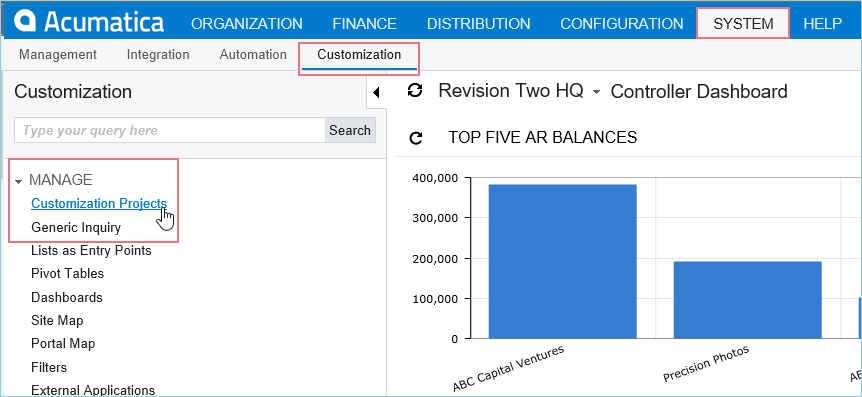
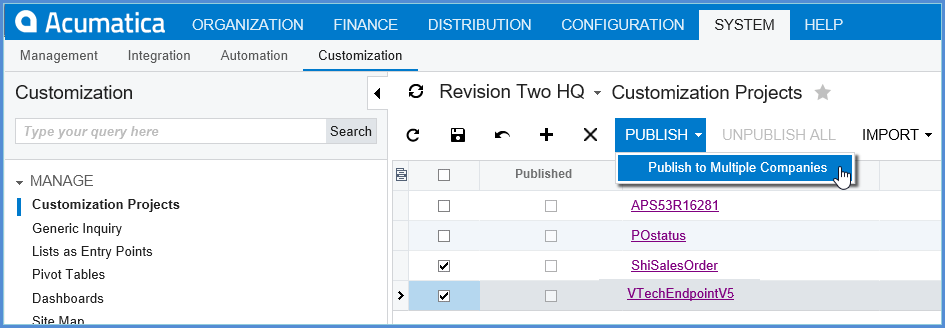
- Log in to your Acumatica Company. Select System > Customization > Manage > Customization Projects.
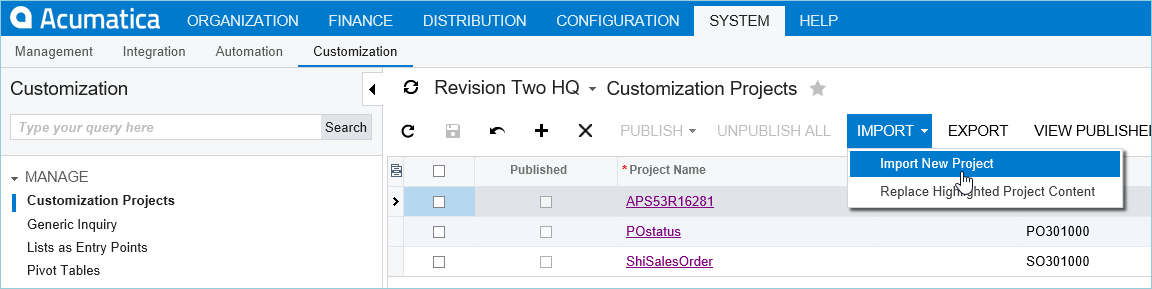
- Select Import > Import New Project.
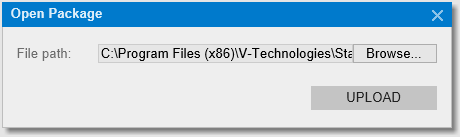
- On the Open Package dialog, click in the File Path field and navigate to C:\Program Files (x86)\V-Technologies\StarShip\Client\Acumatica. Select the ZIP file based on your Acumatica version (see below) and click Open, then Upload. Note : As mentioned in the overview, in order for this folder containing the ZIP file to exist, the StarShip Client installer has to be run first.
* Acumatica v6.0 & v6.1: Select VTechEndpoint6x.zip. *Note: You must use this ZIP file. Customers using this Acumatica version cannot use VTechEndpointV4.zip.
* Acumatica 2017 R2: Select VTechEndpointV4_2017R2.zip.
* Acumatica 2018 R1: Select VTechEndPointV4_2018R1.zip.
* Acumatica 2018 R2: Select VTechEndPointV4_2018R2.zip.
* Acumatica 2019 R1: Select VTechEndPointV5_2019R1.zip
* Acumatica 2019 R2: Select VTechEndPointV5_2019R2.zip
* Acumatica 2020 R1: Select VTechEndPointV5_2020R1.zip
* Acumatica 2020 R2: Select VTechEndPointV5_2020R2.zip
* Acumatica 2021 R1: Select VTechEndPointV5_2021R1.zip
* Acumatica 2021 R2: Select VTechEndPointV5_2021R2.zip
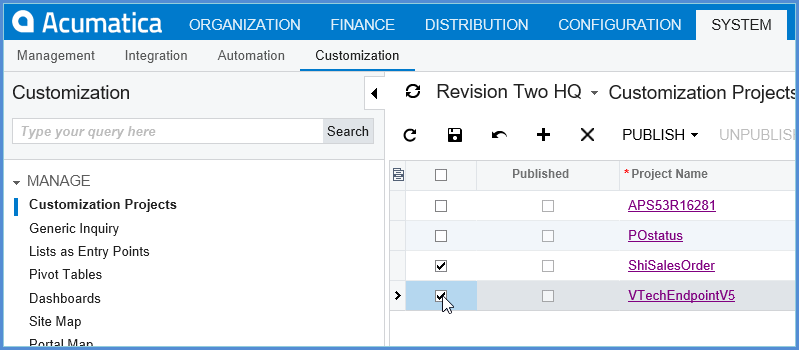
- You will see the "VTechEndPoint" Project in the list. Check the check box for the VTechEndPoint and any other customizations that you want to use along with the VTechEndPoint. If you have the V-Tech Custom Fields Customization, you should select that here.
- Click Publish. If you have multiple companies, you'll select to Publish to Multiple Companies.
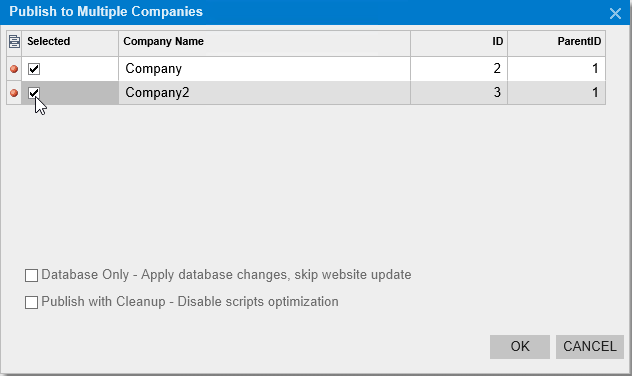
(Multiple Companies) Select the companies and click OK :
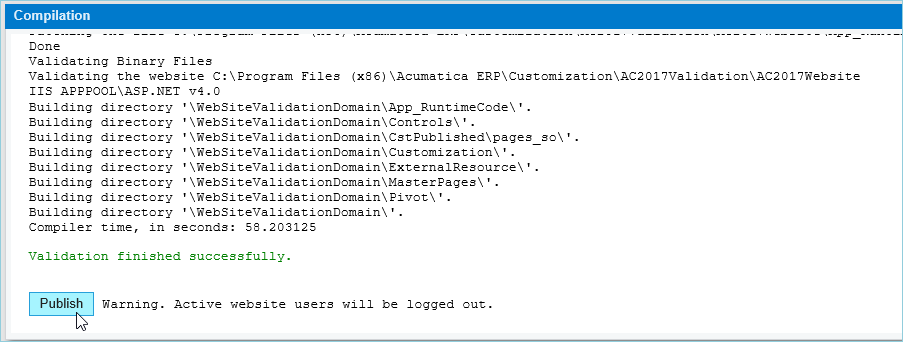
- In the Compilation window, click Publish.
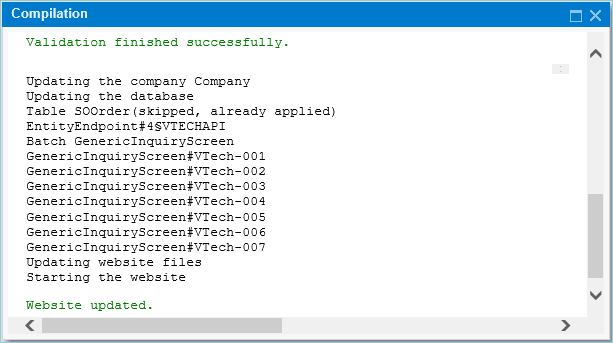
- After you see the message "Website has been updated", you can click the "X" in the title bar to exit. The endpoints are published to the Customization Projects screen.
Configure the Endpoints
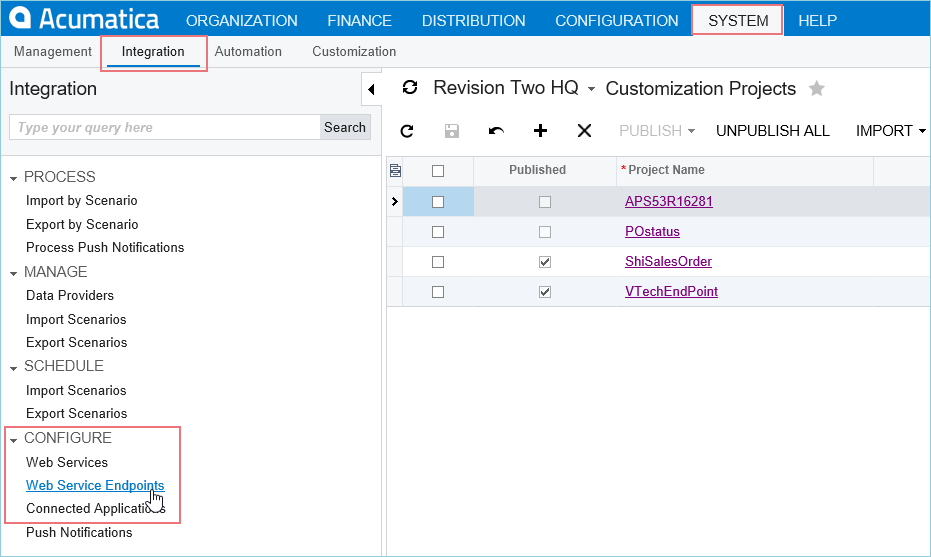
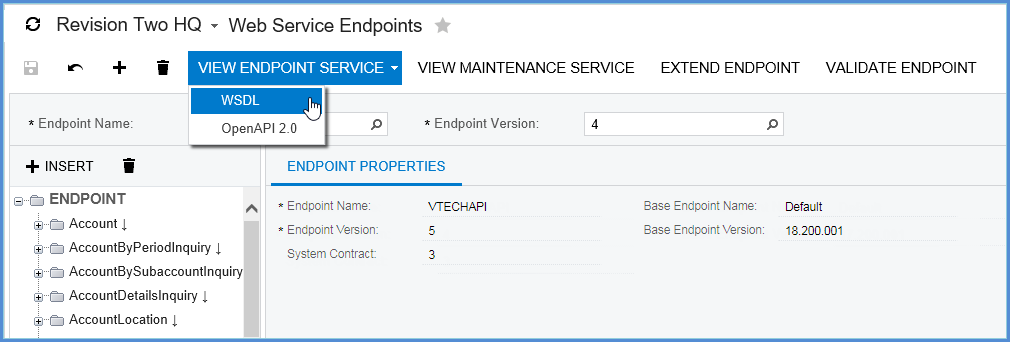
- Select System > Integration > Configure > Web Service Endpoints.
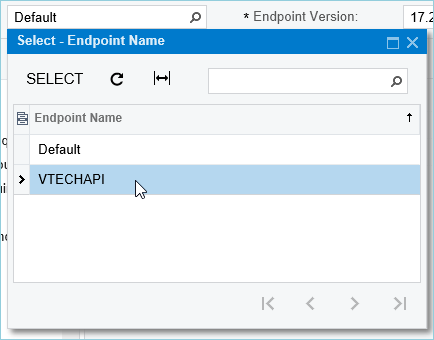
- In the Endpoint Name field, select the magnifying glass.

- Select the VTECHAPI by double-clicking on it.
- In the Endpoint Version field, click the magnifying glass and select the Endpoint Version for your Acumatica version by double-clicking it.
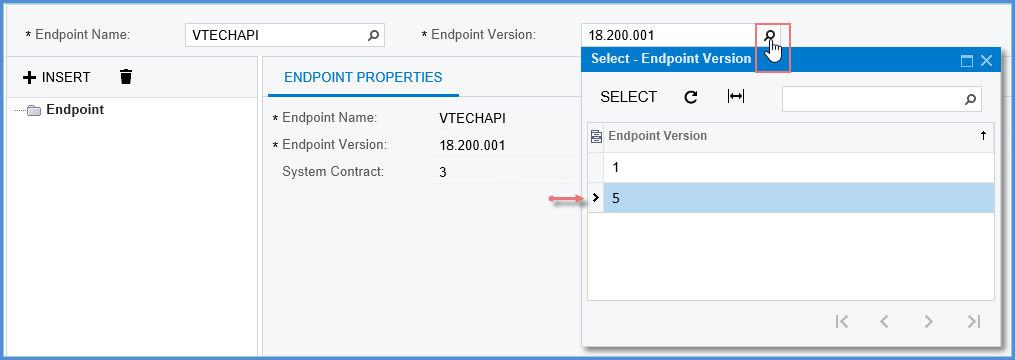
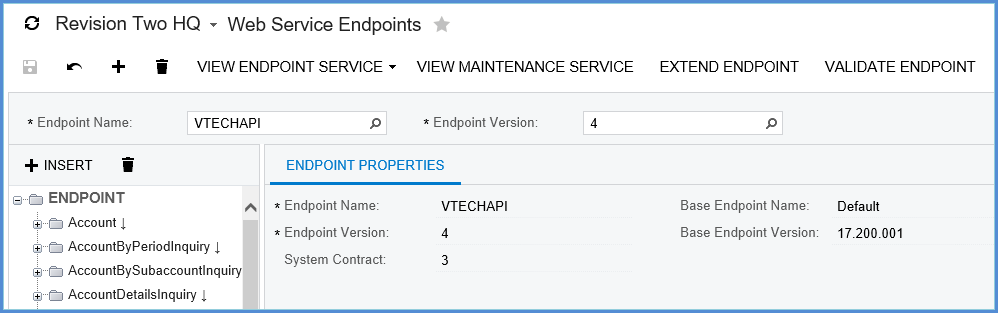
- The VTECHAPI Endpoint Properties are displayed.
Copy the Acumatica Contract Service URL
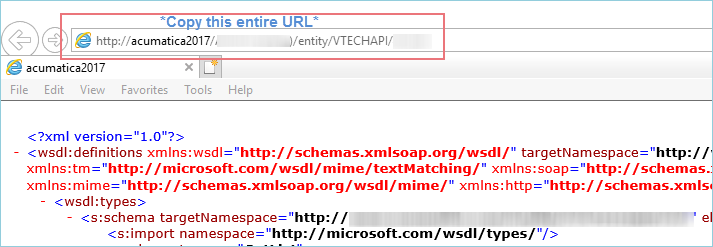
- Click the View Endpoint Service menu item and select WSDL.
- A new tab launches. Copy the entire Contract API Link from the URL field at the top of the browser window. This is the URL that you will enter into the StarShip Add Company dialog (or Edit Company if you are upgrading).
Next :
Continue to Add a Company