Initial Setup
The first time you run StarShip, you'll perform a few, basic setup steps
to get things running. In the following steps, you will connect StarShip
to your QuickBooks® company.
QuickBooks Permissions
Before you run
StarShip, be sure that QuickBooks users are assigned the proper permissions
in QuickBooks. For more information about how to set access rights, refer
to QuickBooks Help. To set access rights, you must be the QuickBooks Administrator.
Area |
Access Rights |
Customer and Receivables |
Invoices:
Partial, View, Modify |
| |
Sales Orders:
Partial, View, Modify |
| |
Sales Receipts:
Partial, View, Modify |
Lists |
Customer/Vendor Profile Lists:
Terms List, Partial, View List, Modify Entries |
| |
Item List:
Partial, View List, Modify Entries |
| |
Sales Tax Code List (If you map this field in Sales Orders
and provide Value Translations):
Partial, View List, Modify Entries |
Centers |
Customer Center:
View List, Modify Entries, View Balance |
Add Company
StarShip allows you to import and ship with more than one set of company
information. For each company, you can assign a specific interface that
includes your customized field mapping and data translations. This procedure
shows you how to select which QuickBooks companies will be accessible
from StarShip. Follow these steps to add a QuickBooks company in StarShip.
- Open the QuickBooks Enterprise company. You must
be logged into QuickBooks as the Administrator.
- Launch the StarShip Client.
- Select Setup > Source Interface > QuickBooks
Enterprise 2013 - 2021.
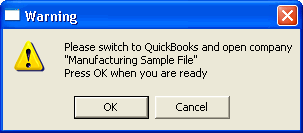
- Click My Companies. Then, click the Add Company
button.
- Click OK.

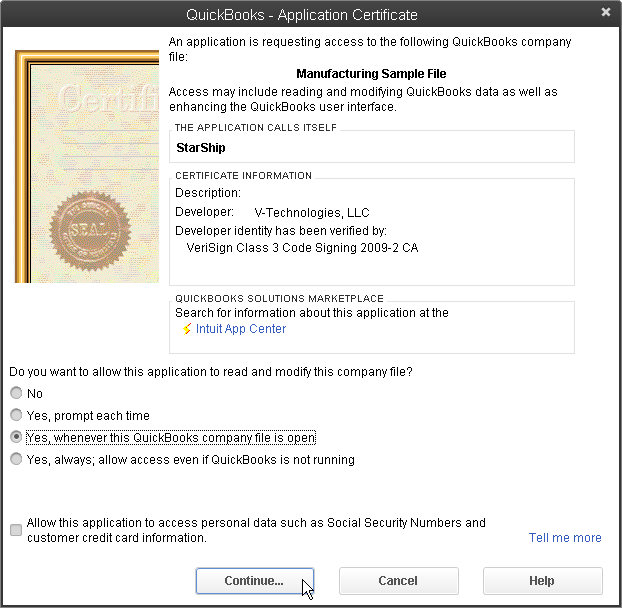
- When the QuickBooks – Application Certificate dialog
box displays, click select Yes,
whenever this company file is open. Then, click Continue.
This gives StarShip permission to integrate its functionality with
QuickBooks in order to retrieve data.
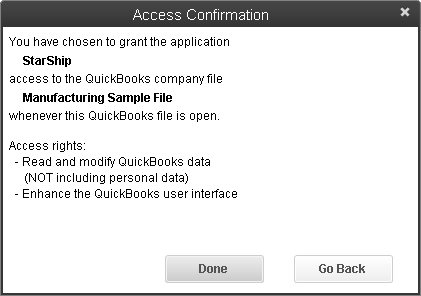
- Next, confirm that you would like to proceed by
clicking Yes. You receive an Access Confirmation dialog reaffirming
that you've granted StarShip access to your company. Click Done.
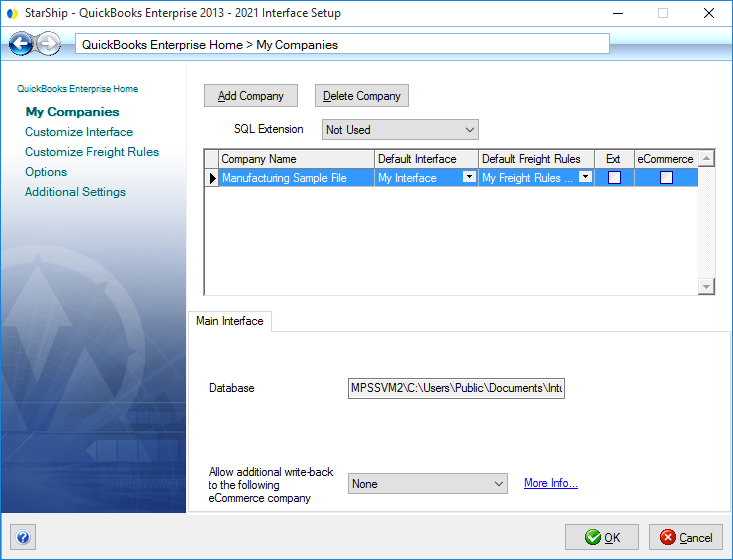
- You are returned to the My Companies dialog, where
the company has been added.
Additional Companies
There are two ways to connect to additional QuickBooks companies in
StarShip.
My Companies
- In StarShip, go to My Companies. Click on the Add
Company button. Click OK.

- In QuickBooks, switch to the company you want to
add.
Note : You cannot have multiple companies opened in QuickBooks during
this procedure.
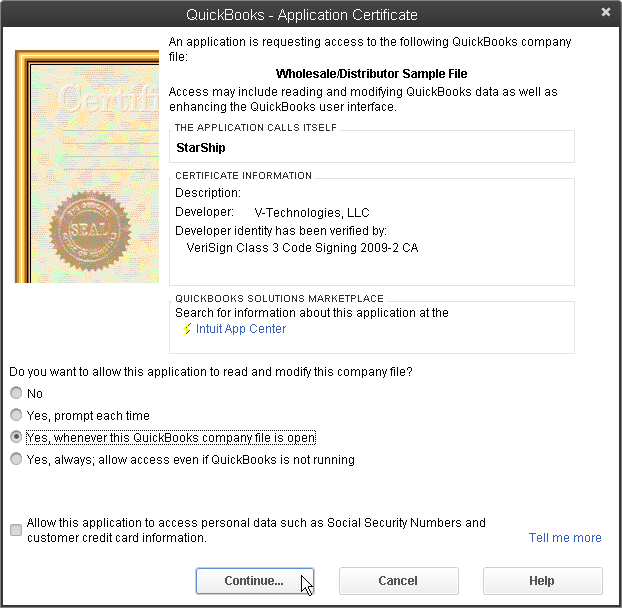
- You will receive a QuickBooks – Application Certificate
screen. Click select Yes, whenever
this company file is open. Then, click Continue.
- Next, confirm that you would like to proceed by
clicking Yes. You receive an Access Confirmation dialog reaffirming
that you've granted StarShip access to your company. Click Done.
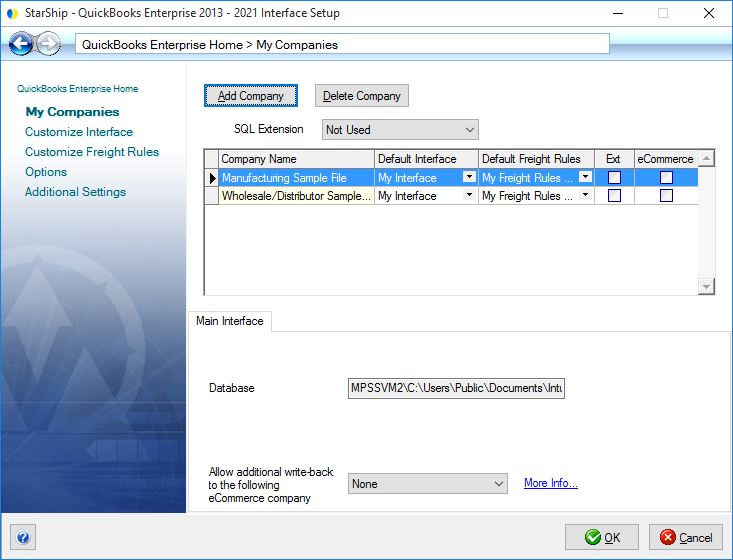
- You are returned to the My Companies dialog, where
the company has been added.
Exit the StarShip Client
You can also add another company by closing the StarShip Client and
changing to the new company in QuickBooks.
- Exit the StarShip Client. Switch to QuickBooks and
open the company you want to add. Then, relaunch the StarShip Client.
- Configure the Application Certificate and the Access
Confirmation as you did when adding the previous company.
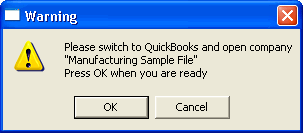
- StarShip will ask you to open the previously connected
company. Click Cancel. Note : You may have to click Cancel more than
once.
- Go into Setup > Source Interface > QuickBooks
Enterprise and select My Companies.
- Click Add Company. On the dialog, click OK.

You'll see the company in the your company list.

Switch QuickBooks Companies
When you have added multiple QuickBooks companies in StarShip, and you
want to switch between them, follow these steps.
- In order to switch companies, you must first exit
out of the StarShip Client.
- Open the company file of the company you want to
switch to in QuickBooks.
- Once the company is open in QuickBooks, relaunch
the StarShip Client.
- Due to a limitation of QuickBooks, you will need
to click Cancel on this dialog until StarShip connects to the new
company. You may need to click Cancel multiple times.
