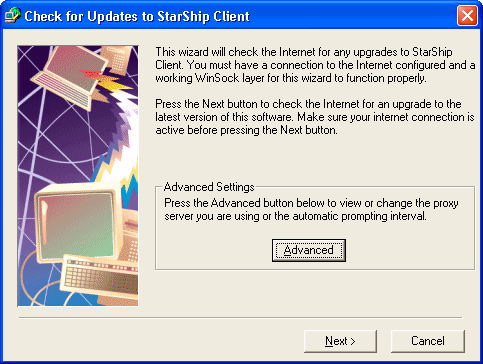
The Check for Updates to StarShip Server or Client screen appears. If a Proxy Server exists, the Web Update program adopts the default Proxy Server settings from Internet Explorer.
If you need to enter specific Proxy Server information,
click Advanced and
configure Proxy settings. Click Next
to continue the web update.

StarShip checks the currently installed version. If
you are running the latest version of the StarShip Client or Server,
click OK. The Web Update
is complete.
However, if updates exist, the Readme screen displays the list of changes.
Click Next.
Choose a location for the update by clicking Browse or accepting the default
setting. You can also choose if you want to delete the update file
after installing it by enabling the Erase
... check box. Click Next.
When the download is complete, click Finish
to begin the installation.
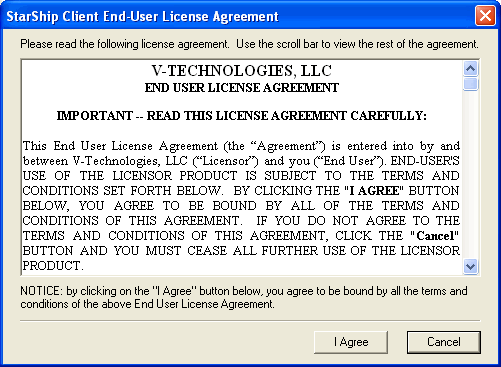
Accept the license agreement by selecting I
Agree.

Click Next
on the Welcome screen.
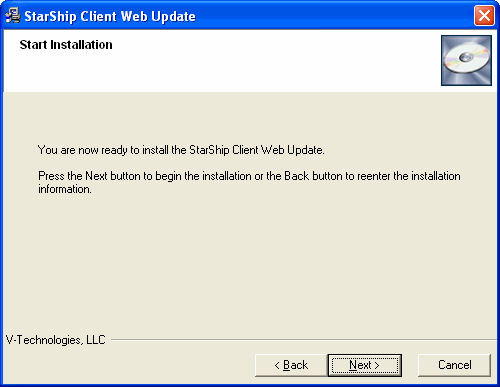
Click Next
to begin the Client Web Update.

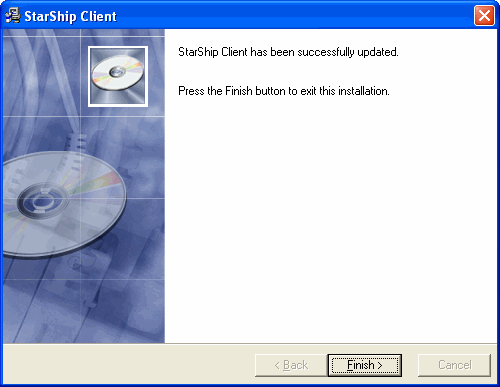
Click Finish
to close the installer.
