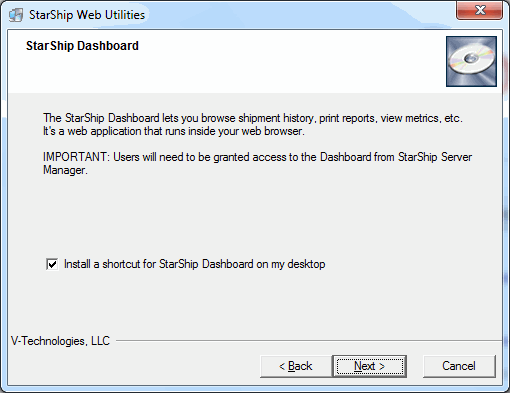

StarShip Web Utilities installs the StarShip Dashboard and StarShip Rate Quote.
The StarShip Dashboard gives users a unified view to analyze and monitor all freight and parcel activity and identify future trends. It allows the entire office to access shipment history, run reports, and track shipment status. To give users access to StarShip Dashboard, you will need to enable the Dashboard Login option for each user. You can access this option in Server Manager under Tools > Users.
Note : The StarShip Dashboard requires Adobe Acrobat 6 or higher to print reports. The interface supports Internet Explorer 6 and higher; no other browsers are supported (Mozilla Firefox, Safari, Google Chrome, etc.).
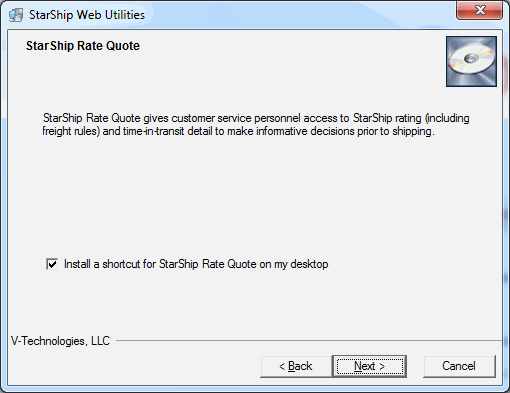
StarShip Rate Quote allows customer service to rate shipments (with freight rules, if applicable) and provide time-in-transit detail before shipments are processed. We provide a web interface that uses StarShip data to rate shipments outside of the StarShip Client.
Sage 100 ERP 4.5 and higher users
You can additionally install the StarShip Rate Quote enhancement that lets you rate directly from the Sales Order Entry screen prior to shipping. For installation instructions, see the Sage 100 ERP 4.5 - Sage 100 ERP 2017 interface guide. There you will also find instructions for using the Rate Quote enhancement from within Sage 100 ERP.
Microsoft Dynamics GP users
Web Utilities includes the StarShip Rate Quote enhancement that lets you rate directly from the Sales Transaction Entry screen prior to shipping. For more information about using Rate Quote, see the Microsoft Dynamics GP interface guide.
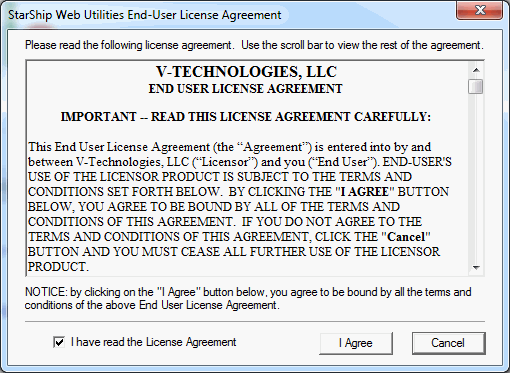
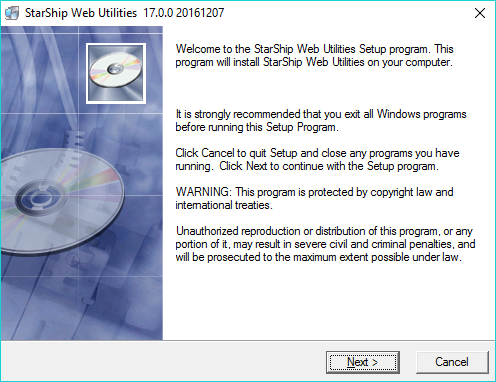
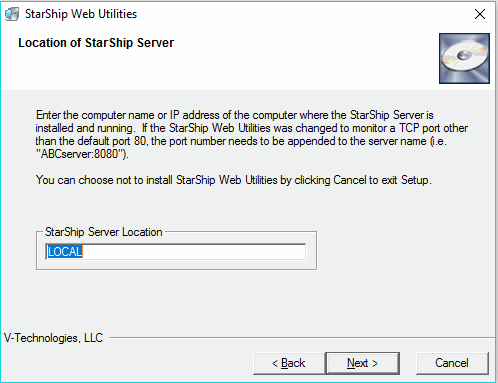
Users who downloaded the installer files can double-click the starshiputilites.exe file and click Run start the installation. If you have a CD, insert the CD and select Install StarShip Web Utilities.


