Prerequisite
Software
Before installing the StarShip Server, the prerequisite programs (listed
in StarShip Server Requirements)
must be installed. The StarShip Server installation program will detect
any of these programs that are already installed. StarShip Server must
be installed before installing the StarShip Client(s).
Download the StarShip Server and Client installers from the links you
were given by V-Technologies; if you received a CD, place it in your CD
drive and installation will start automatically if you have autorun enabled.
Launch StarShip
Server Installation
To begin the StarShip Server installation, continue with these steps:
If you downloaded the installers, launch the
serversetup.exe file.
Note : If you received a CD, you'll see the screen below. Select Install StarShip Server.
The installer checks the system to find any prerequisite
components that are already installed. The "Checking System"
information dialog appears briefly.
Be sure to close any programs you may have running before clicking
Next to start the installation
process.
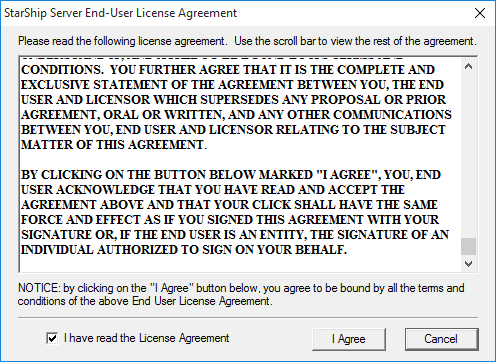
Read the License Agreement and select I
Agree.
If StarShip detects an installation of WorldShip® on your PC, you receive a
message recommending that you uninstall WorldShip® before continuing with the
Server installation, or install StarShip Server on a different PC.
Click OK.
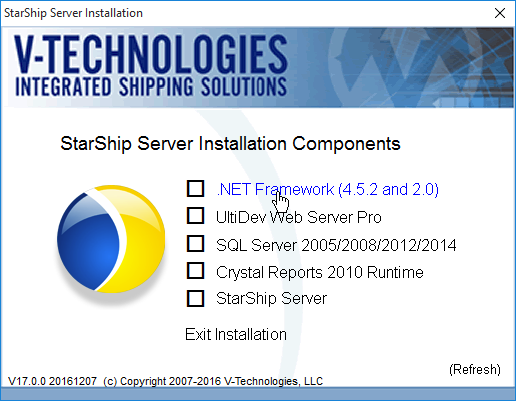
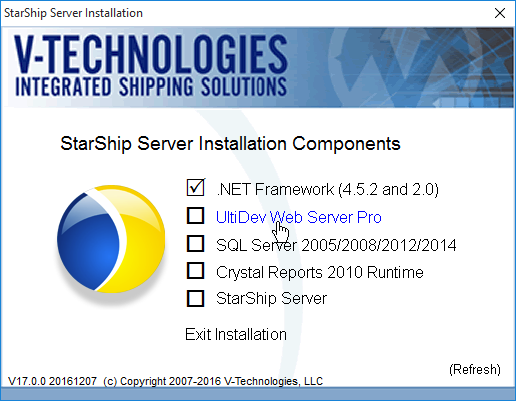
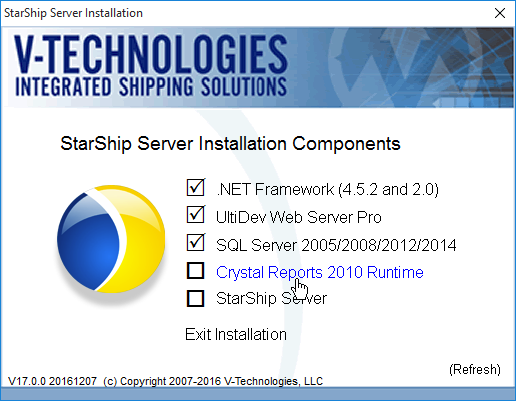
On the Component Installation dialog, any previously
installed components are noted with a check mark. When no prerequisite
components are found, no components are checked.
Installing
.NET Framework
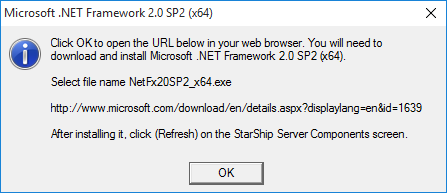
On the StarShip Server Installation dialog, click
the .NET Framework (4.5.2 and
2.0) link.
Click OK to download the installer and run the
downloaded file to install Microsoft .NET Framework 4.5.2.
Check the I
have read and accept the license terms check box and click
the Install button.
Click Finish.
You may need to restart your computer to complete
the installation. Click Restart
Now or Restart Later
when prompted.
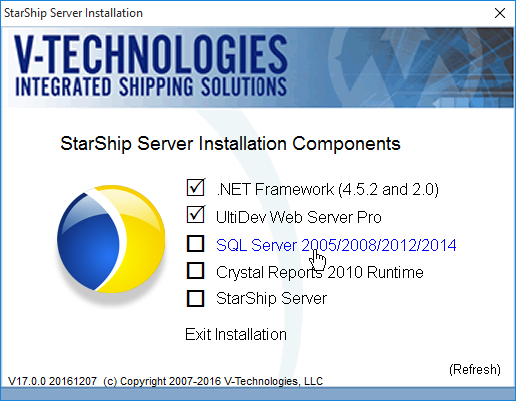
UltiDev Web Server Pro
StarShip requires UltiDev Web Server Pro to be installed.
- On the StarShip Server Installation dialog, click
on the UltiDev Web
Server Pro link to install it.
- If you accept the license agreement, enable the
I Agree button and click Next.
- When the installation is finished, click Close.
Note: After clicking Close on the Installation Complete screen,
the StarShip Server Installation Components screen will return after
approximately 20 seconds while the services start.
Verify
SQL Server Prerequisites
StarShip
requires a SQL 2005 Server or later installation for its database. You
have the option of downloading SQL Server 2012 SP2 Express from the Microsoft
website, or of using an existing installation of SQL Server 2005 or later.
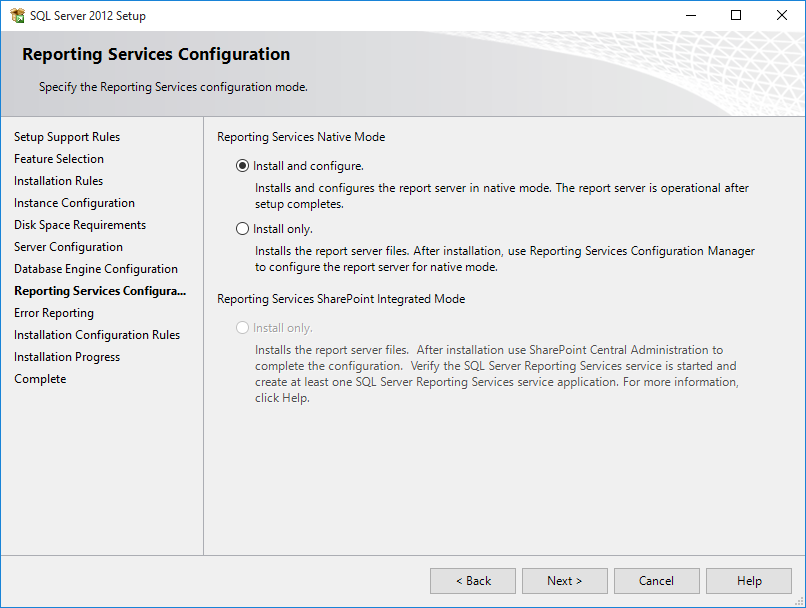
Note: Reporting Services, which is installed as part of SQL Server Express
with Advanced Services, will not install on operating systems that do
not include Internet Information Services (IIS).
On the StarShip Server
Installation dialog, click the SQL Server 2005/2008/2012/2014 link
to install it.
The next dialog you
see will depend upon the detection of SQL Server Instances. You will
follow one of these scenarios :
a) No SQL Server Instances Detected : Click the Install
SQL Server Express button to continue.
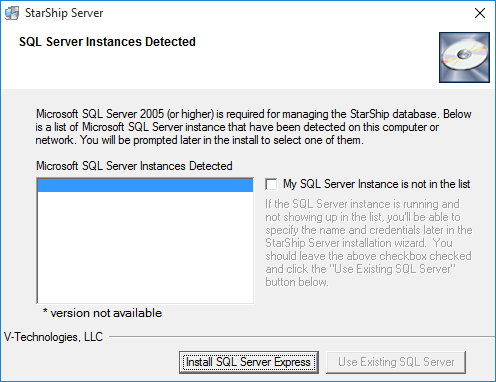
b) No Microsoft SQL Server Instances Detected, but you have an existing
SQL Server : Check the "My SQL Server Instance is not in the
list", and click the Use Existing
SQL Server button to specify the server instance later in the
installation.
c) Microsoft SQL Server Instances Detected : Select the Server instance
to use and click the Use Existing
SQL Server button.
d) Microsoft SQL Server Instances Detected but you want to install
a new instance of SQL Server Express : Click the Install
SQL Server Express button to continue.

e) Microsoft SQL Server Instances Detected but the SQL Server
instance you want to use is not in the displayed list : Check the
"My SQL Server Instance is not in the list", and click the
Use Existing SQL Server button
to specify the server instance later in the installation.
Installing SQL Server 2012 SP2 Express
This installation will run if you selected
Install MS SQL Server Express. Before installation continues, a TXT file
containing installation instructions opens in Notepad. Click OK.
A message box will
appear indicating the file to download from the Microsoft website.
Click OK.
After the installer
completes the download, click the New installation or add features
to an existing installation link.
Check the I accept
the license terms check box and click Next.
On the Feature Selection
screen, be sure all components except Local DB are checked. Click
Next.
Accept the default
settings on the Instance Configuration screen and click Next.
On the Server Configuration
screen, set the Startup Type for the SQL Browser Service to Automatic, and click Next.
On the Database Engine
Configuration screen, set the Authentication to Mixed Mode
and enter a password for the System Administrator (sa) account. Click
Next to continue.
Accept the default
settings and click Next.
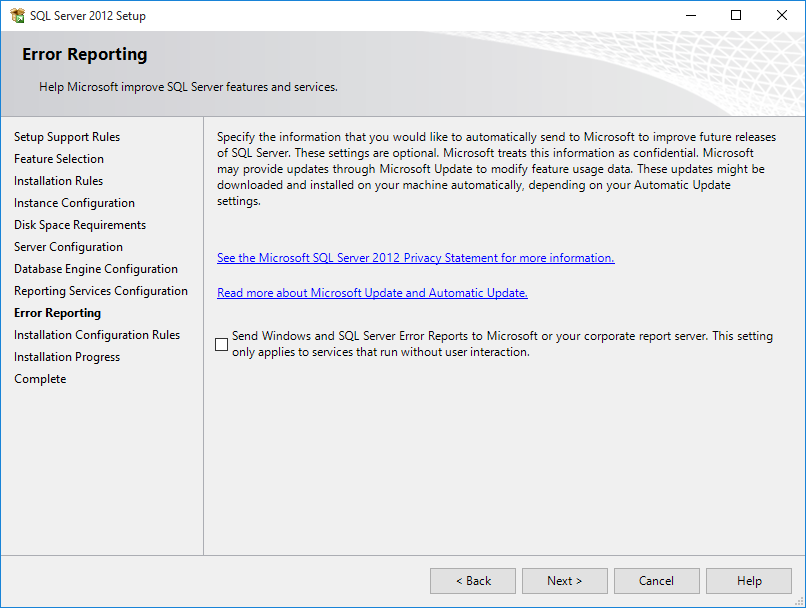
If you want to send
error reports to Microsoft, check the check box and click Next.
After the installation
has completed, click Close.
The next step involves
two settings that need to be updated. First, launch the SQL Server
Configuration Manager.

Under SQL Server
Network Configuration - Protocols for SQLEXPRESS, double-click the
TCP/IP entry, set Enabled to Yes, and click OK. Do the same
for the Named Pipes entry. Close out of SQL Server Configuration
Manager.
Next, launch SQL
Server Management Studio.
Connect to the SQL
Server instance created previously. Right-click the instance name
and select Facets.
In the Facet drop-down,
select Surface Area Configuration. Select the XPCmdShellEnabled
and set it to True. Click OK.
Crystal Reports
Next,
choose the Crystal Reports 2010
Runtime link.
When the .ZIP file has downloaded, extract the
files and run the installer.
On the Welcome screen, click Next.
Complete the License Agreement screen. Select
"I accept the license agreement"
to continue with the installation. Click Next.
Click Next.
Click Finish.
Now that the prerequisite software is installed, continue with the StarShip Server Installation.